
Peeling off Plasti Dip
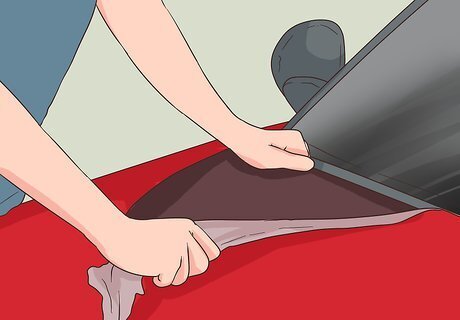
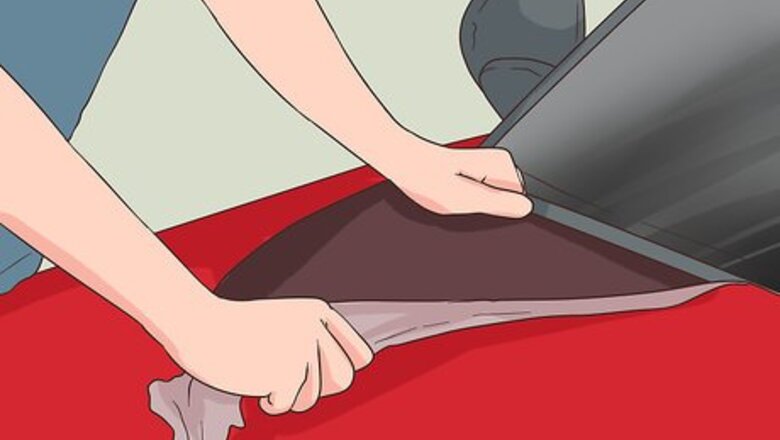
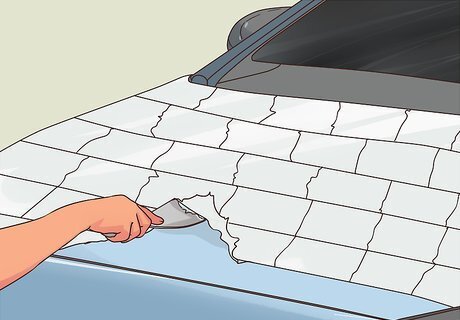
Lift the Plasti Dip off 1 edge of the vehicle. Pick 1 section to work on first, such as the hood. Starting in the corner, pick at the Plasti Dip with your fingers to lift it away from the car. Avoid pulling it off the car immediately, or else you may end up with lots of annoying, small Plasti Dip strips on your vehicle! If the Plasti Dip was applied correctly, it will be thick enough to peel off. Thinner layers shred, so they have to be washed off with WD-40 or another product.
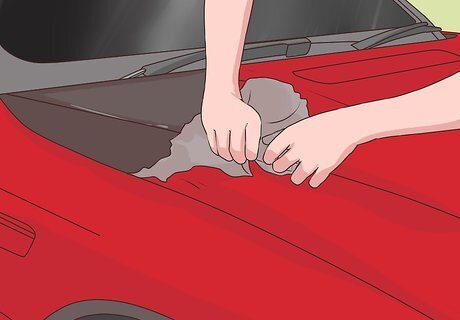
Peel the Plasti Dip away by hand. Work along the edge, lifting the Plasti Dip without removing it. Once the edge is clear, pull the Plasti Dip down along the car’s surface. It will come off in a large sheet, which you can throw away.
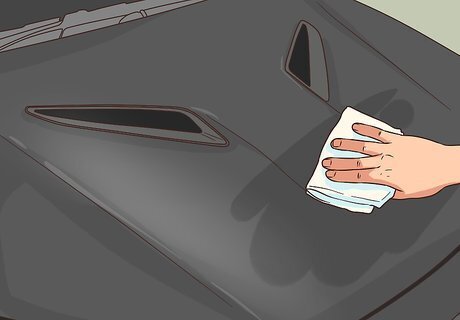
Buff off any remaining Plasti Dip with a microfiber cloth. Use a microfiber cloth to wipe away any leftover Plasti Dip. Be sure to check hidden locations such as the edges of the hood, the car doors, or the car's underside. Plasti dip in these locations are thin strips that will come off right away.
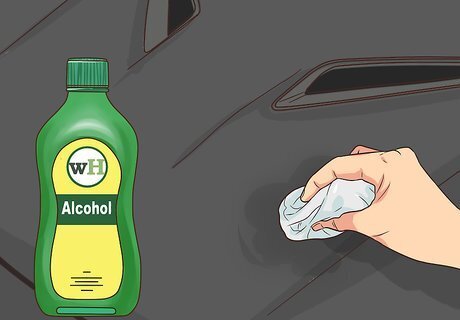
Wash off stubborn Plasti Dip with isopropyl alcohol. Pick up a bottle of isopropyl alcohol from a general store or drugstore. Pour it into a spray bottle to make applying it easier. Spray it around the edges of the Plasti Dip, trying to get it under the edges. Peel off the Plasti Dip or rub it off with a cloth. When removing Plasti Dip from a wheel, for example, spray around the outer edges of the rim. A power washer can also be used, but make sure it’s on a low setting so it doesn’t scratch the car.
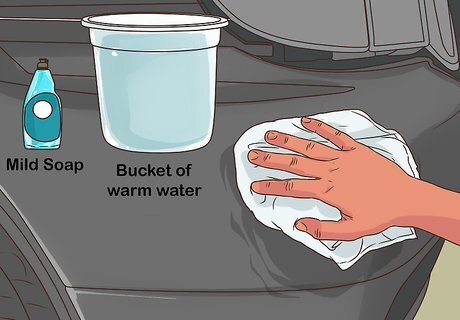
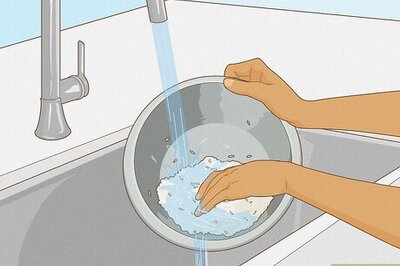
Clean the car immediately with soap and water. To ensure that the paint isn’t damaged, wash off the isopropyl alcohol along with any remaining Plasti Dip fragments. Use a car-safe soap purchased from an auto supply store, rinse it off with a hose, and then dry the car with microfiber towels.
Using WD-40
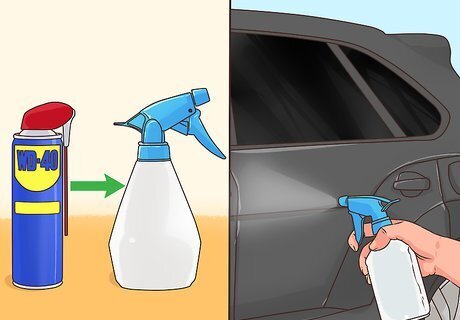
Spray WD-40 over the Plasti Dip. WD-40 makes quick work of Plasti Dip and can be found at any general store or auto supply shop. If it doesn’t come in a spray bottle, put it in one to make applying it easier. Spray the Plasti Dip generously to soak it. A commercial dip or goo dissolver may be used instead of WD-40. They can be found at most general stores.

Rub the WD-40 into the Plasti Dip with a microfiber cloth. Paper towels are another option you may use. Gently move the cloth or towel in circles over the Plasti Dip to help work in the WD-40.
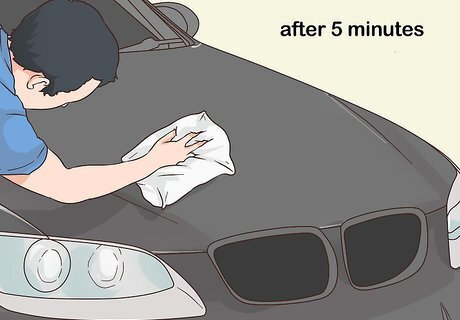
Wipe off the Plasti Dip after 5 minutes. Leave the WD-40 alone for 5 minutes, then start wiping off the Plasti Dip with a microfiber cloth. It should come off without much effort. Scrub gently to avoid scratching the vehicle.

Scrape off stubborn Plasti Dip with a plastic razor. Place the razor over any leftover Plasti Dip. Put light pressure on the Plasti Dip to avoid scratching the surface underneath it. Slowly move the razor down and under the Plasti Dip to sweep it away. A plastic razor is less likely to scratch the vehicle, so it’s better than using a metal razor or paint scraper.
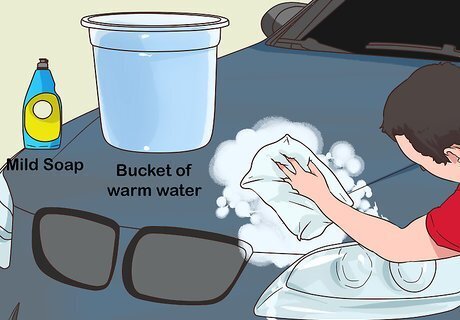
Wash the car with soap and water. Thoroughly wash the car to remove the WD-40 as well as any remaining Plasti Dip. If you notice small pieces of Plasti Dip, scrub them off with a cloth dampened in warm water. Make sure all the WD-40 is removed from the car to avoid causing damage. Be careful not to let it sit on sensitive parts such as the brakes.
Using Paint Thinner

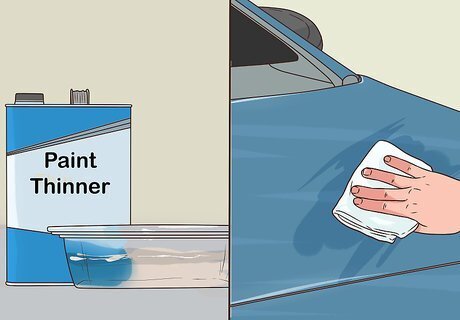
Soak paper towels in paint thinner. Bring the vehicle into a well-ventilated area, such as a driveway, and put on a pair of gloves to protect your hands. Pour some paint thinner into a container. Get 2 or 3 paper towels completely damp.
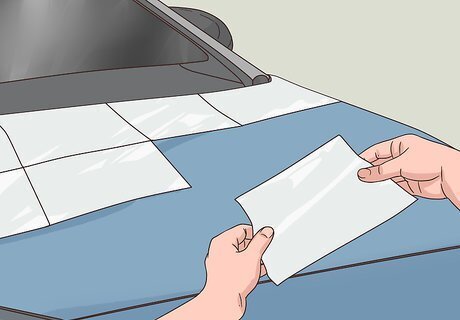
Lay the paper towels over the Plasti Dip. The trick is to get the paper towels as flat as possible. Treating the top side of the car is easy, but the ends require some work. Hold the towels in place as much as possible by clipping them to the frame with plastic clips.
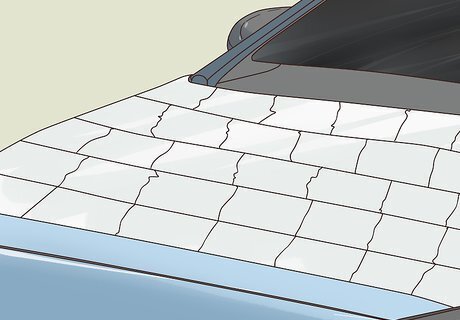
Wait for the Plasti Dip to soak through the paper towel. Watch the paper towels for any signs of change. Look for spots the same color as the Plasti Dip to form on the paper towel after a few minutes. When this happens, the Plasti Dip is soft enough to be removed.
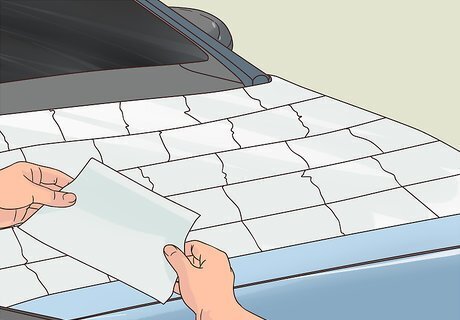
Place the towels on a different section of Plasti Dip. Carefully lift the paper towels off of the car. To speed up the removal process, lay the towels on other spots still covered in Plasti Dip. If the towels won’t stick, dampen them in more paint thinner.
Use a drywall scraper to remove the Plasti Dip. Go back to the spot you soaked with paint thinner earlier. Hold the drywall scraper flat against the car’s surface. Slide the scraper under the Plasti Dip to remove it. Wipe the gooey mess off the scraper with a clean paper towel or trash bag.
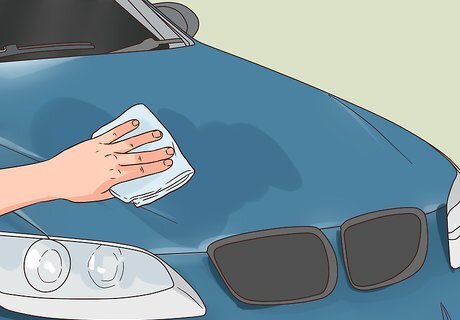
Wipe the remaining Plasti Dip with a thinner-soaked paper towel. Soak an extra paper towel in paint thinner. Use it to scrub the first area that had the paper towels over it. Scrubbing will remove any small Plasti Dip fragments and also help soften any large pieces left over.
Repeat treating the Plasti Dip with paint thinner. Continue soaking paper towels, scraping, and scrubbing to remove all the Plasti Dip. You may have to treat the same area a few times to completely clean away all the Plasti Dip. It’s tedious work, but it is a safe way to remove the Plasti Dip from a delicate area like the car’s body.
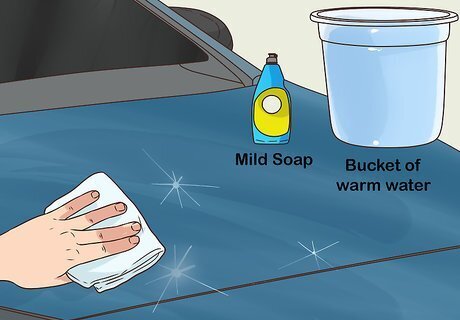
Wash the car with soap and water. The paint thinner should only affect the Plasti Dip, but to be sure, wash the car as soon as possible. Again, use a car-safe soap and rinse it off when you’re finished. Your car should be back to its original condition.


Comments
0 comment