
- Pick a store-bought moss remover or make a DIY moss remover using powdered oxygen bleach, white distilled vinegar, or Dawn Ultra dish soap.
- Wear slip-resistant shoes, safety glasses, and rubber gloves. Set up your extension ladder on a stable patch of ground, and cover nearby plants with a plastic tarp.
- Rinse and brush your roof gently before applying your cleaning solution. Let the moss remover sit for 20 minutes, then rinse it off and brush the roof clean.
- Prevent moss in the future by clearing out your gutters and pruning overhanging tree branches regularly. Install zinc strips on the ridges of your roof for protection.
Preparing for Moss Removal
Choose either a store-bought or a DIY moss remover. You can use a store-bought moss remover, which can effectively kill moss on your roof. However, if you’d rather save money and make a cleaner yourself, there are also several DIY recipes you can use to kill moss. You’ll need a large spray bottle, water, and one of the following cleaning reagents: Oxygen bleach. Combine 1 pound (0.45 kg) of powdered oxygen bleach and 2 gallons (7.6 L) of water.Kill Moss on Roof Step 1Bullet1.jpg Chlorine bleach. Mix 3.5 cups (0.83 L) of chlorine bleach with 2 gallons (7.6 L) of water.Kill Moss on Roof Step 1Bullet2.jpg White distilled vinegar. Combine 3.5 cups (0.83 L) of white distilled vinegar and 2 gallons (7.6 L) of water.Kill Moss on Roof Step 1Bullet3.jpg Dawn Ultra dish soap. Mix 8 fluid ounces (0.24 L) of Dawn Ultra dish soap with 2 gallons (7.6 L) of water.Kill Moss on Roof Step 1Bullet4.jpg
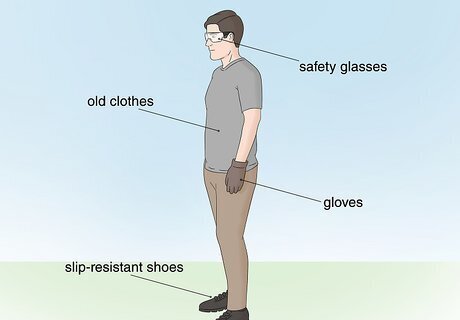
Wear old clothes, slip-resistant shoes, safety glasses, and gloves. Slip-resistant shoes are critical since you’ll be dealing with a wet roof; the shoes will help you maintain your balance. Safety glasses and rubber gloves protect your eyes from any chemicals you use, and old clothes are handy because you can get them dirty without consequence. Never wear flimsy footwear while navigating your roof, especially flip-flops or slip-on shoes with no traction. It’s also a good idea to grab a garbage bag since you’ll likely be clearing off a lot of leaves and loose moss.
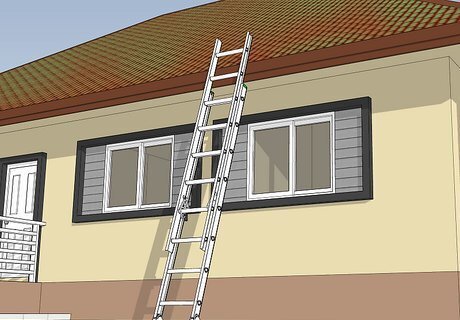
Secure an extension ladder to give you direct access to the roof. Find an even patch of ground where you can position your extension ladder and keep it as stable as possible. Then, ensure your path to the roof isn’t obstructed by anything; you should have easy access to the roof from your spot on the ladder. Ask someone else for help if you can. While you’re on the roof, keep your helper on the ground where they can steady your ladder and pass things up to you so you don’t have to constantly go back and forth. Use a safety rope with the ladder if you need one. You can purchase and install a personal fall arrest system or make a rope harness for yourself. This will help keep you safe, even if you lose your footing.
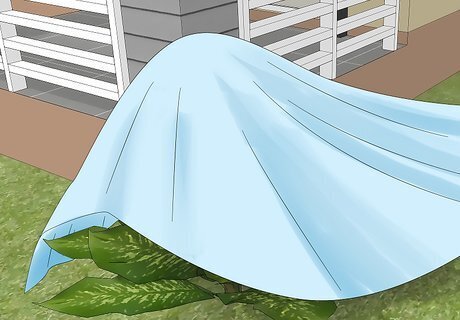
Cover nearby plants to protect them from chemical damage. Some moss-killing solutions, especially those with bleach in them, can easily damage your plants. Before cleaning your roof, cover any plants below with a plastic tarp to protect them. You may also want to cover up a deck or pathway below the roof, as certain cleaners can cause discoloration and damage. Diluted bleach is less likely to cause damage, but it’s better to be safe than sorry if you have plants you want to protect. You can also rinse your plants and grass with water beforehand. This will dilute any chemicals that fall on them, protecting them from damage.
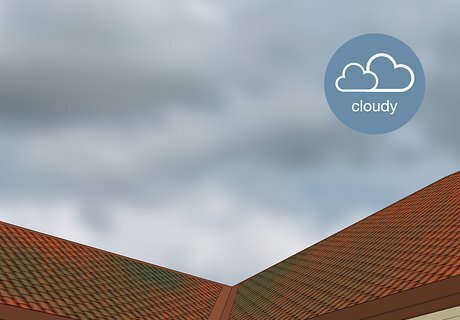
Plan to clean moss off your roof on a cloudy day if possible. Lots of sunlight or strong winds can dry out the cleaning solution too quickly, making it harder to kill the moss on your roof. A cloudy, overcast day will allow the cleaner to set on your roof for as long as you need, ensuring a clean, moss-free roof when you’re done. Check the weather forecast ahead of time and pick a cloudy day to work. The best time of year to clean your roof is usually during dry weather from May through October. Don’t clean your roof on a rainy or stormy day; this can be dangerous since you’ll already be balancing up high on your roof.
Removing Moss from a Roof

Hose off the moss-covered sections of your roof with water. Begin the process by rinsing off your roof with water only. Grab your garden hose and bring it to the roof, wetting each moss-covered section. Spray water from the top of the roof at a downward angle so it can run down the roof, loosening and clearing away bits of moss. Be sure to set your hose to a low-pressure setting to avoid damaging your roof! Shingles and tiles can be delicate, especially when clearing away moss—which tends to cling to the roof tightly.
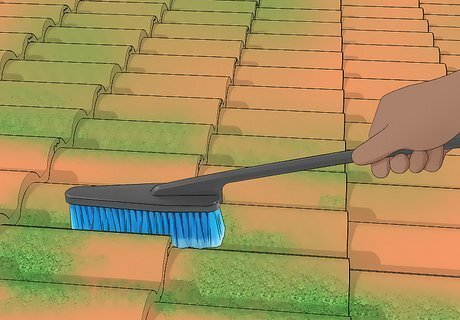
Scrub the wet roof gently with a brush to loosen the moss. Before using any chemicals, it’s a good idea to clear away any moss that’s already loose (and loosen the tougher moss to make it easier to clear later on). Use a scrub brush or a long-handled soft-bristle brush to lightly scrub your roof, focusing on mossy areas, and work from the top of your roof to ensure you don’t lift any shingles or tiles in the process. Try scrubbing your roof in small sections one at a time, and remember to be gentle! Scraping your roof or brushing too hard can crack and break shingles. Brushing can help remove some sections of moss before even applying the cleaner, allowing the cleaning solution to reach more of your roof.
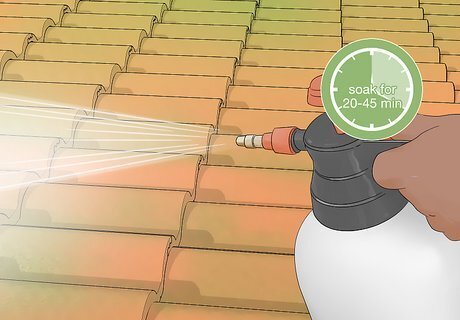
Apply your cleaning solution to the roof and let it soak for 20 to 45 minutes. Spray your solution across every area of your roof affected by moss. If you have a store-bought solution, read the manufacturer’s instructions carefully and leave it on your roof for the recommended time. If you have a DIY cleaning solution, let it soak on your roof for at least 20 minutes, and at most 45 minutes. Apply any of these DIY cleaners while your roof is still wet, or wet your roof again before applying the solution if you let it dry already. Shingles and tiles can be made from many different materials, from clay and asphalt to slate and metal. Check any store-bought moss removers to ensure they work effectively with the materials making up your roof.
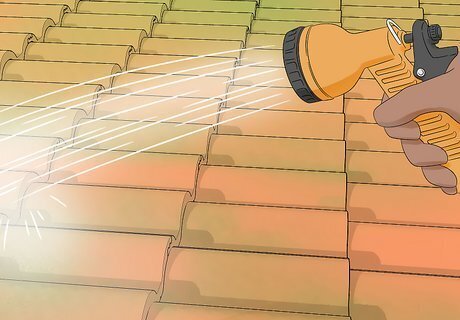
Rinse the moss off your roof with a hose on low pressure. After waiting at least 20 minutes (or waiting as directed for store-bought cleaners), bring your garden hose to the roof and rinse off the cleaning solution. It’s important to get off every bit of cleaner, so rinse thoroughly! Wash away the loosened moss as well, and be sure to keep the hose on a low-pressure setting. Once again, work from the top of your roof down. Combined with a low-pressure hose, this will prevent any shingles or tiles from being lifted or damaged as you wash. Some store-bought cleaners may tell you to leave the solution on your roof permanently rather than rinsing it off afterward, so be sure to check and see before grabbing your hose.

Remove the remaining moss gently with a brush or by hand. Finally, clear the last moss from your roof using your brush. If most of the moss is gone after rinsing, you can even carefully remove a few lingering pieces by hand. Since the moss will be dead at this point, it should come away from your roof much easier. Once you’re done scrubbing the roof, rinse it off one more time and let it dry. Consult with a professional roofer if the moss still proves difficult to remove after all this. They may have other ways to safely kill and remove moss without damaging your roof. Power-washing your roof isn’t a good idea, even if you’re dealing with tough-to-kill moss. If you power-wash your roof anyway, use the lowest pressure setting possible and ensure there are no damaged areas since power-washing can amplify the damage.
Preventing Moss Re-Growth
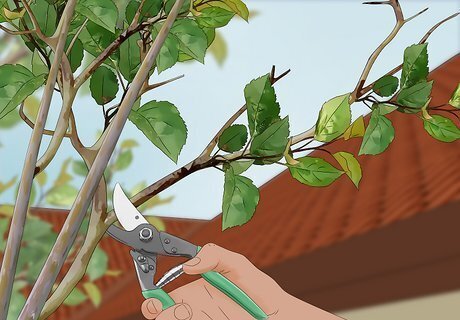
Prune branches above your roof to ensure it gets plenty of sunlight. Moss prefers growing in the shade, so shady areas of your roof are much more likely to develop moss over time. Natural sunlight can keep your roof nice and dry, preventing moss from growing there. Consider trimming back tree branches around your roof regularly to ensure that the roof isn’t too heavily shaded in the future.
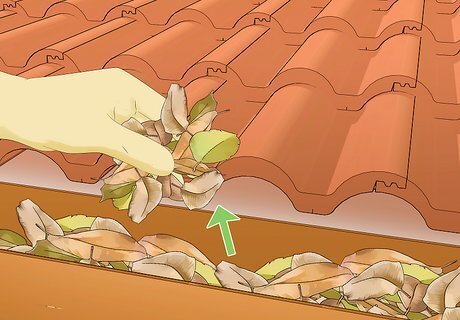
Keep your gutters free of debris and plant matter. When debris gets so thick that it clogs your gutters, water can spill over onto your roof—and moss grows best on wet shingles. The water from your gutters can also cause further damage by staining and rotting areas of the roof. Clear out your gutters twice a year to prevent roof damage and moss growth.

Install zinc strips on the roof's ridges to prevent moss from returning. Zinc can deter plants and moss from growing on the roof. Have zinc strips installed on top of your roof along its ridges; the water will wash tiny zinc particles down your roof when it rains. Those zinc particles will kill any moss or algae, ending any possible growth before it becomes a problem. It’s best to hire a professional to install zinc strips on your roof; they’ll know exactly how the installation should go and can safely complete the job. Copper strips have the same neutralizing effect on moss, but copper is typically more expensive than zinc. If you’re looking to keep things relatively inexpensive, go with zinc strips.


Comments
0 comment