views
Diagnosing the Problem
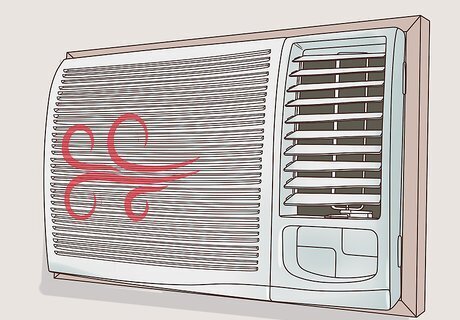
Check for vents blowing warm or room temperature air. This is a tell-tale sign that your unit needs a refill of refrigerant. However, a broken thermostat may cause the same problem. If it’s a refrigerant issue, the air temperature will steadily grow warmer over time because your unit is slowly losing refrigerant. If a broken thermostat or other issue is causing the warm air, the temperature of the air will probably spike or fluctuate.
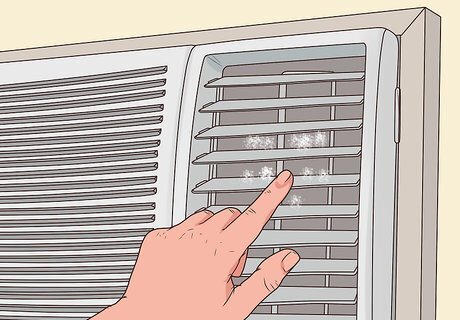
Look for ice on the coils. Peek through the front window of the AC unit to inspect the pipes inside. If the pipes and coils look frosty or ice-covered, this means you’re experiencing a leak and slowly losing refrigerant. The leak needs to be repaired by a qualified HVAC technician or you’ll continue to experience the same problem. Adding refrigerant without fixing the leak may further damage your AC unit.

Look for water accumulation on the floor near your furnace. Inspect the area around your furnace. If you see water pooling around it, this indicates condensation. Your coils were most likely icy, and now the ice has melted around the furnace area. The water can damage your furnace and compound your problems, so it’s best to have a qualified HVAC technician come out to inspect the issue.

Have a qualified HVAC technician repair any leaks. AC units are sealed tightly and the Freon should never leak. If you need to refill refrigerant, you probably have a leak. You will continue to experience the same issues until the leak is addressed. Adding more refrigerant is a quick fix, but eventually this will damage your unit.
Using Refrigerant Properly
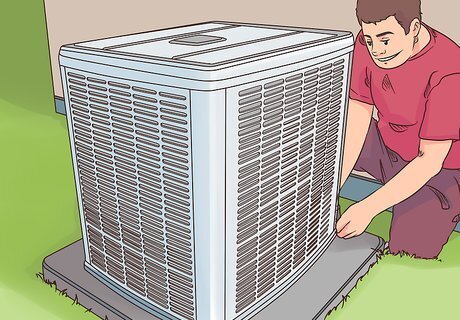
Schedule or perform routine maintenance before adding more Freon. Your AC’s air filter, blower wheel, evaporator coil, and condenser coil need to be cleaned before you “charge” your unit with more refrigerant. Adding more refrigerant to a unit with dirty parts can damage the AC. Dirty condenser coils are one of the most common issues in air conditioning. You should inspect the outdoor condenser unit before every cooling season, roughly in spring, for any signs of debris on the condenser coil fins. If the coil is clogged, turn the power off. Remove the protective grills from the sides and clean the coil with a garden hose.
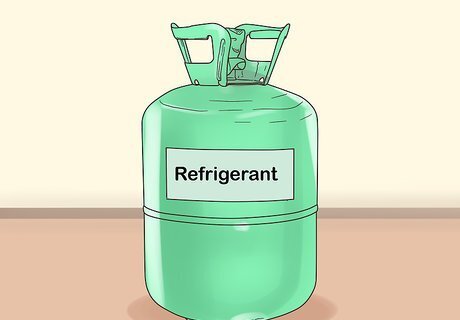
Choose the right refrigerant for your unit. Putting the wrong refrigerant in your unit can cause combustion, injury, and property damage. Check your AC manufacturer’s operating guide to find out which refrigerant your unit needs. If you don’t have the operating guide, check the electrical control box or the unit’s cabinet for the information. The 2 most common refrigerants are R-22 and R410A. R-22 is mostly used in older units and is slowly being phased out because it is an ozone depleting material. If your AC is leaking R-22, it’s important that you get the problem fixed as soon as possible. Since R-22 is in the process of being discontinued, the price for it has skyrocketed and will only continue to get higher.

Protect your eyes, skin, and lungs when working with refrigerant. Wear safety goggles and thick gloves when handling Freon. Never directly inhale any refrigerant; doing so can lead to sudden death. Some refrigerants are particularly hazardous and require respiratory protection -- read the packaging for more information. If you get Freon on your skin, rinse the area with water and seek medical treatment immediately. R-717 and R-764 refrigerants are extremely irritating to the eyes and lungs. R-717 is flammable. Handle with caution.

Make sure the outside temperature is above 55°F (12.7°C) before proceeding. Liquid Freon will automatically seek the coldest area of an enclosed AC unit between the furnace coil and the outside condensing unit. When outdoor temperatures are under 55°F, the coldest area of your system will most likely be the outside unit. The Freon will not behave properly in these conditions.
Adding Freon to the AC Unit

Consider having a professional perform this procedure. It is highly recommended that a qualified professional refill and recharge your AC unit. The procedure itself is dangerous, and if done incorrectly, you can damage your unit. Homeowners are permitted to add refrigerant in the U.S., but the Environmental Protection Agency (EPA) requires that anyone you hire to do the job have a professional certification. Proceed with caution if you decide to do this yourself. Improper handling of refrigerant can cause injury, death, explosions, and property damage.
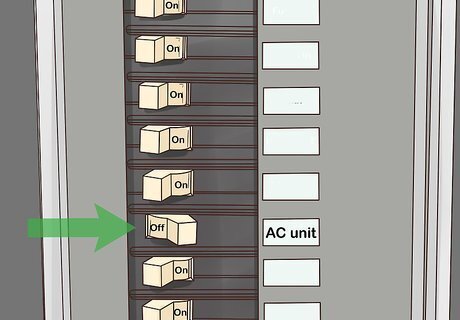
Turn off your AC unit at the thermostat and breaker. Go to the thermostat that operates your air conditioner. Turn it to the “off” position. Your unit will either have a fused disconnect or circuit breaker attached to it. If your unit has fuses, disconnect them. If your unit has a circuit breaker, turn the breaker off.
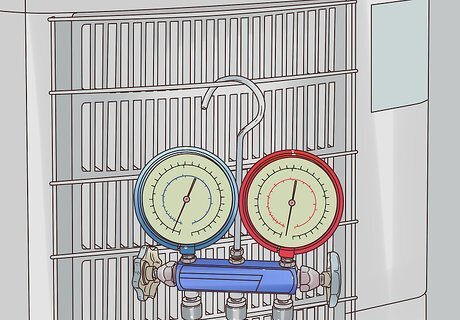
Hook up the refrigerant gauges to the valve connections. There are 3 valve connections attached to your unit’s hardware, with a valve on each side (left and right). Attach the gauge with the blue hose to the low-pressure valve on the left side. Attach the gauge with the red hose to the high-pressure valve on the right side. Leave the center valve open for now; that is where you’ll connect the yellow hose to feed the refrigerant into the system.
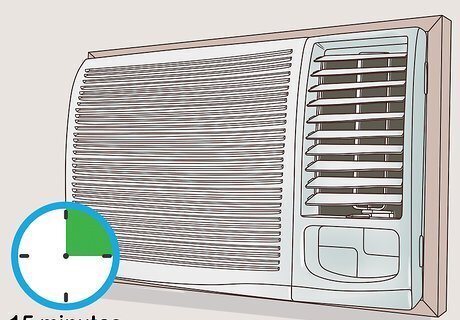
Turn the AC unit back on and wait about 15 minutes. After you turn the AC back on, the unit will need to run for several minutes so that it can stabilize itself. You won’t get an accurate reading on the refrigerant gauges until the AC has stabilised.
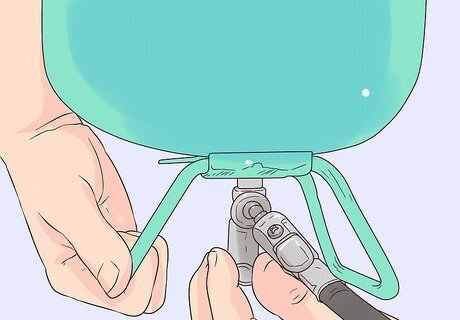
Open the canister of refrigerant by twisting the spout on the bottom. Attach the yellow hose to the refrigerant canister’s valve and attach the other end to the middle valve connection on your gauge. There will be a small knob on the bottom of the refrigerant canister. Twist it several times to open the refrigerant. The middle valve is the one between the blue and red valve connections.
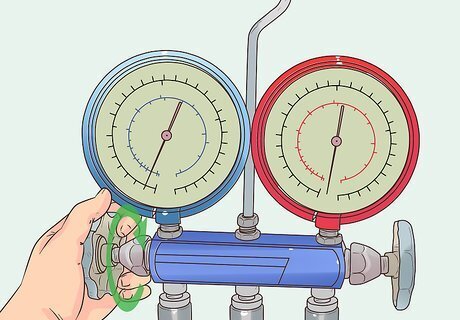
Open the blue low-pressure valve on the left side. Open it for a few seconds, then close it. Open it for a few more seconds, then close it again. Continue doing this. You want to slowly allow small amounts of the refrigerant into the unit at a time until you reach your target subcooling temperature.
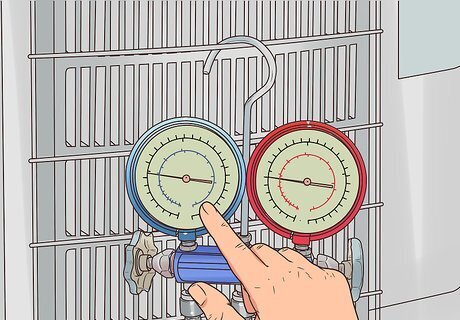
Watch the gauge until you reach the target subcooling temperature. The target subcooling temperature is stated on the outdoor unit rating plate. Use the gauge to monitor the temperature so you know when to shut the valve. For example, the rating plate might say something like “10 degree TXV sub-cooling."
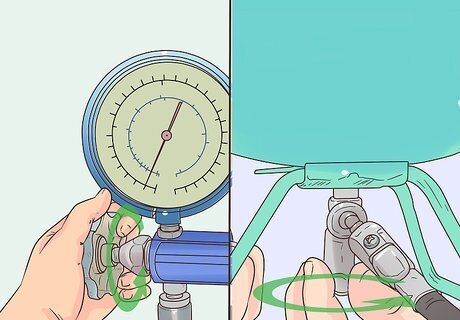
Turn off the valve and disconnect the gauge set. Once the target subcooling temperature is reached, turn the valve all the way off. Twist the knob on the refrigerant canister to stop refrigerant from going into the hose. Disconnect all of the hoses and the gauge set from the AC unit. Since the unit is running during this process, there's no need to restart your unit after adding refrigerant.
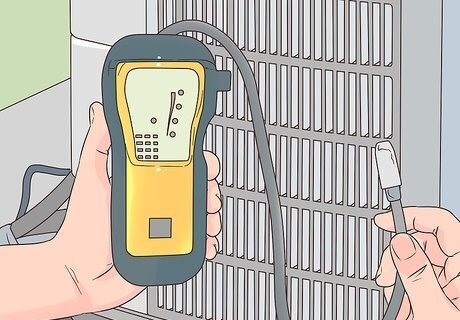
Perform an electronic leak test to ensure safe operation. You can buy an electronic leak detector at most home improvement stores and online. Each detector is slightly different, but in general you just need to run the tool along the refrigeration components to scan for a leak. If you don't feel qualified to do this yourself, have a certified HVAC technician come out to test the unit for you.


Comments
0 comment