views
Putting on the Reed
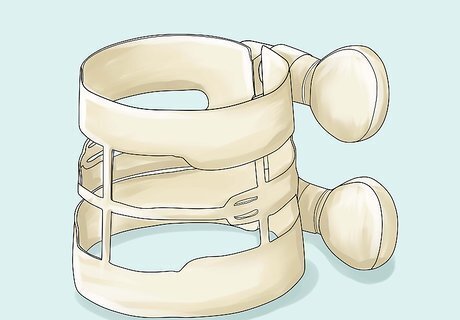
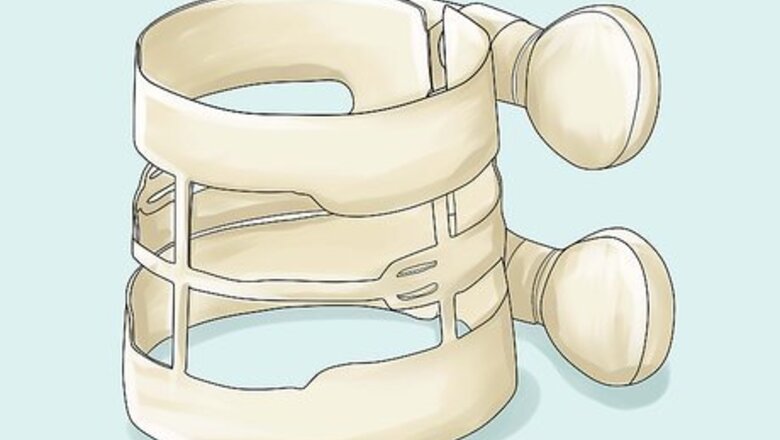
Make sure you have a ligature. Ligatures can be made of metal or leather - metal ones are silver colored and usually tighten with two screws. Leather ones are more expensive, are usually black, and normally have only one screw. They usually come with the instrument, but can also be bought separately. Ligatures are universally designed for right-handed players: the screw you turn will point to your right side. Metal ligatures are cheaper, and can work just fine, but tend to have a tendency to "bite" the reed (create indentations on the bottom where the clamps are that make it difficult to change the positioning of the reed after being played once) Leather ligatures are more expensive, but often can create a better sound, and do not bite the reed. The system with one screw is easier and quicker to adjust, and the pressure on the reed is more evenly distributed. They usually come with more expensive instruments, or can be bought separately.
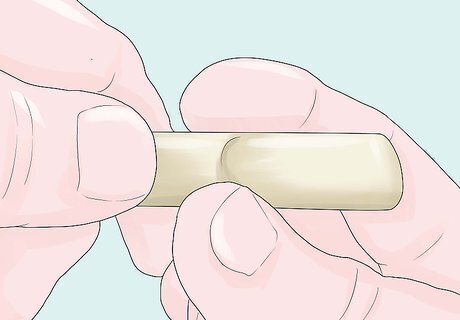
Decide on a reed. Look at color (a green looking reed will not play well, but a yellow or golden brown one will), condition (check for cracks or splits), and the grain of the cane (it should all be going the same direction and should be relatively smooth). The article here will detail this further. Also, be sure that the reed is the strength you're used to, or, if you play with different ones, that it fits the current playing situation.
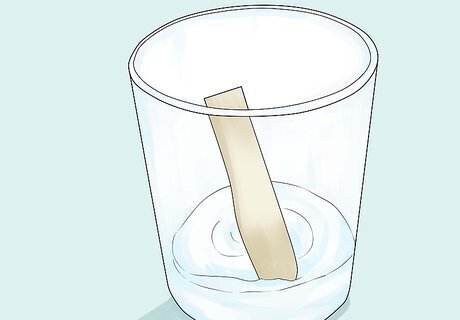
If you wish to wet your reed, wet it only in water. The saliva and acids in your mouth deteriorate the reed. Constantly dry the reed once warmed up because remember, saliva is constantly distributed on the reed as you play. Also, dry by sliding the tip of your finger along the length of the reed toward the point. Reeds are essentially thousands of little straws, so sliding along the reed allows all the straws to point the same way, allowing smoother playing.
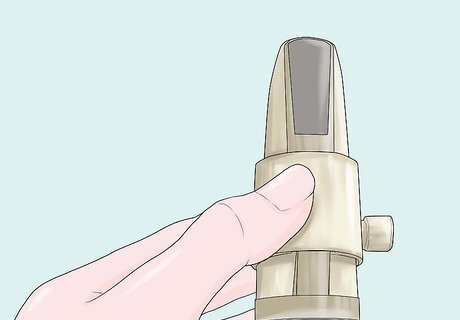
Slide the ligature over the mouthpiece until it's almost in its final position, with the screws loosened a bit.
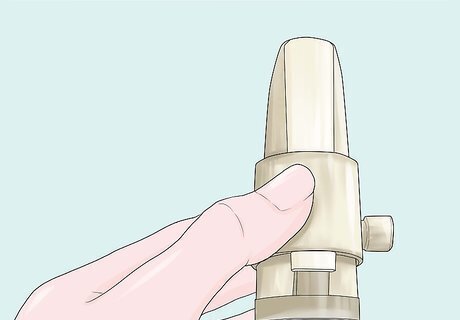
Carefully slide the wet reed under the ligature. Line it up so that it is perfectly centered, the edges are in line with the rails on the mouthpiece, and you can just barely see a tiny sliver of mouthpiece over the tip of the reed.
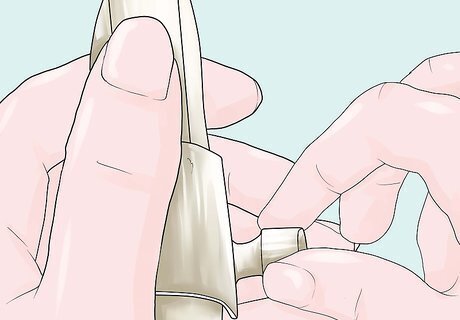
Slide the ligature down to about the bottom of the reed and tighten it just enough to hold the reed snugly, but not enough to hold it too much (which can stifle the vibrations of the reed), or to break the ligature. Many reeds have a vibration line visible on them. Try to get the top of the ligature below this line to allow the top of the reed the full range of vibration.
Removing the Reed
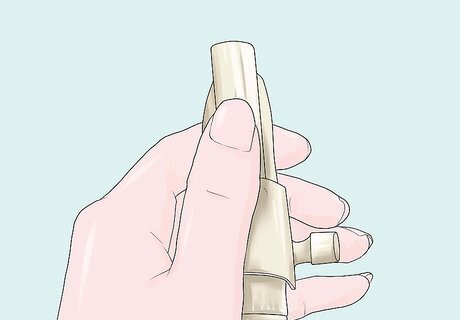
Unscrew the ligature slightly, and carefully slide the reed out from underneath it.
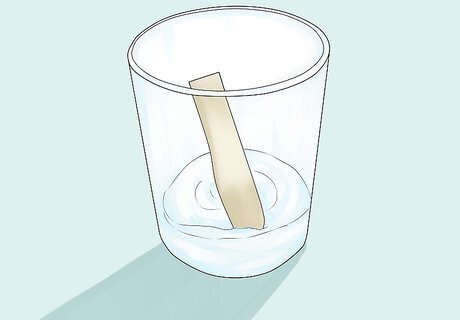
Take the reed off and wipe it (if necessary) gently to dry it. You can let it soak in clean water for a while (which will extend the life of the reed).
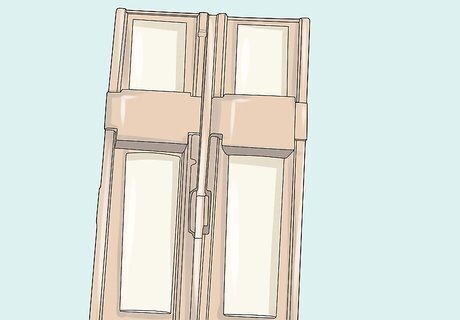
Put the reed into a reed holder until you use it again. A reed holder gives the reed a safe place to sit while it dries, and lets you carry more than one reed at once.
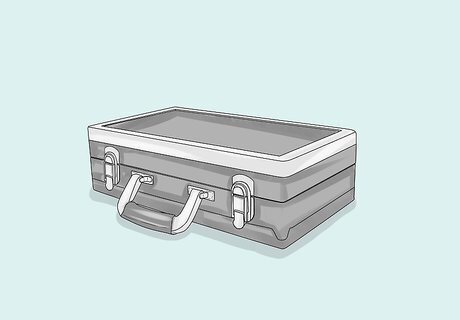
Take the rest of the clarinet apart and put it back in its case, leaving the screws on the ligature a bit loose, to make it easier to put a reed on the next time.


Comments
0 comment