

Installing Tor
Understand what Tor is. Tor is a privacy first browser that encrypts all of your information, and routers its traffic through multiple places before reaching its destination. This allows Tor to circumvent all internet filters, and it prohibits monitoring of your traffic. Tor also deletes all of your browsing history when it is closed. Some sites may not work in Tor. For example, Wikipedia does not allow you to edit articles if you are using Tor. You may want to consider not using Tor as your main browser. For example, keep all of your regular browsing on your current browser, but use Tor for any browsing that you want to hide.
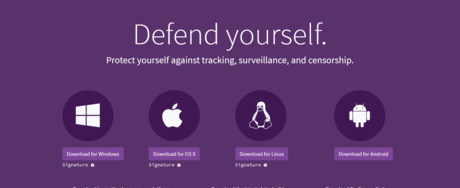
Download Tor. Navigate to the Tor download page and select your operating system. Once downloaded, open the installer. If you are using Android, you can download Tor from the Google Play store. Due to limitations, Tor cannot be installed on iOS devices like iPhones or iPads.
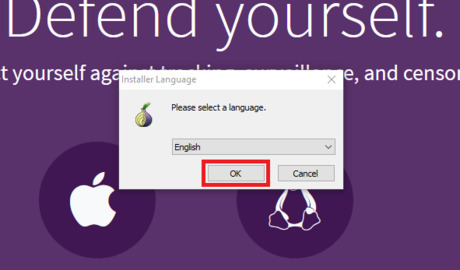
Select your language. Then, click OK.
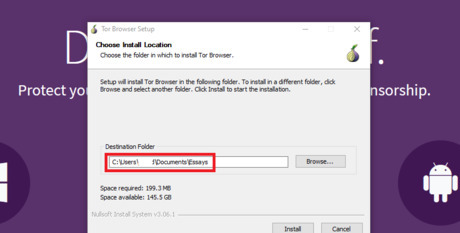
Select your install location. By default, Tor installs on your desktop. This is not good, since this will make its installation readily apparent. To fix this, in the destination folder box, delete, Desktop\Tor, and change it to something like C:\Documents\Essays. This should hide it. Make sure to change "Essays" to something else. This will protect you in case your parents read this article. Also, you should hide this folder.

Click Install. This will begin the Tor installation.
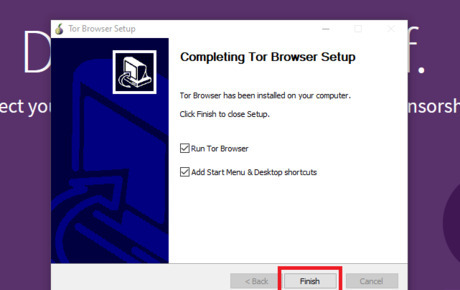
Click Finish. This will start Tor and create shortcuts. The shortcuts will be hidden in latter steps.
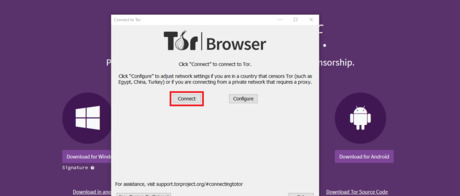
Click Connect. This will connect you to the Tor network.
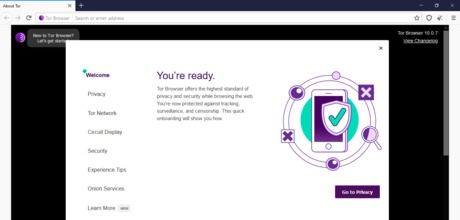
Start browsing. Tor is now installed, and you can start browsing anonymously.
Hiding Tor
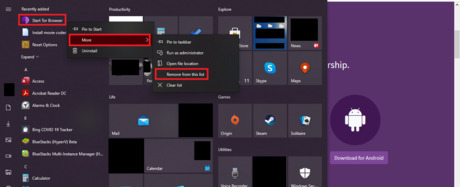
Remove Tor from the start menu. Open start Windows Start. Right click "Start Tor Browser", hover over "More", and then click "Remove from this list". This will remove Tor from the start menu.
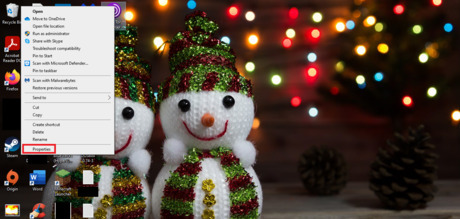
Disguise the shortcut. Right click the short cut, and select properties.
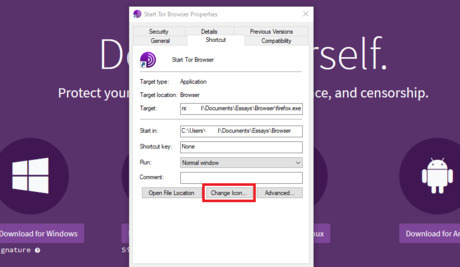
Click Change Icon in the properties window.
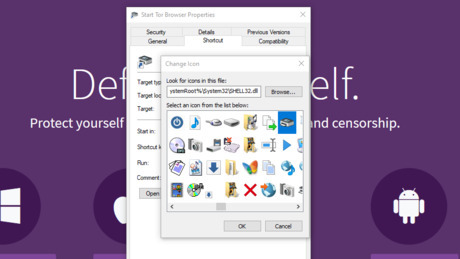
Change the icon. You will see a limited selection of icons, but you can view more by typing in %systemroot%system32imageres.dll into the "Look for icons in this file" text box (you may see a warning, but just click OK). Chose a random icon from this list, then, click OK twice.

Rename the shortcut. Right click the shortcut, and then name it something related to the icon that you chose. Also, hide the folder that Tor is installed to by following the steps in Method 4.
Setting Passwords
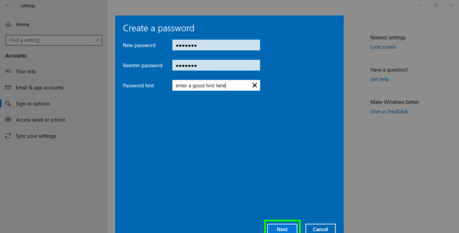
Set a password. Setting a password is the simplest thing that you can do to protect your computer. You may be forced to give out your password, but at least it will let you know when your parents access your computer. You can also set a password on your Mac. Change your password every 90 days.
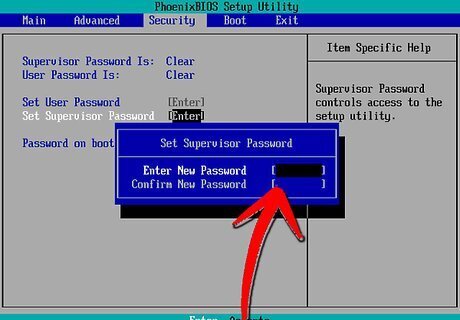
Set a BIOS password. A BIOS password is much stronger than a Windows password, and it can't be easily circumvented.
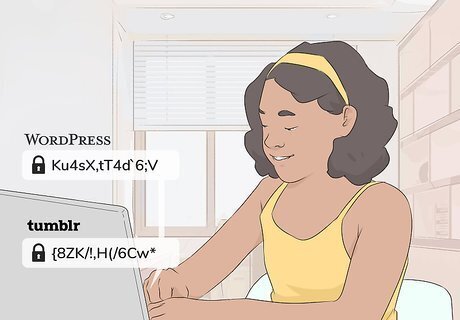
Use a unique password for all of your online accounts. Not only will it stop hackers, but it will also stop unwanted snooping from your parents or siblings. Also, consider using wrong answers for security questions on websites.
Hiding Files
Understand that Hiding Files is better than setting passwords. While it is important to secure your whole computer, most files, like schoolwork, don't need to be protected. However, you may have some files that you want to hide. Hiding them will keep them secure.
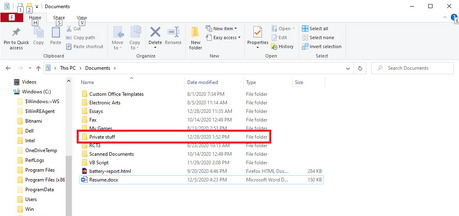
Create a folder with the files that you want to hide. Name it something nonsensical, like "I like pie". Make sure to remember it. Don't actually use "I like pie." as the folder name. Your parents might find this article.

Open Command Prompt. Press ⊞ Win+R, type in cmd, and then click OK. If Command Prompt is disabled, try to open Powershell.
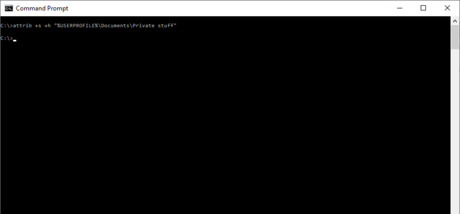
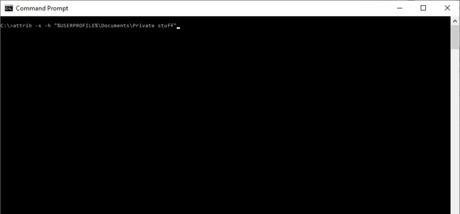
Type the hide command. Then, press ↵ Enter. The command can vary based on where your folder is. Below is what to enter depending on where you put the file, replace "(FOLDER NAME)" with the name of your folder: If you put the file in the documents folder, type attrib +s +h “%USERPROFILE%\Documents\(FOLDERNAME)”. If you put the file on the desktop, type attrib +s +h “%USERPROFILE%\Desktop\(FOLDERNAME)”. If you put the file in the pictures folder, type attrib +s +h “%USERPROFILE%\Pictures\(FOLDERNAME)”. If you put the file anywhere else, then you will have to enter the file path after attrib +s +h, and put it in between quotes. This article can help you find the file path.
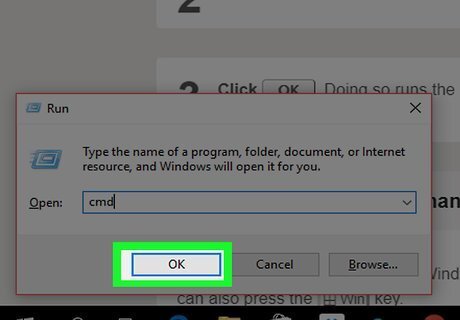
Open Command Prompt. Press ⊞ Win+R, type in cmd, and then click OK. If Command Prompt is disabled, then use Powershell.
Run the unhide command. To do this, simply run the hide command again, but instead of plus signs, use minus signs. Then, press ↵ Enter. Below is what to enter depending on where you put the file, replace "(FOLDER NAME)" with the name of your folder: If you put the file in the documents folder, type attrib -s -h “%USERPROFILE%\Documents\(FOLDERNAME)”. If you put the file on the desktop, type attrib -s -h “%USERPROFILE%\Desktop\(FOLDERNAME)”. If you put the file in the pictures folder, type attrib -s -h “%USERPROFILE%\Pictures\(FOLDERNAME)”. If you put the file anywhere else, then you will have to enter the file path after attrib -s -h , and put it in between quotes. This article can help you find the file path.
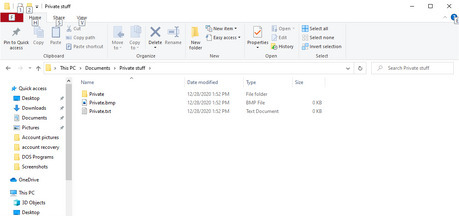
Open the folder to view your files. Remember to re-hide it when you are done.


Comments
0 comment