
Choose a formula. This recipe makes approximately 50 8x10 inch prints. The cyanotype is made up of two simple solutions: Solution A: 25 grams (0.88 oz) Ferric ammonium citrate (green) and 100 ml. water. Solution B: 10 grams (0.35 oz) Potassium ferricyanide and 100 ml. water.
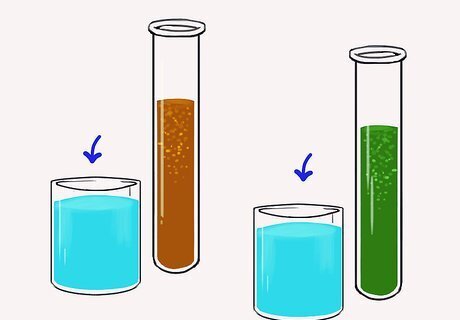
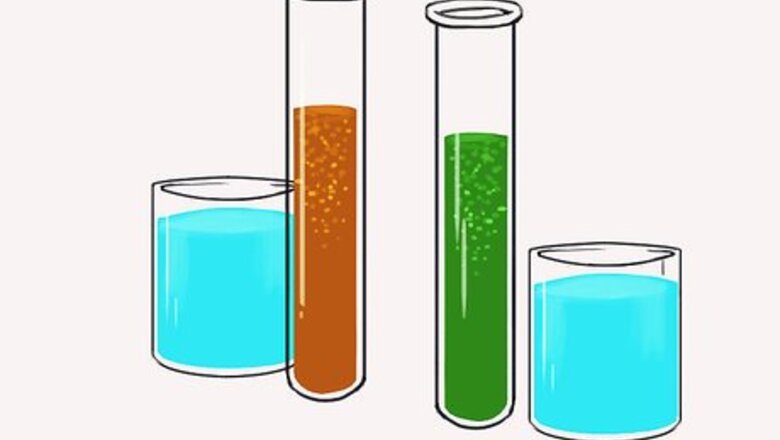
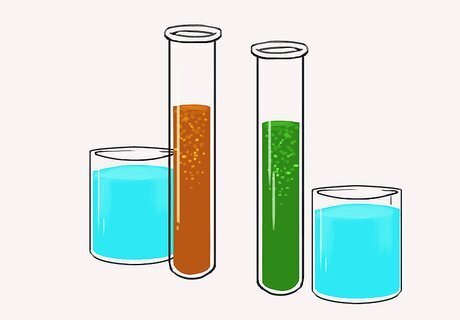
Mix the chemicals. The cyanotype is made up of two simple solutions.Print Photographs in the Sun Using the Classic Cyanotype Process Step 2Bullet1.jpg Potassium ferricyanide and Ferric ammonium citrate (green) are mixed with water separately. The two solutions are then blended together in equal parts.Print Photographs in the Sun Using the Classic Cyanotype Process Step 2Bullet2.jpg Dissolve the chemicals in water to make two separate solutions.Print Photographs in the Sun Using the Classic Cyanotype Process Step 2Bullet3.jpg Add Ammonium ferric citrate to water into one container and Potassium ferricyanide to water in another.Print Photographs in the Sun Using the Classic Cyanotype Process Step 2Bullet4.jpg Stir with a plastic spoon until the chemicals dissolve.Print Photographs in the Sun Using the Classic Cyanotype Process Step 2Bullet5.jpg Mix equal quantities of each solution together in a third container.Print Photographs in the Sun Using the Classic Cyanotype Process Step 2Bullet6.jpg Unused solutions can be stored separately in brown bottles away from light, but will not last very long once they have been mixed. Dispose of any unused chemicals in a sensible and environmentally friendly way!Print Photographs in the Sun Using the Classic Cyanotype Process Step 2Bullet7.jpg
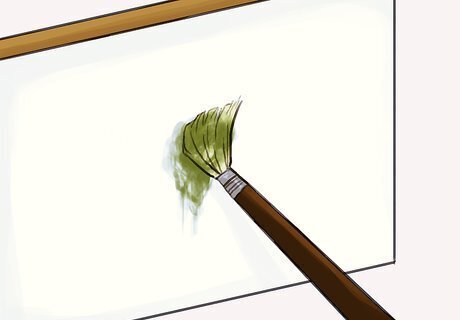
Prepare the canvas. Using a brush, simply paint the chemicals onto the material. Paper, card, textiles or any natural material can be used to print on.Print Photographs in the Sun Using the Classic Cyanotype Process Step 3Bullet1.jpg Decide how big your print is going to be, and cut your material to size.Print Photographs in the Sun Using the Classic Cyanotype Process Step 3Bullet2.jpg Make sure your working area is dimly lit, or lit with a low-level tungsten bulb. Once the material is coated, leave it to dry in the dark.Print Photographs in the Sun Using the Classic Cyanotype Process Step 3Bullet3.jpg
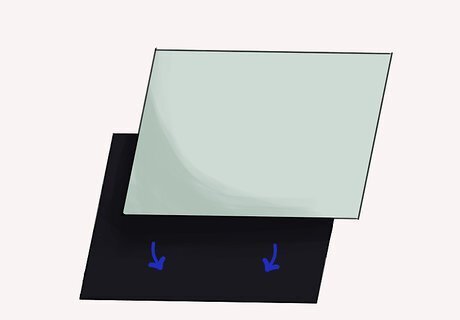
Printing the cyanotype. Print a cyanotype by placing your negative (to reproduce a photograph) or object (to make a photogram) in contact with your coated paper or fabric.Print Photographs in the Sun Using the Classic Cyanotype Process Step 4Bullet1.jpg Sandwich it with a piece of glass.Print Photographs in the Sun Using the Classic Cyanotype Process Step 4Bullet2.jpg Expose the sandwich to UV light. Natural sunlight is the traditional light source, but UV lamps can also be used.Print Photographs in the Sun Using the Classic Cyanotype Process Step 4Bullet3.jpg A photogram can also be made by placing items on the surface. Plants, decorative items or other objects can be used to create silhouettes or interesting shapes. Exposure times can vary from a few minutes to several hours, depending on how strong your light source is or the season where you are printing.

Processing and drying. When the print has been exposed, process your print by rinsing it in cold water. The wash also removes any unexposed chemicals.Print Photographs in the Sun Using the Classic Cyanotype Process Step 5Bullet1.jpg Wash for at least 5 minutes, until all chemicals are removed and the water runs clear.Print Photographs in the Sun Using the Classic Cyanotype Process Step 5Bullet2.jpg Oxidation is also hastened this way - bringing out the blue color. The final print can now be hung to dry and be admired.


Comments
0 comment