views
Forming the Footings for Your Foundation
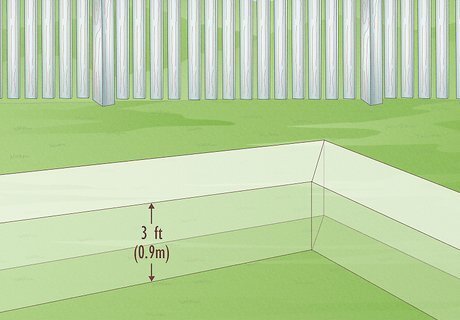
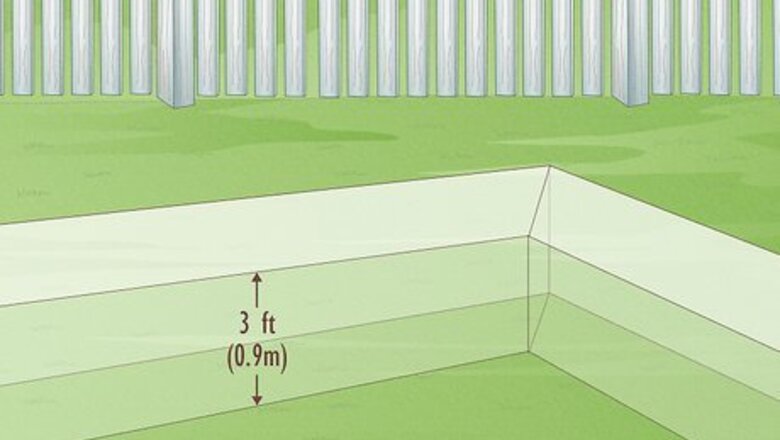
Determine the depth of your foundation. Typically these are around 3 feet deep (0.9m) into the soil. However, there are a number of factors to consider. If you are digging in high moisture soil, you will need to dig further into the ground. The same goes for if your foundation will be near/on a hillside. There is a simple way to test moisture levels in your soil. Scoop an empty coffee can into the soil, leaving three inches of space at the top of the can. Fill up the rest of the can with water. Wait until the water soaks into the soil, and repeat. Time how fast it takes the water to soak in. Anything slower than 1 inch per hour means you have very low moisture levels. Instead of using home methods of measuring, sometimes it is best to call in a professional. They will be able to provide all of the diagnostics tests which will tell you everything you need to know about the soil you plan to use. They will even be able to measure the flatness of your soil, and whether or not you need to adjust your foundation's height.
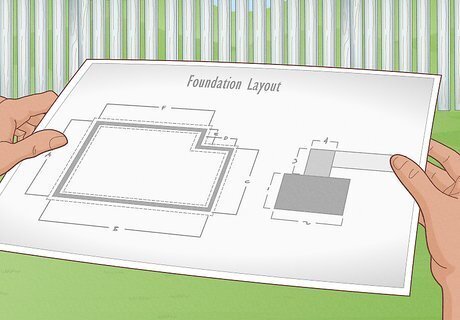
Lay out a master plan for your foundation. This is critical to do before you get started. You need to contact the proper government officials to give you the proper permits and licenses that will allow you to lay your foundation, and construct your building. You will also need to get the property surveyed by a contractor, who can give you more valuable information about the land you are building on.
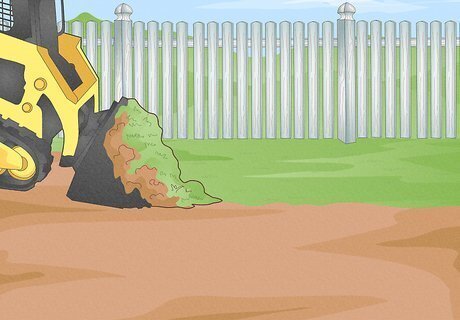
Clear the area around your foundation. You should clear grass, roots, and any surrounding debris. This is also a great time to use the survey of your property to determine the height of your foundation. If the planned spot for your foundation is not level, use a backhoe, or shovel to level the area off.

Call 811. Before you dig any holes, it is important to call 811. This is the Digline and you can use it to request that utility companies come out to the site and mark areas where any pipes or wires might be. This will help to ensure that you do not damage any of the pipes or wires running underground and increase the safety of your project. Call at least a few days before you plan to start digging.
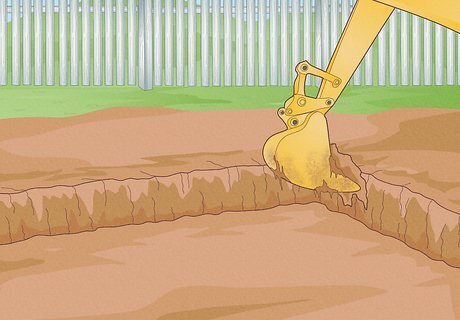
Use a backhoe to dig your foundation. You can use a shovel, but it will take longer, and will not be as precise. The hole for your footings has to be bigger than the foundation, at least 2 feet on all sides. The extra room allows for you and whomever you are working with to get in the holes and lay down the footings. The dimensions of the perimeter hole should be at least 2 feet wide by 2 feet deep, preferably 3 feet deep. Remember that you are not digging the entire area for your planned building. You are just digging the perimeter of the building. The area where your building will be is formed in later steps. After you are done carving out the area to lay the foundation, use a shovel to clear out any excess dirt and debris that might still be laying there.
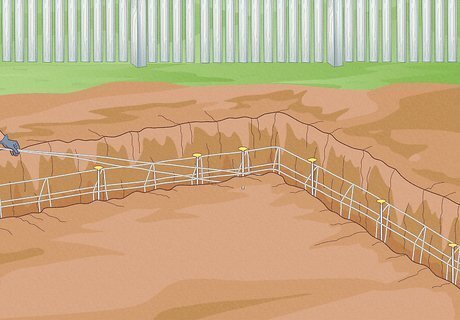
Set rebar for your footings. This is critical because your concrete needs support beams, otherwise it will crumble. Buy rebar which fits your planned footings. You can then lift up the rebar by attaching grade pins to them. These can be purchased at most hardware stores. Set your rebar in first. Then add the grade pins on top of the rebar. Set each grade pin about 2 feet apart from one another, and a foot away from the corners. Then lift up the rebar and attach it to the grade pins. There should be a manual hook on the grade pins to attach the rebar. Do not use a tie or string, which can cause damage to the footing. Make sure that the rebar is equidistant from the base of your opening, as it is from the sides.
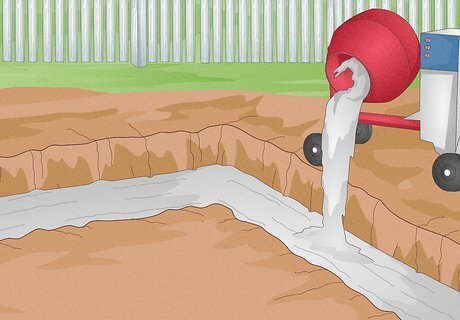
Pour in initial layer of concrete. This layer of concrete should at least come up 1 foot, if not more. You do not want to make huge walls on top of a small initial layer. The standard is generally 16-20 inches of concrete. Make sure to use the correct mixture of concrete. If there is not enough water, or too much mix, the concrete will not dry correctlyHow to Make Concrete
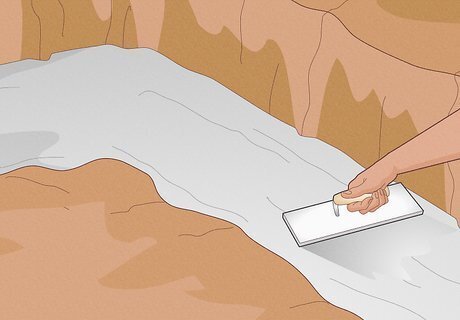
Use a hand float to smooth over concrete. Make sure there are no cracks or crevices left on the surface layer of the concrete. This is important because the concrete walls you will add later need a smooth, even surface to rest on. After the concrete dries, you can use a level to make sure that the area is completely even.
Building the Walls of Your Foundation
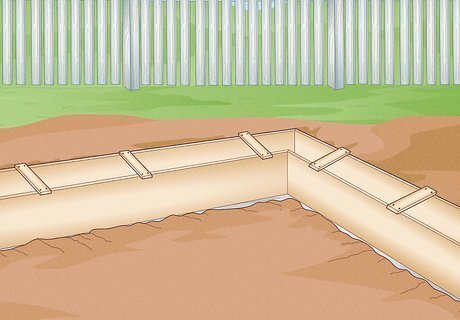
Set up your wooden frames. These will be used to set the walls of your foundation. Each of these boards will need to be about 2 feet by 10 feet (an inch or two thick). The shorter sides of the boards will sit down, on top of the initial concrete layer. You will need enough boards for both the inside and outside of your trench footing, so that there is no space in between the boards. You can add in a little dirt on the outer part of the outside boards to help them stand firm and upright. Use metal bars outside of the wooden frames in order to hold the boards tightly together. You can also cut boards or plywood strips 6 to 8 inches wide and 2 to 3 feet long and use duplex nails to span across the joints of your foundation boards to hold them together. Be sure all of your staking is sturdy or you risk “blowing out” the boards and losing all of the concrete. Use plenty of stakes to prevent this from happening.
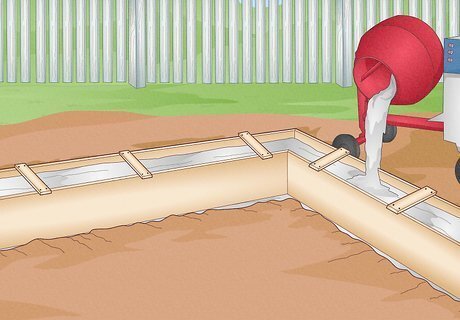
Mix concrete and pour your foundation walls. Once more, make sure that you have the correct mixture of concrete. How to Make Concrete In general, you should form the entire job and pour all the concrete at once with a concrete truck. How much wall is exposed over top of the ground depends on the level at which your building will rest.
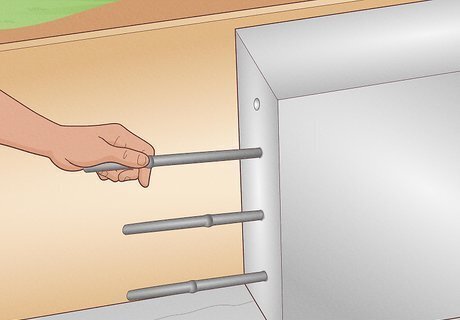
If you are pouring next to an old foundations this should be pinned to the new foundation wall. Drill 3-4 holes about 6 inches apart. Do this to each side. Insert a pin into each of these holes. This is important because if you do not insert the pins, your walls can shift, causing the building to collapse. Pour the second and third walls coming off of the initial wall. The concrete will form over the pin and join the walls together. Reinsert pins into the sides of the second and third walls.
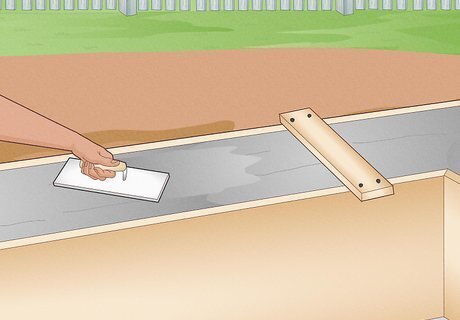
Smooth over the tops of the concrete walls. You can use a hand float and go over the tops, making sure there are no cracks and crevices. You should also use an edger to go around the edges and smooth them over.
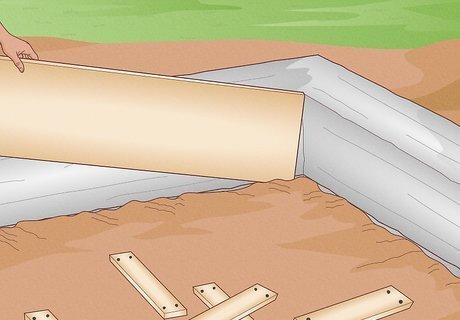
Remove the wooden frames. Let your concrete dry, and then remove the frames. You will want to do this soon after the concrete dries, otherwise the wooden frames can get stuck. Try to pull them up from the top, so as to not damage the newly poured foundation walls.
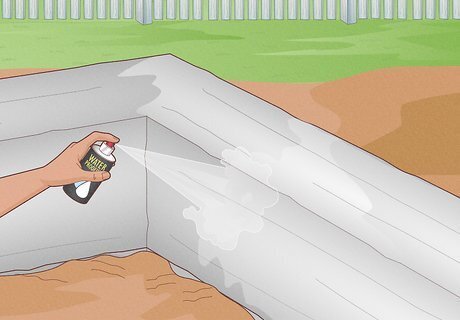
Spray your foundation walls with a waterproof coat. These sprays can be found at most hardware stores at very low prices. It is basically a can of spray cement. Adding this extra layer of protection will prevent water and other liquids from damaging your foundation. Make sure to spray on both sides of the wall.
Pouring Your Foundation
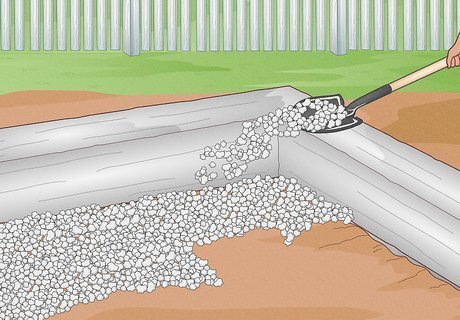
Dump gravel, sand, and/or crushed rocks onto your foundation space. This is the space between the newly poured foundation walls. Use a rake to disperse the gravel evenly across the space. This should be a layer no more than 1 inch thick. If you are using gravel to fill up the foundation and pour a slab on top, then the gravel should be 6 to 8 inches deep. You will also need to use a plate compactor in different directions until the gravel is well compacted. Next, add another 6 to 8 inches of gravel (called lifts) and repeat the compaction until the gravel is 4 to 6 inches from the top of the wall for the slab depth.
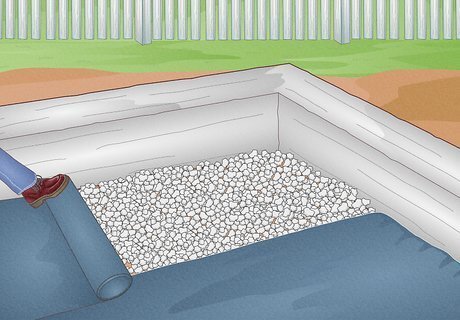
Add a polyethylene sheet over top of the gravel layer. This will act as a vapor barrier between the soil and the foundation. This prevents evaporated moisture from rising up into your foundation and causing cracks. It is best to purchase a custom made polyethylene sheet that is the exact size of your foundation space.
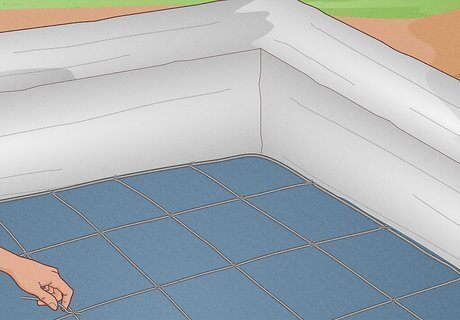
Install the wire mesh and rebar over your vapor barrier. The specifications of thickness, width and other factors is dictated in local building code regulations. The wire mesh will hold your concrete together, and prevent cracking. You can also add in bar chairs which will prop up the wire mesh. These bars are inserted directly into the plastic sheeting. You will need one every two to three inches.
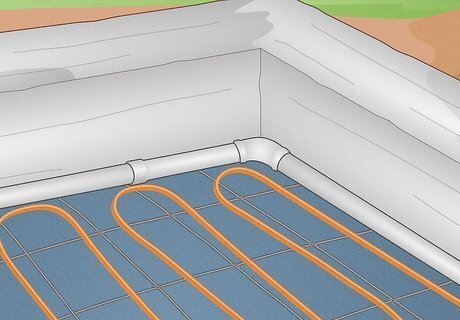
Add in your radiant floor heating and drainage pipes. The drainage pipes are set on the outside edges of your foundation. If you do not put these in, water can build up underneath your structure and damage your foundation. Make sure you check whether your building will be using radiant-in-floor heating. This will need to be installed at this level as well, right above the polyethylene sheet.
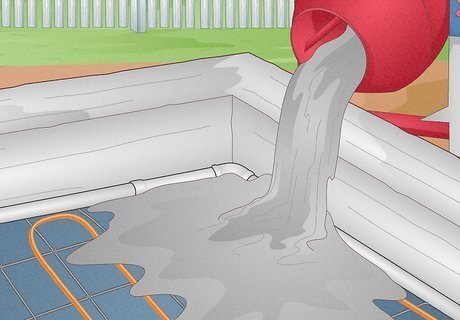
Mix concrete and pour the foundation. Make sure that the consistency of your concrete is correct. How to Make Concrete You can use a bull float to smooth over the upper surface of the foundation. Then use an edger to smooth out the edges. If there are smaller inconsistencies in the concrete, wait for the concrete to dry slightly. Then sit on top of a piece of foam (on top of concrete), and use a hand float to work out the smaller details.
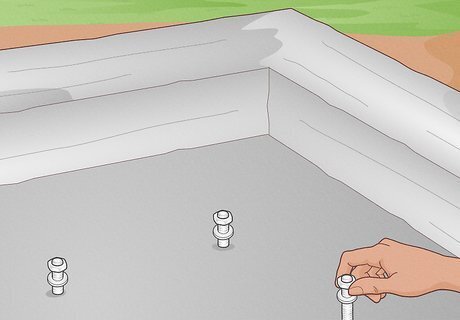
Insert anchor bolts before your concrete dries. These bolts can be bought at your nearest hardware store. Anchor bolts are important because they will secure the building to the foundation slab. About half of the anchor bolt should stick out of the concrete. Place these one foot apart from one another, and one foot from the corners.
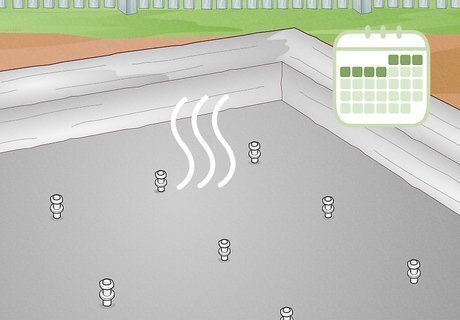
Wait 7 days before building for curing. There is no need to wait for your foundation to settle into the ground because you should build on undisturbed soil.





Comments
0 comment