views
Design the Template
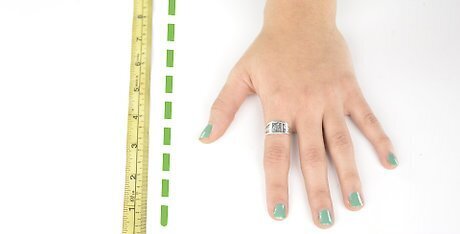
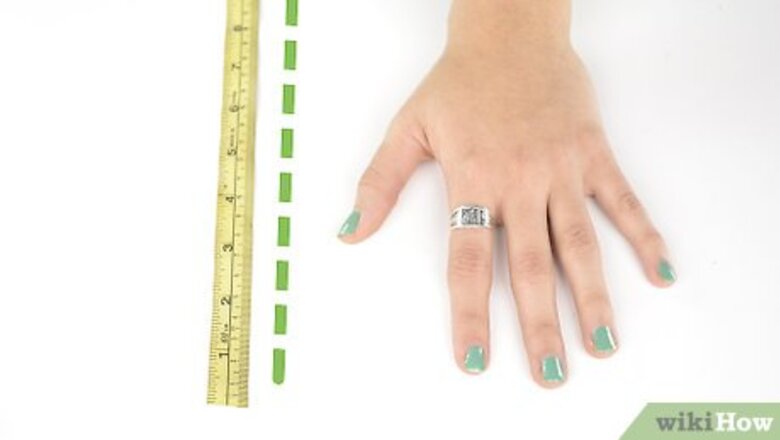
Take measurements. Measure the length of the hand when opened, from wrist to fingertip. Measure the side width of the largest finger, as well. Since hand size can vary by age, gender, and genetics, you should take measurements based on the hand of the intended wearer to ensure the best possible fit. Write down the length of the hand when opened flat. The length of each claw blade should be one and a half times longer. For example, if the hand is 7 inches (18 cm) long, the claw blade should be 10.5 inches (27 cm) long. Write down the side width of the largest finger. The width of each claw blade at its base will need to match this width with an additional 1 inch (2.5 cm). For example, if the side width of the largest finger is 1 inch (2.5 cm), the base of the claw needs to be 2 inches (5 cm).
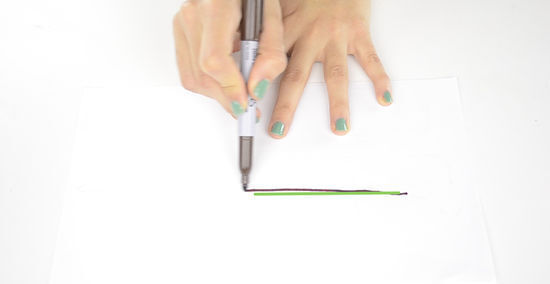
Sketch the curved blade onto plain paper. The claw template should look have a triangular shape, but each long side of the triangle should be slightly curved. The base should remain straight. Use your calculated measurements for the length of the claw and the width of the base. Both curves should open in the same direction and should share the same general arc. The convex edge will be the top of the claw, and the concave edge will be the bottom.
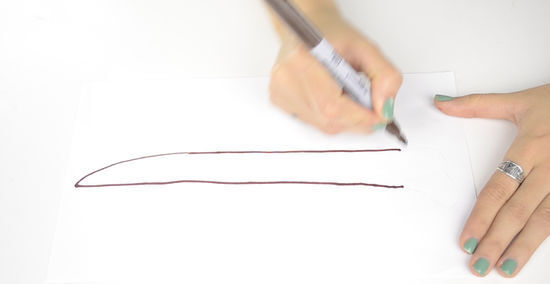
Remove a notch from the base. Cut a curved indentation out of the top edge of the base. The length of this indentation should match the side width of the largest finger. The depth of this indentation should match half the side width of the largest finger. Note that you should have 1 inch (2.5 cm) of undisturbed base at the bottom of the claw. You can round off the edges, if desired, but it should otherwise remain intact.
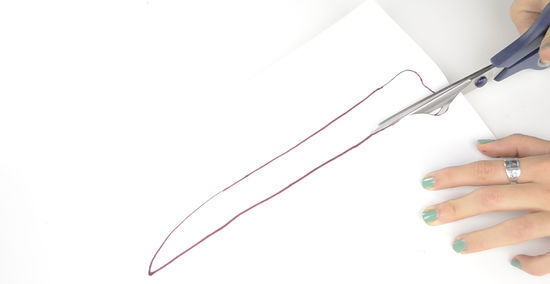
Cut out the template. Use scissors to carefully cut around the perimeter of the entire template.
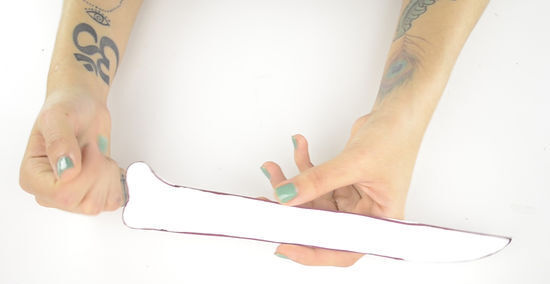
Test and adjust. Slide the template in between two fingers and examine the way it looks. Make any necessary adjustments to improve the fit. The curve at the base of the claw should sit comfortably between your fingers. The length of the claw should seem balanced with the length of your hand.
Create the Claws
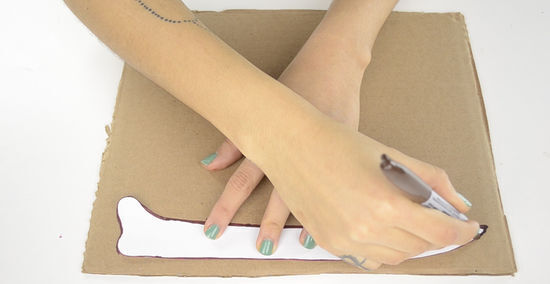
Trace the template onto cardboard. Place the claw template at the bottom edge of the sturdy, white collage board. Use a ballpoint pen to trace around the entire perimeter of the claw, copying the shape onto the board. Trace five more copies of the template onto the bottom half of the board. Make sure that you only use half of the board, however, since you'll need the other half later. Collage board is ideal since its sturdy enough to last and has one smooth side. If you don't have collage board, you could try using another type of sturdy cardboard or dense craft foam. Card stock can also work in a pinch; the resulting claws will be quite flimsy, but they'll also be child-safe.
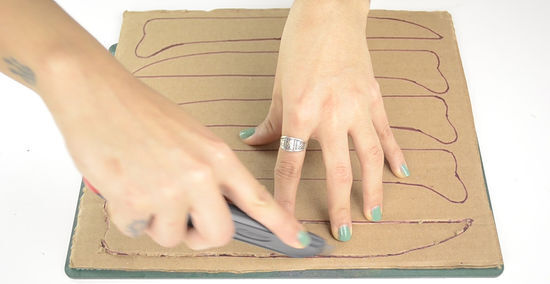
Cut out the claws. Using a utility knife, cut around the outline of all size cardboard claws. Place the board over a cutting mat while you work. If you don't use a cutting mat, the knife can scrape the work surface beneath the board.
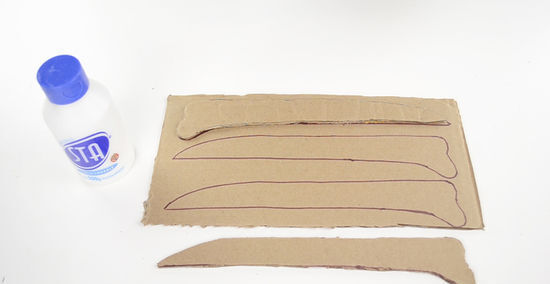
Glue each claw onto additional cardboard. Apply craft glue to one side of the first claw. Position it over the bottom edge of the remaining cardboard, then press firmly to stick it into place. Repeat with the remaining five claws. Space them relatively close together so that all six fit onto the remaining piece of board. If you use collage board or another coated board, stick the two rough sides together, leaving the smooth sides pointing out.
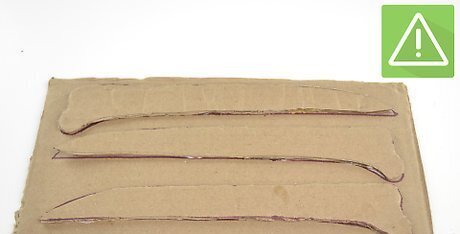
Let everything dry. Wait for the glue to dry on all six claws. The two layers should be firmly stuck together before you continue to the next step.
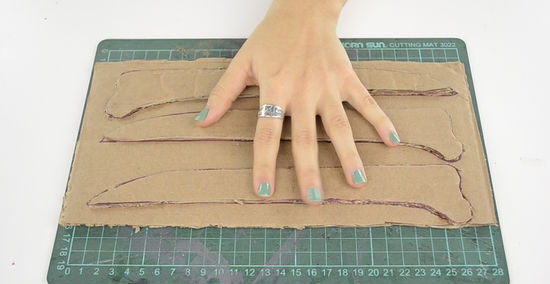
Cut out the claws again. Use the utility knife to cut around the perimeter of each claw once more, sticking closely to the original edge of the top layer. When finished, you should have six double-sided claws. Even if the claws feel dry, it's a good idea to place them under a heavy book or similar object for another 30 to 60 minutes. Doing so should allow the material to finish drying completely flat.
Attach the Base
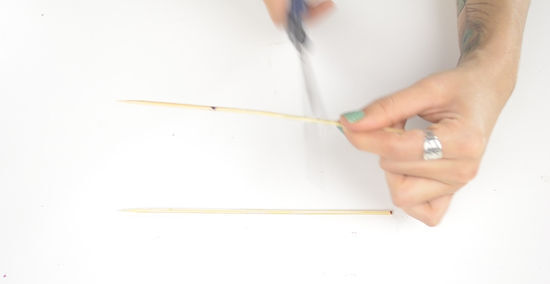
Cut down the dowel. Cut two lengths of 5/8 inch (1.5 cm) wooden dowel. Each piece should be approximately 1/2 inch (1.25 cm) shorter than the width of the intended wearer's palm. Use a saw to cut the wooden dowels down to size. If the edges seem rough or splintered, sand them down before continuing. If you don't have access to a saw, you could use the utility knife to cut four pieces of wooden chopstick or wooden skewer. The length of each piece should still be 1/2 inch (1.25 cm) less than the length of the palm.
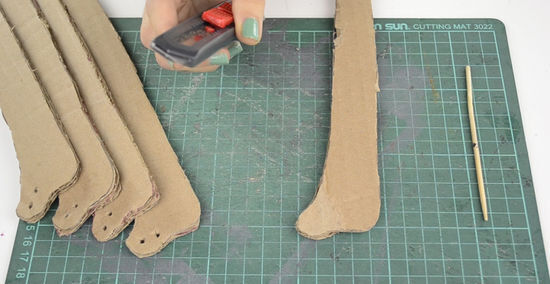
Cut one hole through each claw base. Using the utility knife, cut one hole through the center of each notched base. This hole should be round and about 5/8 inch (1.5 cm) in diameter. Position this hole in the exact center of each notched base. If you're using four chopsticks instead of two dowels, cut two holes through the base of the claw, each matching the diameter of the chopsticks. After cutting out this hole in the first claw, line it up with the remaining claws and trace the position and dimensions of the hole using ballpoint pen. Cutting along this marked pattern will make it easier to keep the hole even for all six claws.
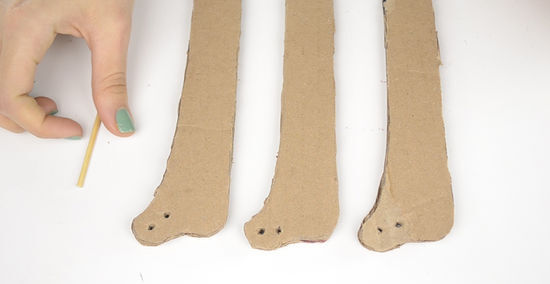
Insert one dowel through three claws. Slide one wooden dowel through the holes in three cardboard claws. Arrange the claws so that they can rest in between the wearer's fingers. If using chopsticks, slide one chopstick through one matching set of holes in three claws. Slide another chopstick through the other set of holes in the same three claws. The amount of dowel space in between each claw should match the bottom width of each finger. Ideally, the wearer should try on the claw set, and the adjustments can be made from there. Grab the dowel with one hand. Position the claws so that one lands between the index and middle fingers, another lands between the middle and ring fingers, and another lands between the ring and pinky fingers.
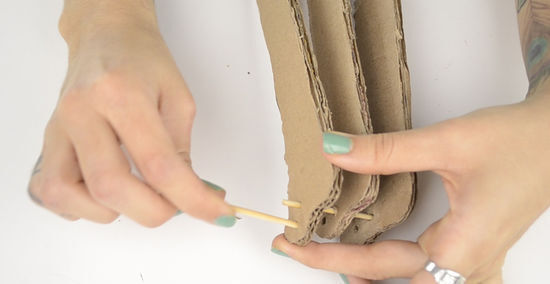
Repeat. Repeat the previous step with the second dowel and the remaining three claws.
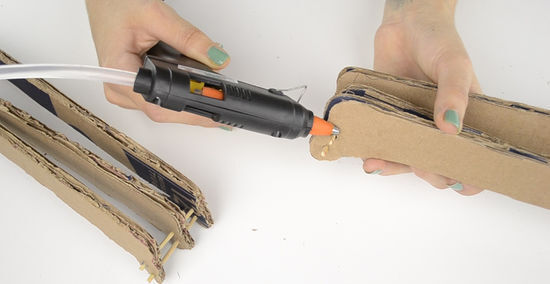
Glue everything down. Once everything is accurately positioned, apply hot glue around the wooden bar where it connects to each claw. Apply generous amounts of glue to make the claw set sturdy. Let the glue completely cool and dry before continuing.
Add the Finishing Touches
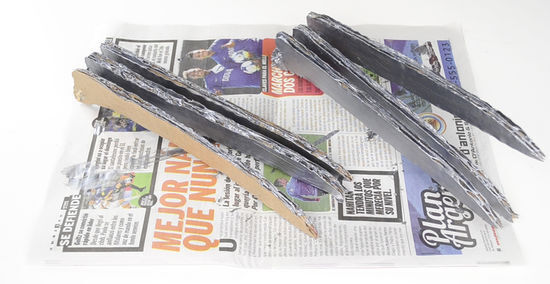
Paint both claw sets gray, if necessary. If you used white board, spray paint both sets with matte gray paint. Cover all sides of both sets. This step won't be necessary if you used gray collage board. Let the first coat of paint dry. If it doesn't seem opaque enough, add another one or two coats, letting the paint dry in between each coat.
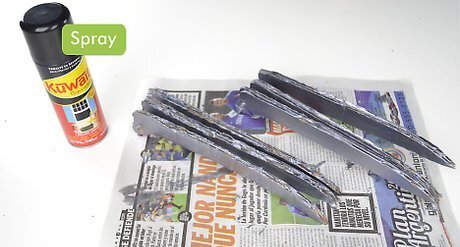
Spray silver finish over both claw sets. Once the gray paint dries, apply several coats of metallic silver spray paint over all sides of both claw sets. As before, you should let the paint dry in between coats. Examine the appearance of the claws after each coat and stop once the claws look the way you want them to look.
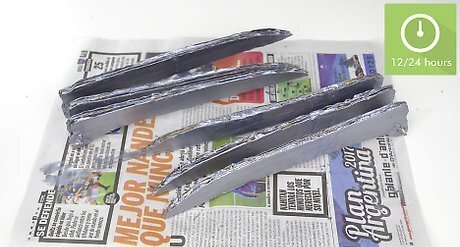
Let everything dry. After the claws feel dry to the touch, set them aside in a dry location for another 12 to 24 hours. The exact amount of time doesn't matter much as long as the paint is 100 percent dry before you handle the claws further. Consult the label instructions on the paint to determine the appropriate amount of time.
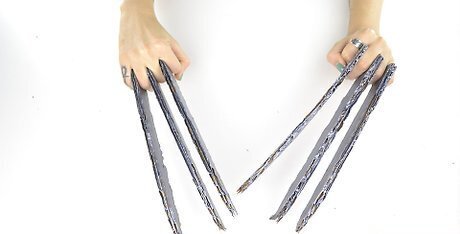
Try out the finished claws. Your Wolverine claws should now be complete. Grab a set in each hand and get ready to show them off.



Comments
0 comment