
If you can sew a few straight (or mostly straight) seams and cut cloth to size, you can make your own set of high thread count water bed sheets for a fraction of the prices to be found in stores. Here's how:
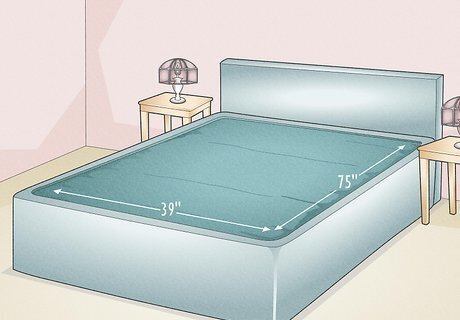
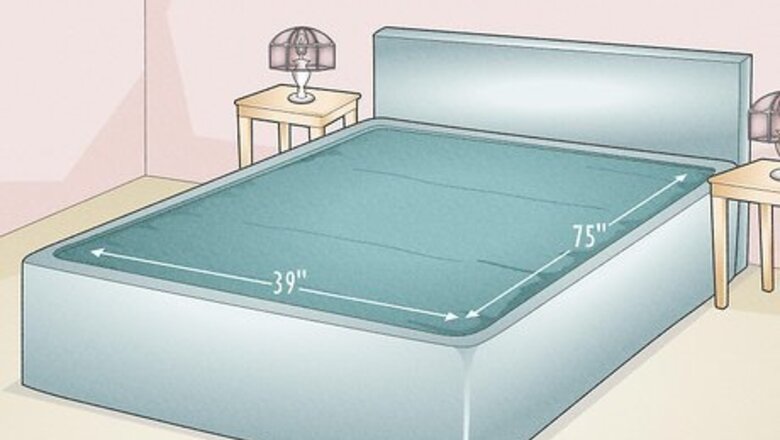
Determine the size of your mattress. Here are the common sizes found in the USA, but you can use this article to make waterbed sheets in any size. Twin Mattress --39" wide x 75" long Twin XL Mattress --39" wide x 80" long Full Mattress --54" wide x 75" long Full XL Mattress --54" wide x 80" long Queen Mattress --60" wide x 84" long Cal-King Mattress --72" wide x 84" long King Mattress --76" wide x 80" long
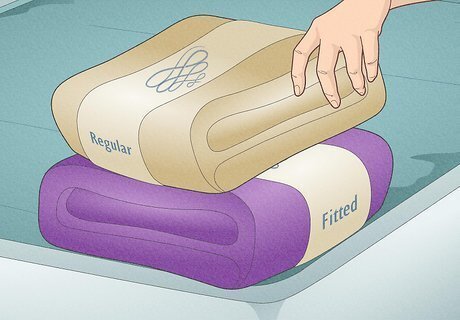
Purchase a "regular" set of sheets in the correct size for your water bed. Regular fitted sheets are the same size as "water bed" fitted sheets. The only difference is the "tuck under" flap at each corner.
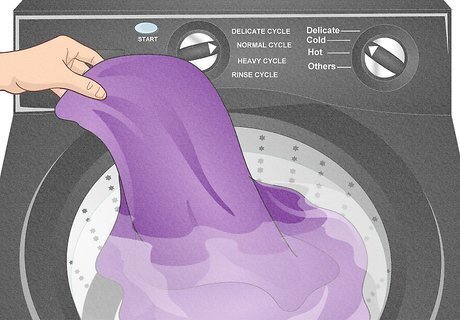
Launder the sheets prior to any cutting or sewing to remove sizing and the "factory smell".
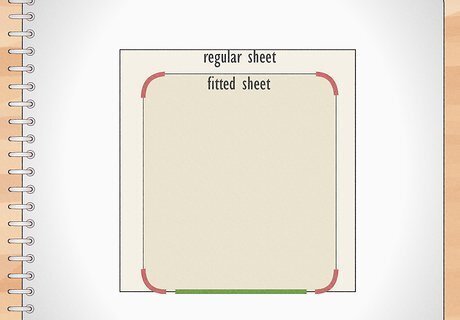
Refer to this sketch. Waterbed sheets differ from regular bed sheets in two ways. 1- They have corner tabs (red corners) to help you "tuck in" the sheet and 2- The top sheet and bottom sheet are sewn together (green line) at the foot.
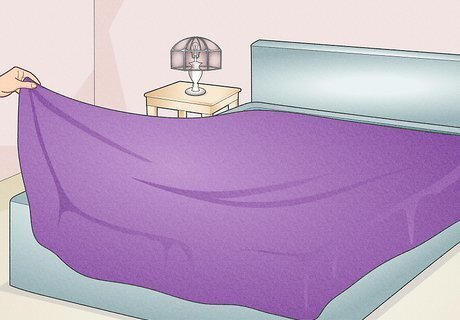
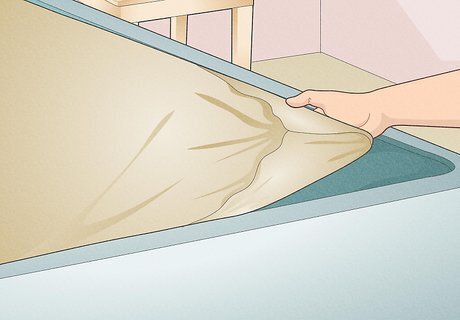
Lay the top sheet (also known as the "flat" sheet) across your water bed with the top edge aligned with the top edge of the bed.
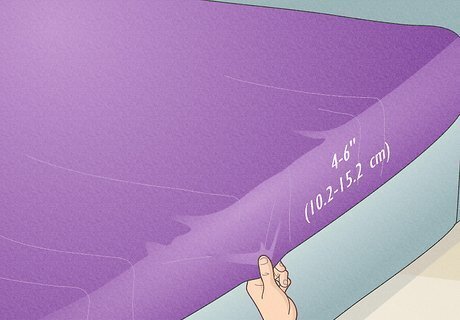
Pull the sheet to one side so that only 4–6 inches (10.2–15.2 cm) are overlapping on that edge of the bed (right side in this picture).
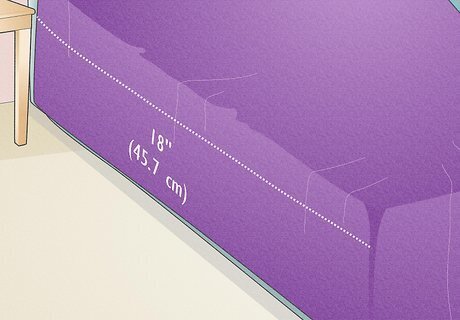
Note that when you have two sides lined up nicely, the remaining sides (left side and bottom edge) will hang over by quite a bit, usually 18 inches (45.7 cm) or more.
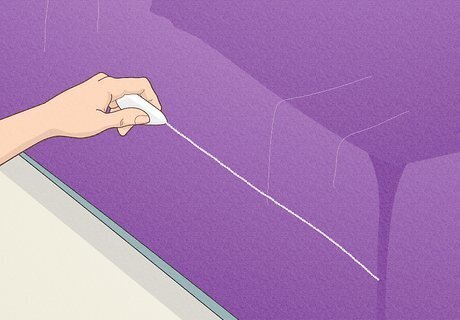
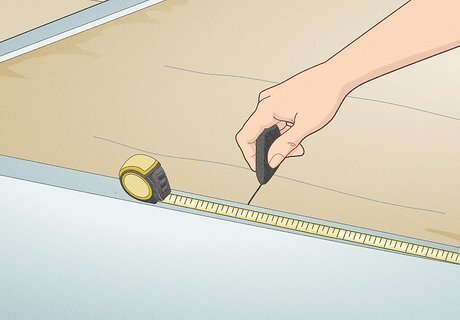
Mark the amount of "hang over" you want on the left side and bottom. You can use tailor's chalk, pins, marker, whatever works for you.
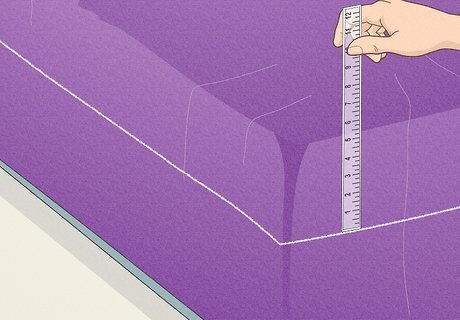
Measure carefully and double check your markings before removing the sheet from the bed and cutting along the lines.

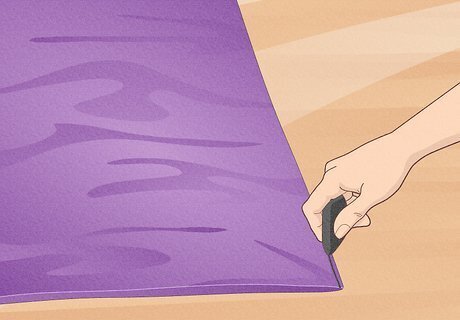
Cut the new sheet (cut off the extra along the bottom and side).
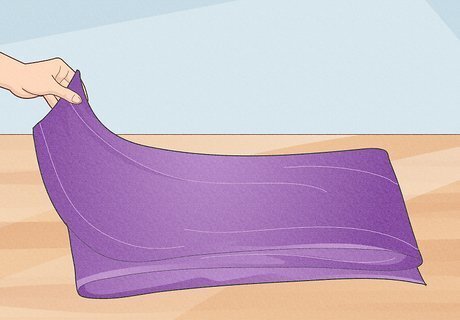
Set the "extra" strip aside for now. It will form your "tuck in" flaps later.
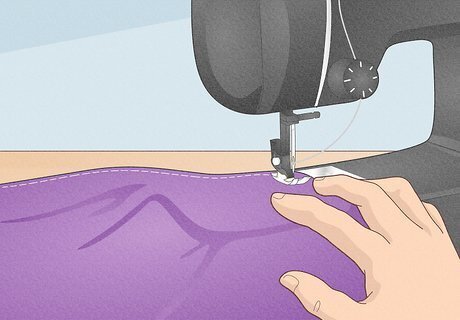
Hem the cut edges of your sheet.
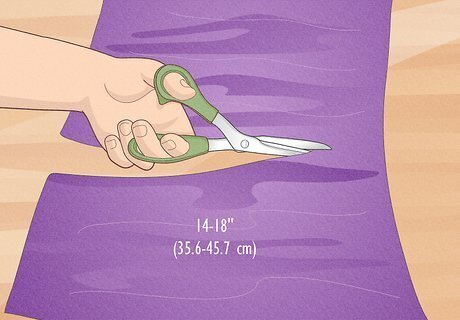
Cut the widest edge strip into sections 14 to 18 inches (35.6 to 45.7 cm) square. Smaller than that, and they will not be as effective at "tucking in" as they need to be. Larger than that is up to your discretion, but try not to make them any larger than you can realistically lift the mattress corner for "tuck in".
Hem the edges of your "corner tuck in" squares.
Place the fitted sheet on the bed. Don't worry about tucking it in. This is just for placement marking.

Mark each of the four corners of the sheet/mattress with tailor's chalk, markers or pins (careful not to poke the mattress).
Measure the bottom edge and mark the center point.
Fold the bottom edge of the flat sheet and mark the center point.
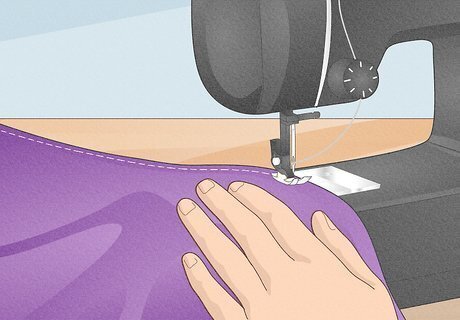
Sew the corner tuck in flaps to the marked corners of the fitted sheet. Pull any elastic taut while sewing to allow for stretch when sewn.
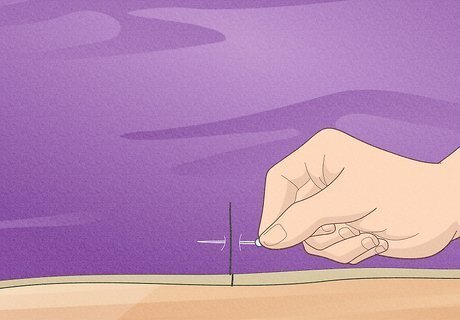
Pin the center mark of the bottom edge of the bottom sheet to the center mark on the bottom edge of the flat sheet.
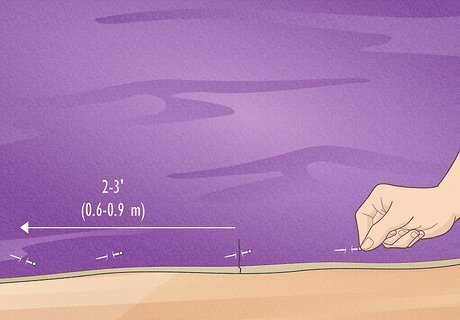
Pin the edges of the two sheets together for 2–3 feet (0.6–0.9 m) each direction from the center point.
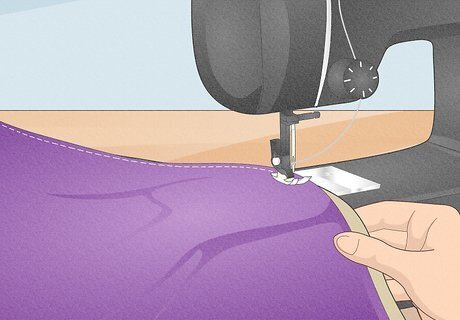
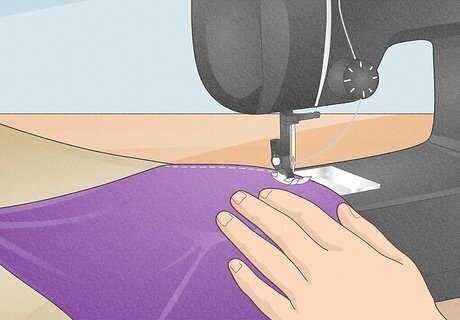
Sew the bottom edges of the two sheets together. Again, pull any elastic straight and taut and sew with a zig zag stitch to allow for stretch later.
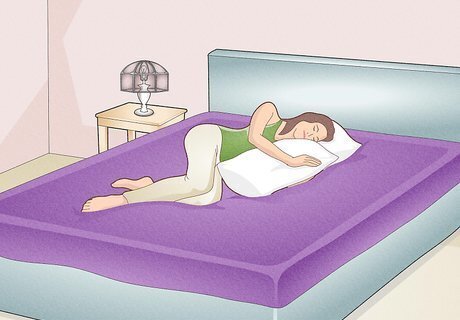
Enjoy using your nice, new, high quality sheets at a fraction of the retail cost!


Comments
0 comment