
Making Teddy Bear Pants or a Skirt
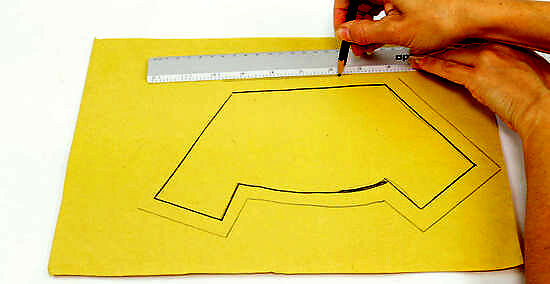
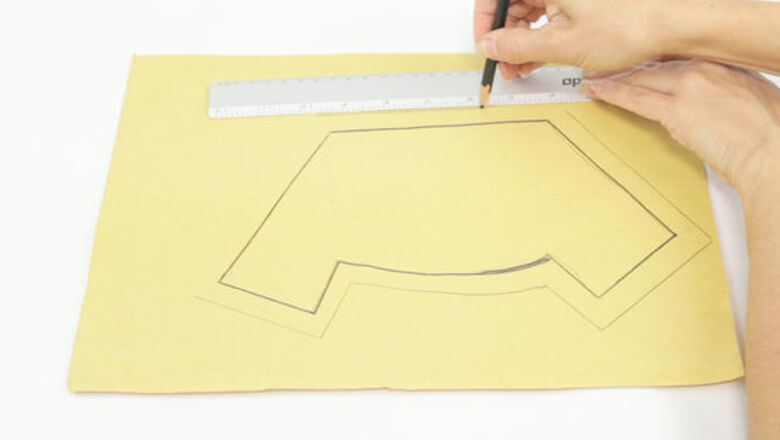
Draw a pattern for the pants or skirt on a piece of paper. Place your teddy bear on top of the piece of paper and mark along the outer and inner edges of the teddy bear’s legs and waist. Add 0.5 in (1.3 cm) to each edge for the seam allowance. Identify how long you want to make your pants or skirt as well, and make another mark where you want the item to begin and end, adding 0.5 in (1.3 cm) to each edge for the seam allowance. Then, finish drawing your outline for the pants or skirt. For example, if you want the pants to stop about 2 in (5.1 cm) from the bottom of the teddy bear’s foot, then make a mark at this location on the paper. If you want the skirt to come only to the middle of the teddy bear’s legs, then mark this location. If you do not want to make your own pattern, you can buy one in a craft supply store or find a pattern online for the size of the bear you have. Tip: Baby clothing patterns may also work for your teddy bear depending on its size. You may also find more variety in baby clothing patterns than teddy bear clothing patterns.
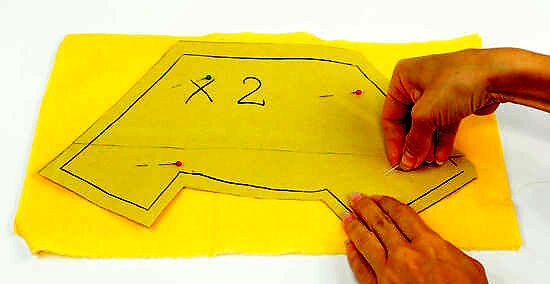
Pin the pattern onto a piece of folded fabric. Cut along the edges of the paper pattern using a sharp pair of scissors. Then, fold the fabric in half and pin the paper pattern onto your fabric. Make sure that the paper pattern is inside of the folded edge of the fabric. Insert a pin about every 2 in (5.1 cm) all the way around the edges of the pattern. Work on a flat surface while you do this to avoid getting wrinkles in your fabric. You may use any type of fabric you like to make your teddy bear clothes.
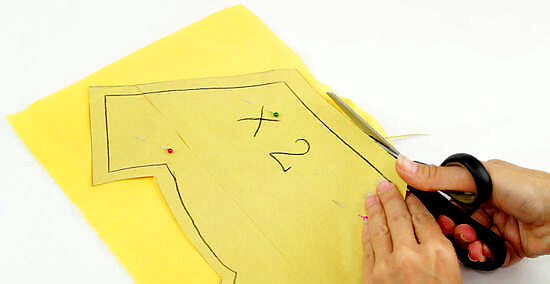
Cut along the edges of the pattern to create 2 pieces. Use a sharp pair of fabric scissors to cut the fabric along the outer edges of the paper pattern to create 2 identical pieces. Make long, clean cuts to ensure that you don’t end up with any jagged edges. When you are finished cutting, you will have 2 equal-sized fabric pieces.
Fold over the top and bottom edges of the pants or skirt. Next, separate the 2 pieces of fabric. Fold 0.5 in (1.3 cm) of the top edge of the pants or skirt over so that the wrong (inner or non-print) sides are facing each other and the raw edges of the fabric will be hidden inside of the item. Insert 2 to 3 pins through the folded fabric to hold it in place. Then, do the same thing for the bottom edges of the pants or skirt.
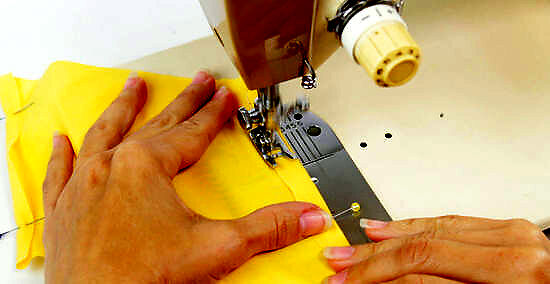
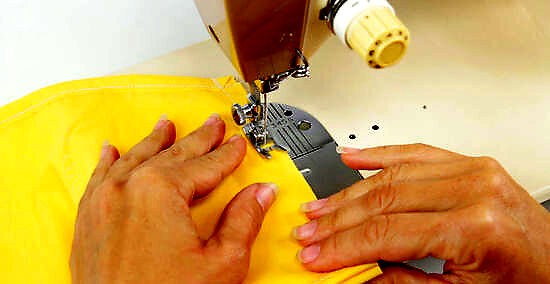
Sew or glue the folded edges to secure them. If you are sewing the hem, use a sewing machine or needle and thread to sew a straight stitch 0.25 in (0.64 cm) from the folded edge of the fabric. Remove the pins as you sew and do not sew over them. If you are using fabric glue, dispense a line of glue in between the layers of folded fabric. Leave the pins in place until the glue dries (about 8 hours). Repeat this to secure the hem for both pieces. Make sure to cut the excess thread if you sew to create the seam. Press the fabric layers together if you are securing them with glue.
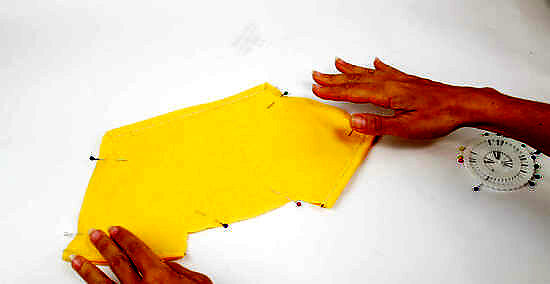
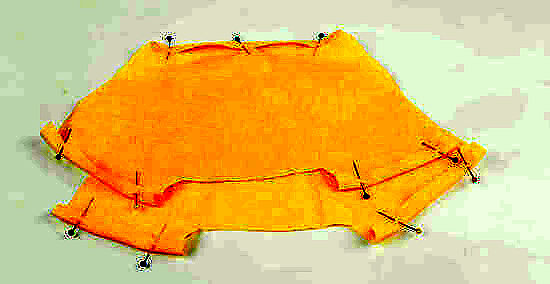
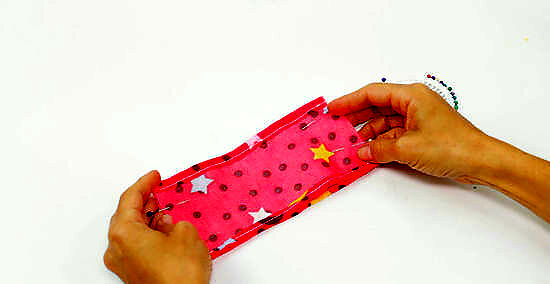
Place the fabric pieces together with the right sides facing in. Next, create a fabric sandwich with your 2 fabric pieces. Place the pants or skirt pieces together so that their right (print or outer) sides are facing each other and the edges are lined up. Then, insert a pin every 2 in (5.1 cm) along the raw edges to secure them. Do not insert pins along the hem of the fabric! The top and bottom edges need to remain open to get the item onto the bear’s body.
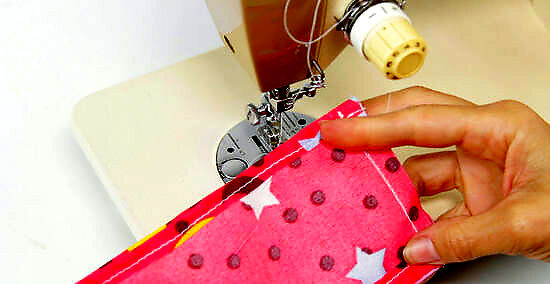
Sew or glue along the edges to secure the pants or skirt. Repeat the same process as you used before to secure the edges of the pants or skirt. Sew with a machine or by hand or use fabric glue to secure the sides of the skirt or pants. If you are making pants, then you will also need to hem or glue the crotch. Position the stitches about 0.25 in (6.3×10 am) from the raw edges of the item. Remove the pins as you sew. Dispense the glue about 0.25 in (6.3×10 am) from the raw edges of the item. Allow the item to dry for at least 8 hours before removing the pins.
Creating a Teddy Bear Shirt

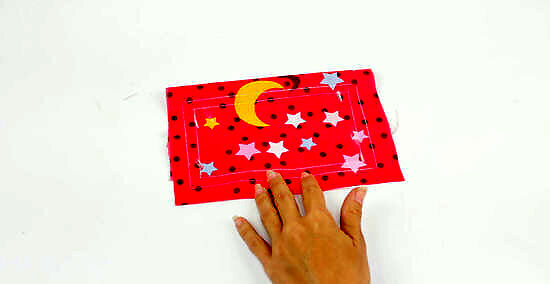
Mark a piece of folded fabric along the sides of the teddy bear. Fold a piece of fabric in half and smooth it out to ensure there are no lumps or bumps. Lay your teddy bear on the fabric and mark the fabric on both sides of the teddy bear under the armpits and next to its waist.The fabric needs to go at least halfway up the sides of the teddy bear’s waist. Remove the teddy bear and connect these 4 dots with a piece of chalk or fabric marker to form a rectangle. If you want to create a specific kind of teddy bear shirt, use a pattern instead. You can purchase teddy bear clothing patterns in a craft supply store or find free patterns online. Keep in mind that getting the right fit may be more complex depending on the shape of the bear’s body. You can use any type of fabric that you want to make a teddy bear shirt.
Add 0.5 in (1.3 cm) to the outside of the rectangle. Use a ruler to measure and mark the fabric 0.5 in (1.3 cm) from the outside of the edges of the rectangle on all 4 sides. Connect these marks with a pen or fabric marker to form a new rectangle outside the first one. This extra fabric will provide the seam allowance for your teddy bear’s shirt.
Cut the fabric along the lines. Use a sharp pair of fabric scissors to cut along the second set of lines you drew after adding the seam allowance. Make sure to cut through both layers of fabric so that you end up with 2 pieces. Be careful not to create any jagged edges as you cut. Go slowly and make long, even cuts.

Fold over the top and bottom edges of the fabric. Fold over about 0.5 in (1.3 cm) of the fabric along the top and bottom edges. Fold the fabric so that the wrong (inner or non-print) sides are together and so that the raw edges will be hidden on the inside of the shirt.Tip: Hemming the fabric will hide the fabric’s raw edges and give your item a neat, finished look. However, if you are using a fabric that does not fray at the edges, such as t-shirt or jersey material, then you can skip hemming your fabric if desired. If you don’t plan to hem, you won’t need to add extra fabric to the top and bottom of the shirt for seam allowance.
Sew or glue to secure the folded fabric. You can secure the fold by sewing a straight stitch 0.25 in (0.64 cm) away from the folded edges, or by gluing the layers of folded fabric together. Thread a needle and sew in a straight line 0.25 in (0.64 cm) from the fold if sewing by hand, or select the straight stitch setting on your sewing machine and sew a straight stitch 0.25 in (0.64 cm) from the folded edge. To glue the hem, dispense fabric glue in between the fabric layers about 0.25 in (0.64 cm) from the raw edges. Remove the pins as you sew. Do not sew over the pins or you may damage your sewing machine. If you are using glue to secure the seams, allow the glue to dry for 8 hours before removing the pins.
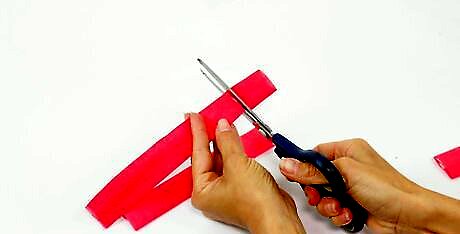
Cut out 2 straps from an old canvas or fabric bag. The straps off of an old canvas shopping bag or fabric purse will work well as straps for your teddy bear’s shirt. Depending on the thickness of the straps, the shirt may look like a tank top or a t-shirt. Measure the distance from the top of your teddy bear’s chest, then over the shoulder to the same location on its back. Add 1 in (2.5 cm) for the seam allowance. Cut out 2 straps to the desired length. Use a soft tape measure to find the desired strap length. You can also substitute ribbon for the shirt straps.
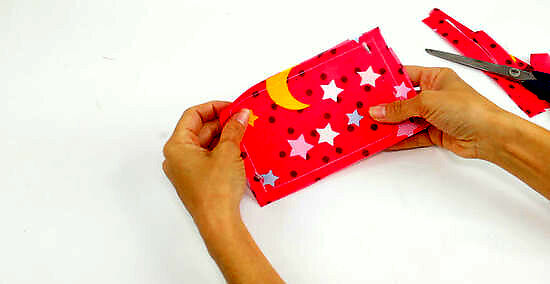
Line up and pin the 2 pieces of hemmed fabric. Place the 2 hemmed fabric pieces together with the right (print or outer) sides facing each other. Line up the edges of the 2 pieces so that they are even. Insert a pin every 2 in (5.1 cm) along the raw edges. Leave the hemmed edges unpinned. The top and bottom of the shirt will be where you hemmed the fabric, so it is important to leave these areas open.
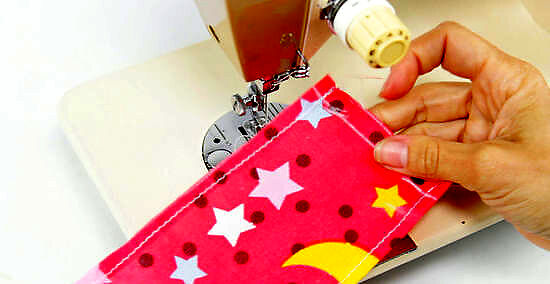
Sew a straight stitch or glue along the sides of the fabric. Set your sewing machine to the straight stitch setting or thread a needle. Sew in a straight line using the machine or by hand along the pinned edge of the fabric. Position the stitches so that they are about 0.5 in (1.3 cm) from the raw edge of the fabric. If you are gluing the 2 pieces together, dispense a line of fabric glue between the fabric layers along the pinned edges only. Remove the pins and do not sew across them! Leave the pins in place while the glue dries (about 8 hours).
Attach the straps to the inside of your fabric’s hemmed edges. Slip the top onto your bear and then experiment to find the best location for the straps. Pin 1 end of the strap to the inside of the top on the front and bring the same strap over the bear’s shoulder and pin it inside the top in the back as well. Repeat this for the other side, then remove the top and sew or glue the straps into place. Make sure to avoid sewing over the pins. Leave the pins in place for at least 8 hours if you are using glue to secure the straps.


Comments
0 comment