views
Making the “Plastic”
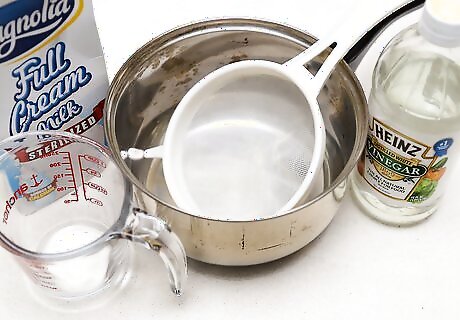
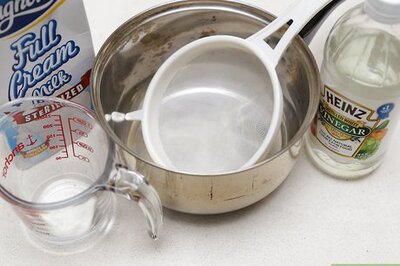
Gather the necessary materials. For this experiment you will need 1 cup (240 ml) of milk, 4 tablespoons (59 ml) of white vinegar, a stove cookpot or microwaveable container, cotton cloth or mesh strainer, a bowl, paper towels, and adult supervision. If you want to make more plastic or do this experiment more than once, you will need more milk and vinegar. Whole milk or heavy cream will work better than 1% or 2% milk. An old T-shirt will work fine as the cotton cloth. You will be working with hot liquid so adult supervision is recommended.
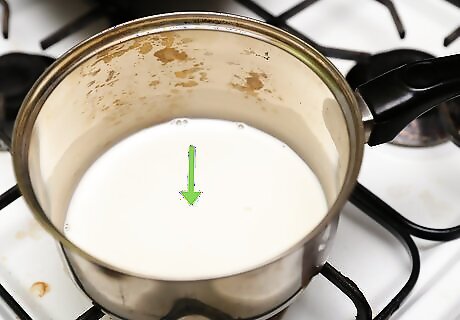
Heat 1 cup (240 ml) of milk. Measure out 1 cup (240 ml) of milk. This experiment can be done using either the microwave or heating the milk on the stove. Use a microwave-safe container if using the microwave. Pour the milk into a cookpot if using the stove. Heat the milk until it is just under boiling. If you have a candy thermometer, make sure the temperature is at least 120 °F (49 °C). Stir the milk continuously if heating on the stove. Have an adult help you with this step. To microwave milk, put your microwave on 50% power for about 2 minutes. After 2 minutes, microwave in 30 second increments until the milk is hot.
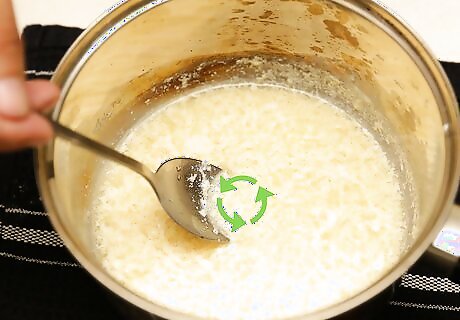
Add 4 tablespoons (59 ml) of vinegar to the milk and stir. While the milk is still hot, add all of the vinegar to the container and stir for about 1 minute. As you stir, you should notice that clumps will start to form. If no clumps form, the milk was probably not hot enough for the reaction to occur. Try again with hotter milk. The milk curdles due to a change in its pH. The vinegar contains acetic acid, which makes the milk more acidic and causes the protein, called casein, to unfold and reorganize into a long chain.
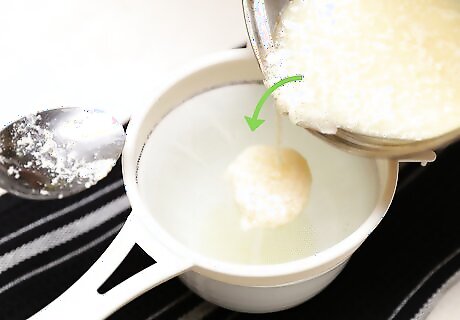
Pour the warm milk through the strainer. If you’re using an old T-shirt, wrap the T-shirt around the mouth of a jar or over a bowl. Rubber band it in place so it doesn’t move around. If you’re using a mesh strainer, simply place the strainer on top of the bowl. Let the milk cool for a bit and then pour it over the strainer and let it drain. As the milk drains through the strainer, you will see the clumps remaining on top of the strainer.
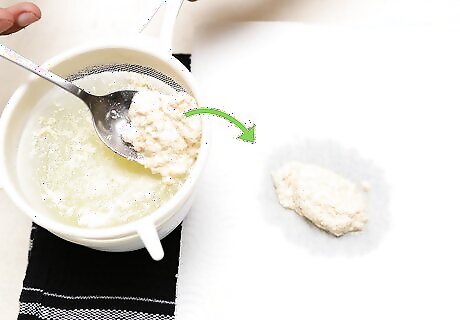
Scoop the clumps out onto paper towels. If you’re using a cloth, remove the rubber band and wrap up the curds. Squeeze the bag until you get as much of the liquid out as possible. If you’re using a strainer, scoop out the curds onto paper towels using your hands or a spoon. Squeeze the curds on the paper towel to get out any extra moisture.
Molding and Decorating the “Plastic”
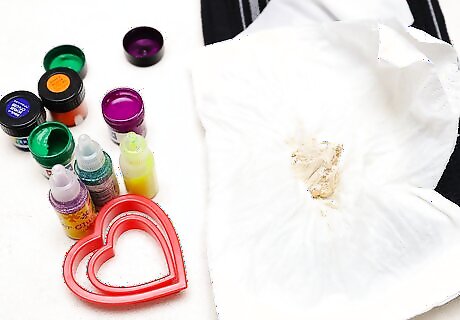
Gather the necessary materials. If you’d like to make something out of your plastic, it needs to be done in the first hour while the curds are still moldable. You can use cookies cutters, molds, food coloring, glitter, or any other decorative materials you would like. If you want to get really into it, you can use sculpting tools. Paint and markers can also be used once the plastic is completely dry.
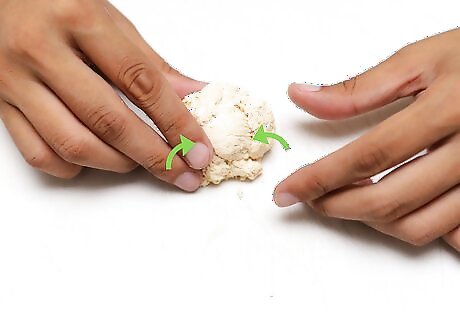
Knead the casein dough. Before you begin, you will need to squeeze all of your curds together into a dough-like substance. Once it’s clumped into one blob, knead the dough well. Work it with your hands for a few minutes until it is easy to shape and form. Wait until the curds have cooled completely before handling them.
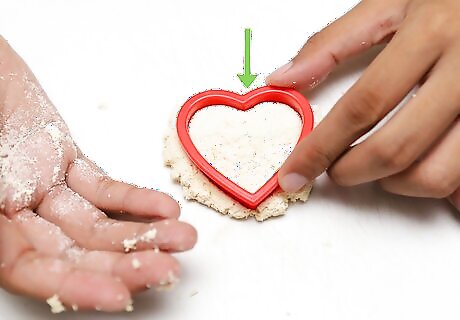
Sculpt the dough using cookie cutters or molds. Once the dough has been well kneaded, you can roll it out and cut shapes using cookie cutters. You can also press the dough into a mold to form a shape. Remove it from the mold and set it aside to dry. Alternatively, you can sculpt the dough as you would with clay or play dough into any form you’d like. You can add food coloring if you’d like all your shapes to be the same color and you don’t want to wait for them to dry and paint them later. Put on gloves, add some food coloring to the dough, and work it until the color is even throughout the dough. Gel food coloring works better than liquid.
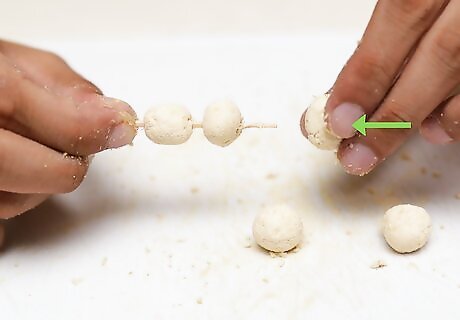
Make plastic beads for jewelry. Roll the dough into round beads and poke a hole through the center using a straw. This will make beads that you can string into a necklace or bracelet. Add glitter while the beads are still wet and it will stick as it dries. Set the beads aside to dry. Check on them in a few days to make sure they are completely dry.
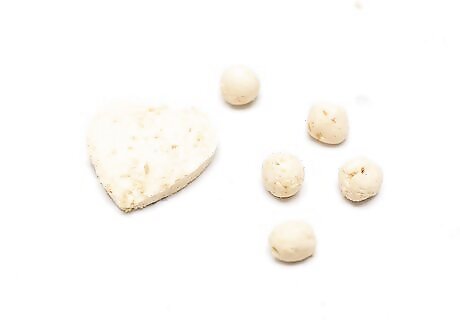
Wait at least 2 days for the “plastic” to dry. The plastic will take a few days to dry out completely. If you don’t want to do anything else with the plastic, simply leave it alone for a few days until it is dry. If you have molded it into something, you’ll need to wait until it is dry to use it. Once it’s dry, you can paint it or decorate it however you would like.
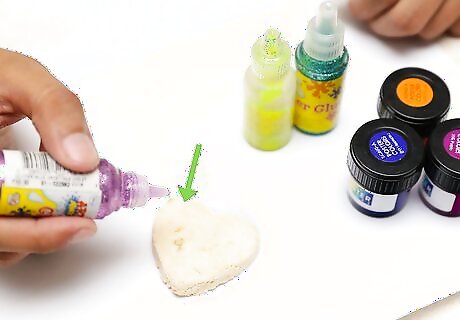
Paint or color your creations. Using craft paint or permanent markers, color your creations however you’d like. You have to wait until the plastic is completely dry before you add paint or color with markers. Once the paint is dry, you can make jewelry or play with your sculpted creations!





Comments
0 comment