views
Putting Frozen Bottles in Front of Your Fan
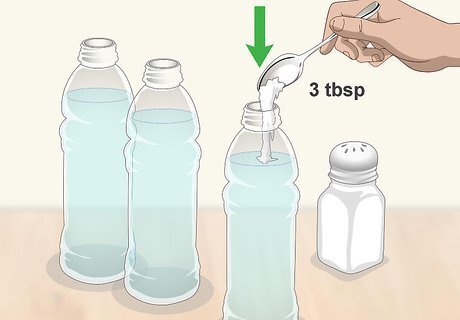
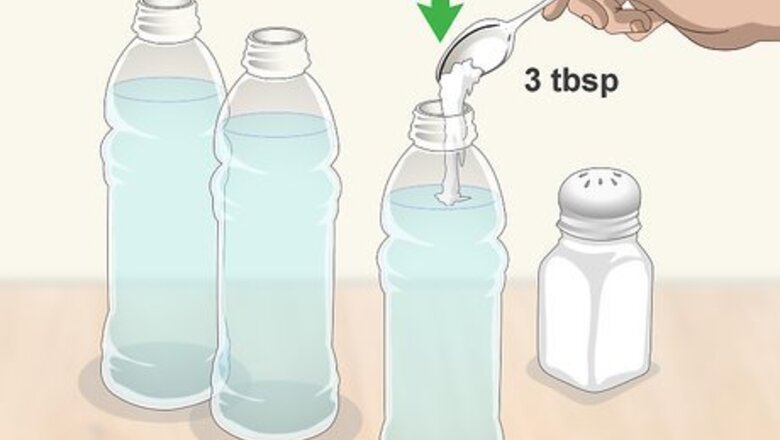
Pour 3 tbsp (51 g) of salt into each of your 3 plastic water bottles. Use disposable plastic bottles for the easiest set-up and clean up. Pour 3 tablespoons (51 g) of table salt per bottle. Put the caps back on and shake the bottles to thoroughly mix the salt. Any standard salt you have in your kitchen will work.
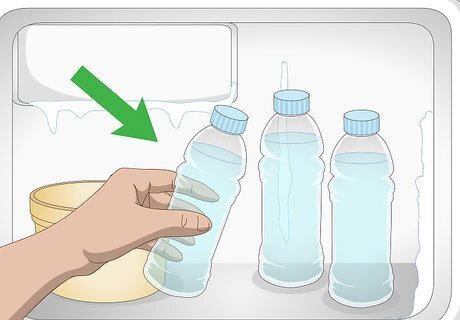
Freeze all of the bottles. Leave them inside for a few hours until they are completely frozen. Once the water turns to ice, take the bottles out and set them aside. Salt lowers the freezing temperature of water and makes the ice colder. It may take longer for your bottles to freeze depending on the size of your freezer.
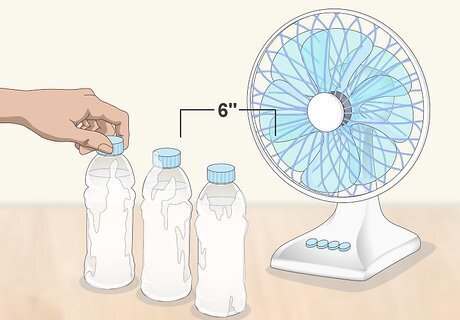
Set the bottles 6 in (15 cm) in front of your fan. A table fan or box fan will work best, but you can use any fan you want. Turn on the fan and put your bottles in front of it. The air will cool down as it passes around the bottles. Keep the fan on as long as the bottles are frozen for a makeshift air conditioner. Spread the bottles out so they don’t block any of the fan’s airstream. Put the bottles on a small table in front of a standing fan. Don’t use the oscillation setting on your fan if it has one. Keep it pointed at the water bottles for the whole time.
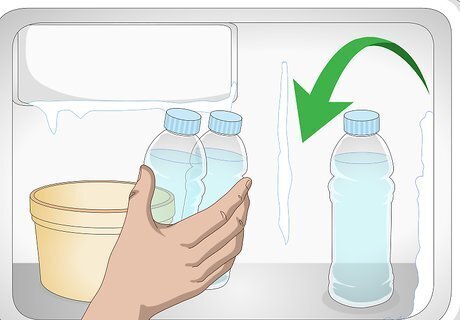
Put your bottles back in the freezer to reuse them. When the ice melts, simply freeze the bottles again. In a few hours, you can run your fan like an air conditioner again! Keep multiple bottles prepared in your freezer so you don’t have to wait for them to freeze again.
Hanging Bottles behind Your Fan
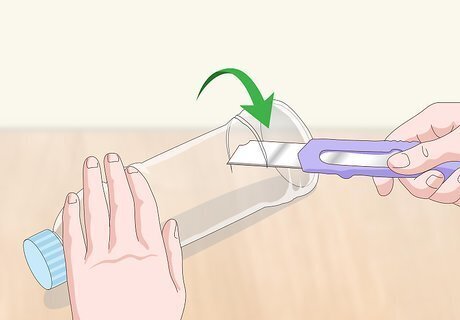
Cut halfway around 2 empty water bottles 1 in (2.5 cm) up from the bottom. Drink the water of 2 bottles or empty them into another container. Use a utility knife to make your cut. Hold the bottle securely with your non-dominant hand against a cutting board, and poke the tip of the blade through the bottle and work halfway around the bottle. Do the same cut on the other bottle. Be careful when handling a utility knife.
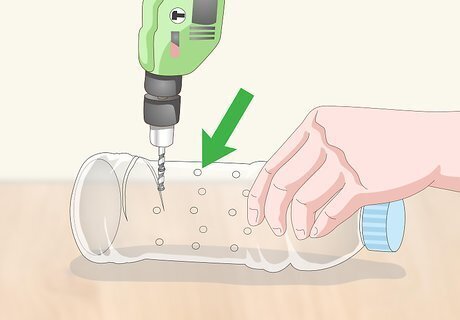
Drill multiple holes above the cuts ⁄4 in (0.64 cm) apart from one another. Use a ⁄4 inch (0.64 cm) drill bit meant for plastic. Make a row of holes around the bottle ⁄2 inch (1.3 cm) above the cut. Once you finish making the first row, drill 2-3 more rows above it, spacing them ⁄4 inch (0.64 cm) apart. Alternatively, use a soldering gun to melt the holes through the plastic.
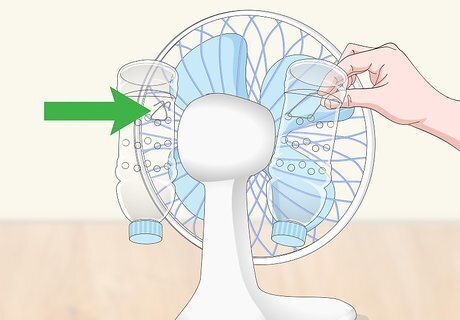
Tie the bottles upside-down to the back of your fan with string or wire. Make sure your fan is turned off before tying your bottles. Feed a wire or string through 2 of the holes in each bottle. Wrap the string around the fan grating and tie a knot to secure them. To keep them in place, tie another string around the bottles’ nozzles. Tie one bottle on each side of the motor compartment of the fan.
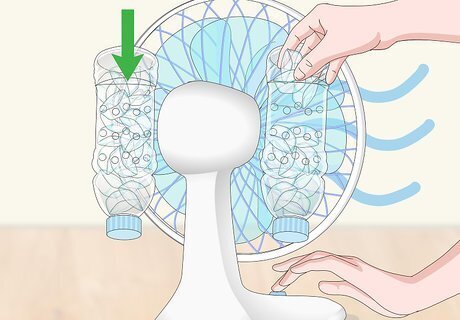
Put ice cubes inside the bottles and turn on your fan. Lift the bottom of the bottle up so you can fit ice cubes inside the cut. Fill the bottle to just below the holes. Turn your fan on high and point it towards the area you want to cool down. The fan will pull the cold air from the bottles through the holes you drilled. Since the bottles are attached to the fan, you can use the oscillating feature if your fan has one.
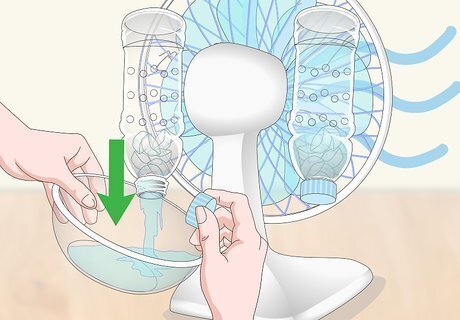
Drain the melted ice into a bowl. When the ice starts to melt, hold a bowl underneath the bottle nozzle. Twist off the cap so the water pours into the bowl. Screw the cap back on the bottle before draining the other. To continue using your bottles, simply add more ice.Tip: Reuse the water you drain from the bottles to refill your ice tray. That way, it won't go to waste!


Comments
0 comment