
Creating a New Menu/Ribbon Tab

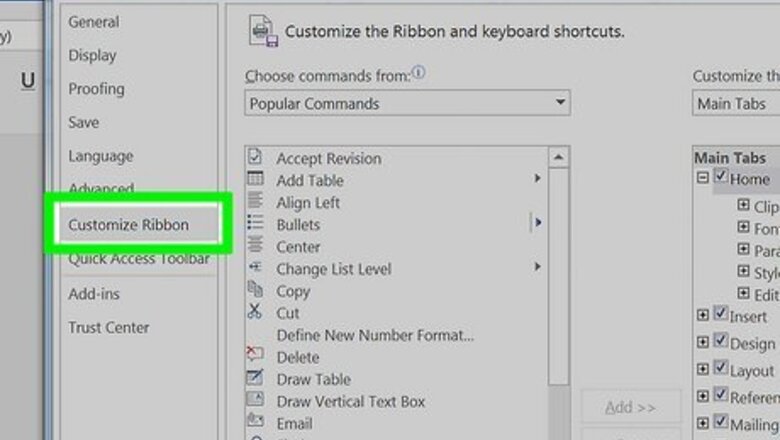
Access the customization options. In Word 2013, click the File Tab, then from the blue strip on the left side, click “Options” at the bottom. Click the “Customize Ribbon” at the left side of the dialog box. You can also right-click any ribbon tab and select “Customize the Ribbon” from the pop-up menu. In Word 2010, click the File tab, and then select “Options” under “Help” from the File menu. Click the “Customize Ribbon” at the left side of the dialog box. You can also right-click any ribbon tab and select “Customize the Ribbon” from the pop-up menu. In Word 2003, select “Customize” from the Tools menu, then click the Commands tab.
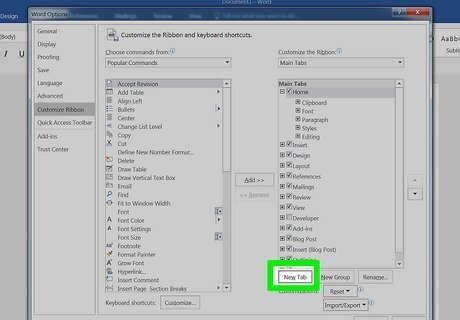
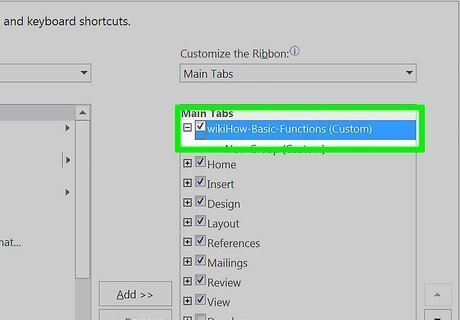
Add the new ribbon/tab. In Word 2010 and 2013, click the “New Tab” button located beneath the Customize the Ribbon list. In Word 2003, select “New Menu” from the Categories list, then select “New Menu” again from the Commands list.
Position the new menu/tab in the list. In Word 2010 and 2013, click the arrow buttons to the right of the Customize the Ribbon list to move your new menu up or down in the list until it is in the position you want. In Word 2003, drag “New Menu” from the Commands list to the menu bar. When you see a vertical bar showing the position of the new menu, and the bar is where you want the new menu to be, release your mouse button.
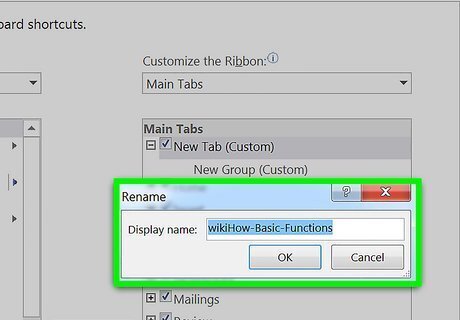
Give your new menu/tab a meaningful name. In Word 2010 and 2013, click the “Rename” button beneath the Customize the Ribbon list to display the Name dialog box. Enter the new name in the “Display name” field and click OK. In Word 2003, right click “New Menu” on the menu bar to display the Name field. Type in the new name for your menu and press the Enter key.
Adding Groups to Your New Tab (Word 2010/2013)
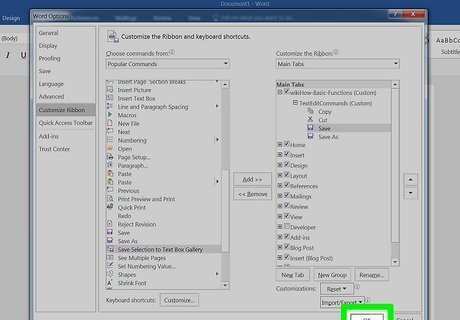
Select the name of the tab you've created in the Customize the Ribbon list. You must create a group for your new commands before you can add them to the tab.
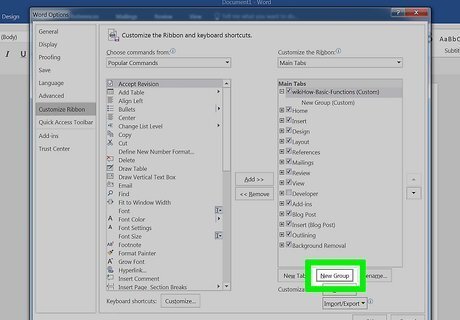
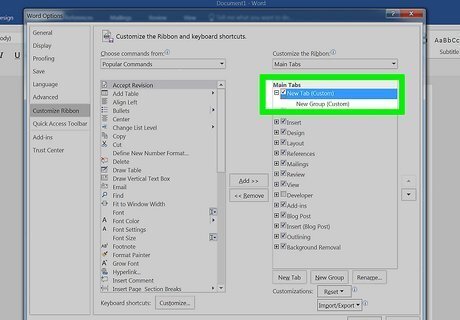
Click the New Group button beneath the Customize the Ribbon list. This adds an item named “New Group” underneath the name of your new tab in the list.
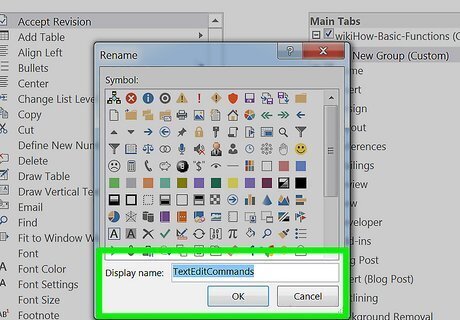
Give your new group a meaningful name. Click the Rename button to display the Name dialog box, type in the new name, and click OK. You can then add commands to this group. You can add a custom group to one of the default tabs as well as to your custom tab. One use of this feature is to create a custom group that includes only the commands in a default tab's group that you use most frequently and then delete the original group.
Adding Items to Your New Menu/Tab
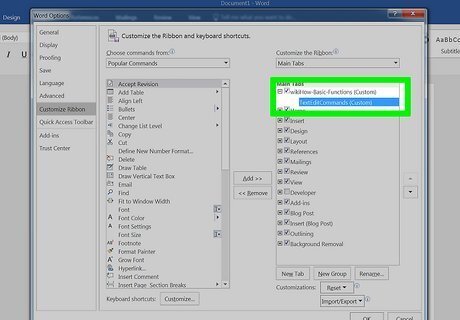
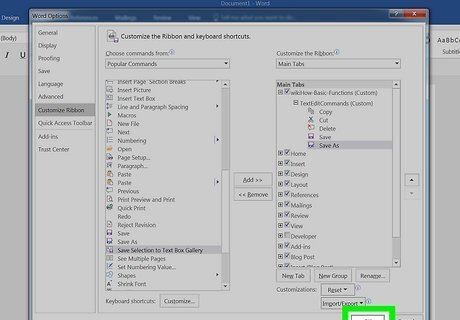
Select the menu/group that you want to add items to. In Word 2010 and 2013, select the group you want to add items to from the Customize the Ribbon list. You can add menu items only to groups you created, which are identified in the list with the label “(Custom)” after the group's name. In Word 2003, select the menu you want to customize from the Categories list.
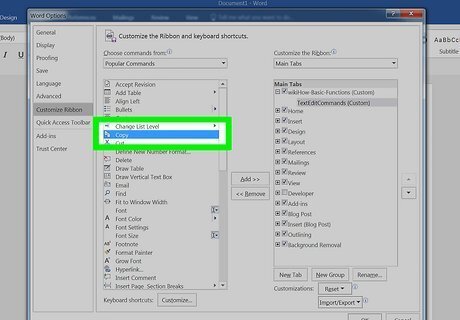
Select the command you want to add to the menu/group. In Word 2010 and 2013, select one of the options from the “Choose commands from” dropdown list, then select the command from the scrolling list beneath it. In Word 2003, select the command from the Commands box list.

Add the command to the menu/group. In Word 2010 and 2013, click the “Add>>” button to the right of the scrolling list. Use the buttons to the right of the Customize the Ribbon list to position the new command within the group as you wish. In Word 2003, drag the selected command to the menu you want to add the command to. When you see a vertical bar showing the position of the new command, and the bar is where you want the new command to be, release your mouse button.
Exit from the customization feature when you're finished. In Word 2010 and 2013, click OK. In Word 2003, click Close.
Removing Items from Your New Menu/Tab

Access the customization options if you haven't done so already. See the first section of this tutorial for how to do this for your version of Word.
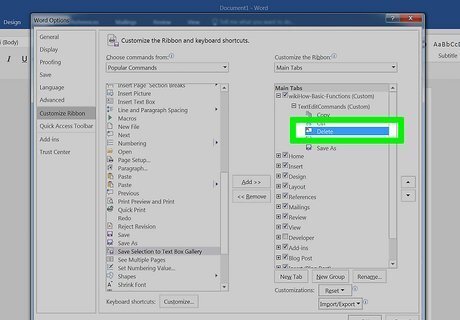
Select the command you wish to remove.
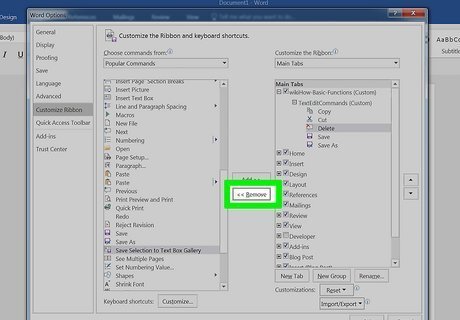
Remove the command from the menu or group. In Word 2010 and 2013, click the “<< Remove” button to move the command back to the “Choose commands from” list. In Word 2003, drag the unwanted command off the menu into the document window.
Exit from the customization feature when you're finished. In Word 2010 and 2013, click OK. In Word 2003, click Close.


Comments
0 comment