views
Building the Pond
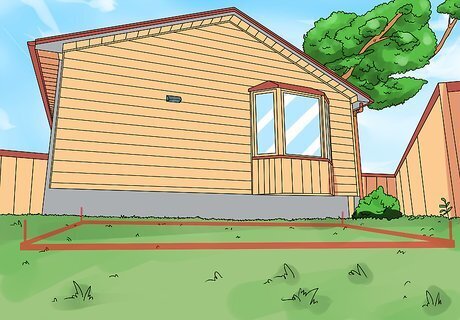
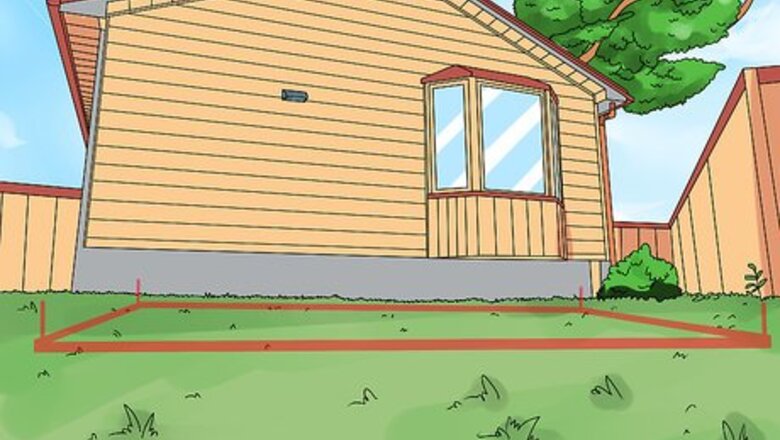
Choose a spot for the pond that gets at least 8 hours of sun per day. Lotuses love full sun, so set up the pond in an area that gets plenty of light. The ideal spot should get lots of sun in the morning; it should then be partly shaded from the hot afternoon sun. Afternoon shade discourages algae blooms and helps protect the plants from getting too much intense sunlight. While trees can offer shade, avoid digging the pond directly beneath a canopy. Fallen leaves and other debris can soil the water, and roots can get in the way of excavation. Additionally, choose a site that's relatively close to your back door or patio. If the pond is out of sight and out of mind, it may be neglected. Plus you won't be able to enjoy your blooms or, if you install one, the trickle of a fountain feature.Safety precaution: Contact your utility providers and, if necessary, your local code enforcement department before digging the pond. You wouldn't want to dig into an electrical or gas line, and the pond may need to be a minimum distance from a structure.
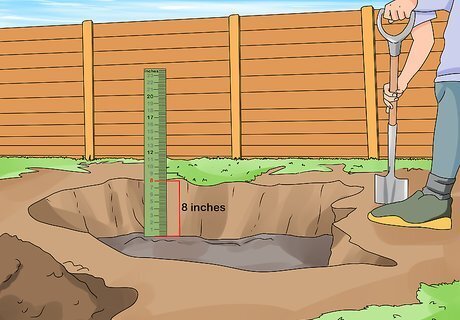
Dig an 8 to 24 in (20 to 61 cm) deep hole for the pond. A depth of about 8 in (20 cm) is fine if you live in a warm climate and are only growing lotus plants in the pond. However, if you plan on keeping fish in the pond, dig a hole with a minimum depth of 18 in (46 cm). If your plants and fish need to get through a cold winter, at least one side of the pond should be below frost depth, or at least 32 in (81 cm) deep. The pond's other dimensions depend on the number of plants (and fish, if applicable) you intend to keep. As a rule of thumb, an individual lotus needs about 2 ft (61 cm) of space. To maintain water quality, the pond should be at least 40 ft (1.13 m), or about 300 gal (about 1100 L). For an 18 in (46 cm) deep pond, that translates to a length and width of roughly 7 by 4 ft (2.1 by 1.2 m). While you should be able to dig a 7 by 4 by 1 ⁄2 ft (2.13 by 1.22 by 0.46 m) hole without power tools, a larger pond may require professional excavation equipment.

Line the pond with rubber or plastic. Stiff, preformed plastic pond liners are the least expensive option, but they're harder to work with and aren't very durable. The best option is synthetic rubber pond liner. Be sure your product is labeled for ponds, as other varieties are toxic to fish and plants. Look for pond liners online and at home improvement stores. Cut your liner to fit the pond, and overlap the edges by about 12 in (30 cm). Then bury the excess liner around the pond's edges with well-packed dirt to hide and weigh down the material. The liner will prevent water from seeping into the ground, which will help you maintain a constant depth.
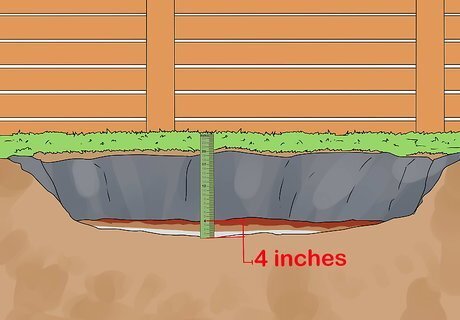
Add 4 in (10 cm) of sand, clay, and fertilizer if you're not using pots. If you're planting your lotuses directly into the pond, add a dense mix of 1 part sand, 1 part clay, and slow-release aquatic plant fertilizer to the bottom of the pond. Then cover the mixture with a thin layer of heavy sand or gravel to help weight it down. Don't line the pond with regular garden soil, which will float and muddy the water. If you're incorporating other plants or keeping fish in the pond, plant your lotuses in pots to control their growth. Additionally, if you plant your lotuses in containers, keeping the water clean will be less work. You should also avoid planting directly into the pond if you live in a cooler climate. Find slow-release aquatic plant fertilizer online or at a local garden center. Use your product according to the label's instructions. If you're stocking the pond with fish, be sure to purchase a fish-safe fertilizer. Even if you're planting lotuses in containers, you can still cover the pond's bottom with gravel or sand and line the edges with river rocks to add aesthetic appeal. Just take care not to stretch or tear the pond liner when you add soil or rocks.
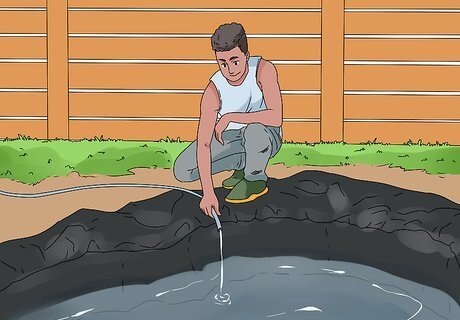
Fill the pond with collected rainwater or with tap water from a hose. When you add water, try not to use so much pressure that you disturb the sand or soil bedding and muddy the water. If you use tap water from the hose, let it stand for a week before adding lotuses (and other plants or fish). Letting tap water stand lowers chlorine levels. It's also wise to test the water with a store-bought test kit, especially if you're stocking the pond with fish.
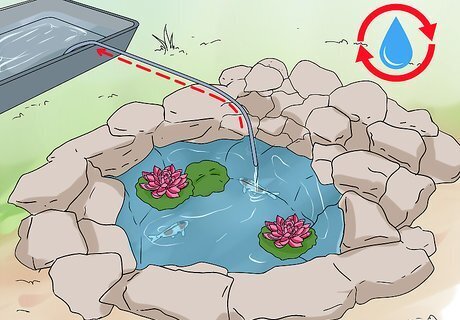
Amend the water if you're keeping fish in the pond. If necessary, lower chlorine, ammonia, and nitrite levels to 0 ppm (parts per million), and bring the pH to roughly 7.0 (neutral). Find water test kits and amendments online or at pet stores and garden centers. Fish are more sensitive to high ammonia and nitrite levels, so treating the water takes a little more work. If you're only growing lotuses, just letting the water stand for a week should do the trick. If chlorine is still present after a week, you can add a store-bought dechlorinator to the water.
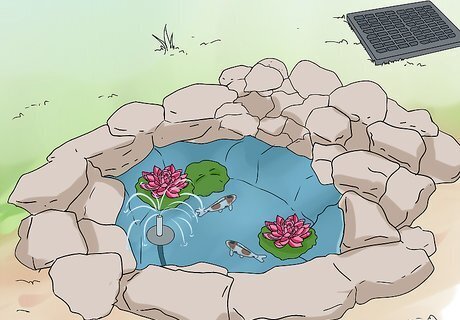
Install an aerator to maintain your pond's water quality. Installing a simple bubbler or fountain feature is wise whether or not you're keeping fish in the pond. It'll help keep the pond water from becoming stagnant and deter mosquitoes, algae, and other nuisances. If you're keeping fish in the pond, the aerator will oxygenate the water and keep them from suffocating. Solar powered aerators are available, but if you want the most reliable product, you'll need an electrician to install a power line to the pond.
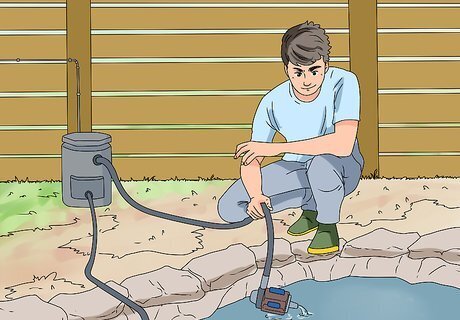
Invest in a filter if you're stocking the pond with fish. To keep your fish healthy, install a mechanical or biological pond filtration system. Look for pond filtration systems at a home or garden center, and ask an employee there to recommend the right products for your pond's size. All-in-one kits with pumps and mechanical filters are available. Biological systems, which are starter colonies of healthy bacteria, are also necessary, but they're usually sold separately. After adding the biological media to the pond, you'll need to wait 6 to 8 weeks for the bacteria to multiply. If you're keeping fish and use a filtration system, your pond can handle 2 lb (0.91 kg) of fish per 100 US gal (380 L) of water.
Planting Your Lotus
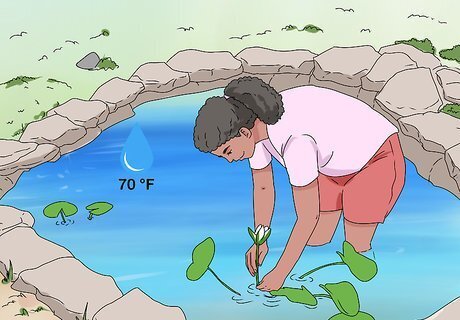
Plant your lotuses once the water temperature has reached 70 °F (21 °C). Plant your lotuses in mid-spring once the average daytime high is over 70 °F (21 °C) and the pond maintains a warm water temperature. To help warm the water faster, you could also use a submersible pond or aquarium heater. Lotus plants will begin to grow only once the water and daytime air temperatures reach 70 °F (21 °C).Choosing lotus plants: Purchase lotus tubers (thick, stem-like roots), online or from a garden center in the spring when you're ready to plant. Check tubers for blemishes, discoloration, and signs of damage.
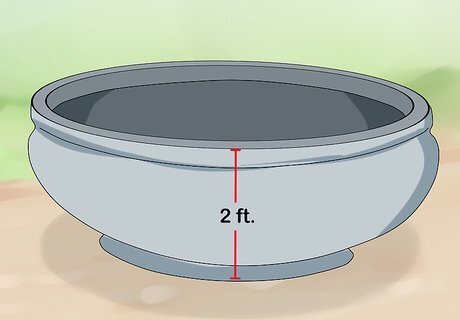
Use 2 to 3 ft (0.61 to 0.91 m) containers to control your plants' growth. If you don't contain them, lotuses will take over the entire pond. To maintain the water quality and keep fish and other plants healthy, plant individual lotus plants in separate 2 ft (0.61 m) wide containers. Containers specifically designed for lotuses are wide and shallow; you can find them online or at a garden center. Choose a round container, as square corners would choke the plant. Steer clear of standard aquatic plant basket meshes, which won't control lotuses' growth and could injure the roots. To ensure the lotuses' rhizomes are contained, go for containers without drainage holes. Black containers absorb heat well and can help keep your lotus plants at a comfortable temperature between 75 and 85 °F (24 and 29 °C). Black is also inconspicuous. Depending on your taste, you could choose other materials, such as terracotta.
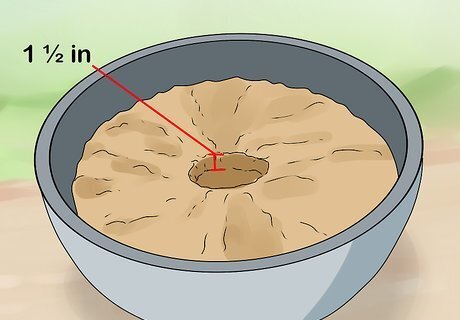
Dig a 1 ⁄2 in (3.8 cm) hole in the soil. If you're using a container, cover the bottom with 4 in (10 cm) of sand, clay, and aquatic plant fertilizer. Whether you're using a container or planting directly into the pond, dig a shallow hole in the soil mixture for the lotus tuber. Dig the hole in the center of a container to give the tuber room to grow. If you're planting directly into the pond, placing the tubers along the edges in 2 to 3 ft (0.61 to 0.91 m) intervals will encourage them to spread. If you're planting directly into the pond, take care not to disturb the soil and muddy the water when you dig holes. While it might be a bit inconvenient, you can't plant the tubers directly into the pond before filling it with water. The water needs to time to dechlorinate and heat up to the right temperature.
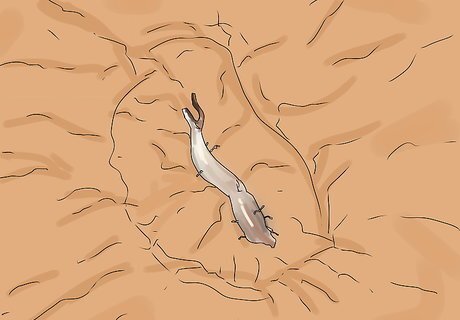
Place the tuber horizontally in the hole. Lay the tuber in the shallow hole with the growing tips facing up. Position the tuber horizontally at a slight angle so the growing tips won't be covered by soil. Then gently cover the tuber with a 1 ⁄2 in (3.8 cm) layer of the soil mixture, and carefully weigh it down with heavy sand or gravel so it doesn't float. The growing tips are pointed and look like buds. The other end of the tuber is round.
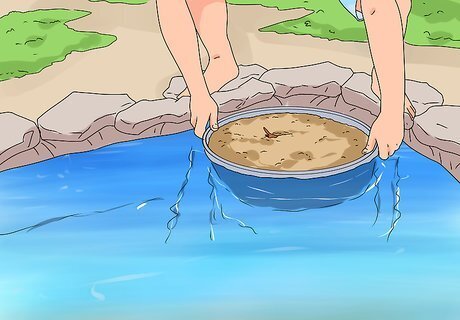
Submerge the container if you used one. After planting a lotus tuber in a container, set the pot into the pond so the top of the soil is about 2 to 4 in (5.1 to 10.2 cm) below the surface of the water. If the pond is deep, elevate the container on top of bricks. Lotuses can grow in water up to 18 in (46 cm) deep, but they'll bloom a lot faster if the soil is covered by only 2 to 4 in (5.1 to 10.2 cm) of water. If you're stocking the pond with koi, plant several lotuses in individual containers. Koi will munch on plants; the more lotuses and other plants you grow, the less damage individual plants will incur.
Maintaining Your Pond
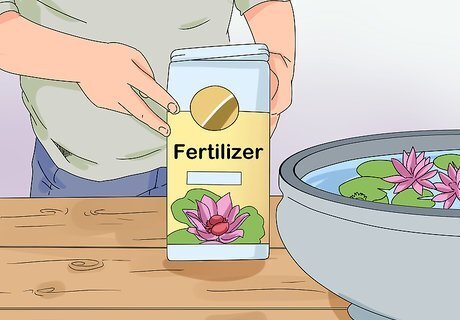
Fertilize your lotuses once a month during growing season. Lotuses are hungry plants and need to be fertilized regularly during the summer months. Apply liquid or tablet aquatic plant fertilizer according to your product's instructions once a month until mid-fall. If you're keeping fish in the pond, remember to use fish-safe fertilizer. Slow-release fertilizer is preferable, as immediate-release products will encourage algae blooms.
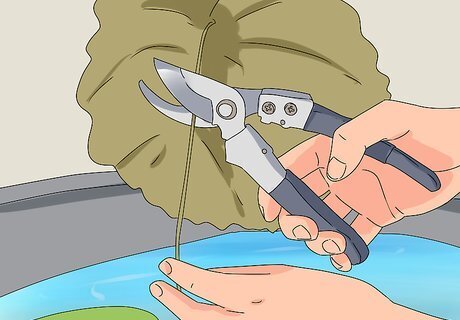
Prune yellow or brown foliage above the water's surface regularly. Provided the water and daytime air temperatures remain above 70 °F (21 °C), your lotuses will grow steadily and bloom about 4 weeks after planting. Each flower lasts for 3 days; use a pair of sharp, clean pruning shears to remove spent blooms and yellow leaves down to the nearest growing shoot. Clip spent foliage as soon as you notice it to encourage growth and prevent soiling the water. Never prune foliage below the water's, which could injure your lotuses.
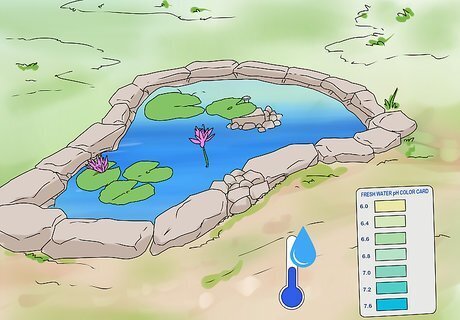
Monitor the water's temperature, pH, and chemistry. If you're only growing lotuses, the most important factor to monitor is the water's temperature. Once the plants are growing actively, do your best to maintain a temperature between 75 and 85 °F (24 and 29 °C). If the water cools below that range, heat it with a submersible pond or aquarium heater. If you're keeping fish in the pond, test the water's pH and ammonia, nitrite, and nitrate levels monthly. Amend the water, if necessary, to keep the pH neutral, ammonia and nitrate levels at 0 ppm, and nitrate levels less than 2 ppm. Find suitable heaters and water amendments online or at a pet store that sells aquatic animals.
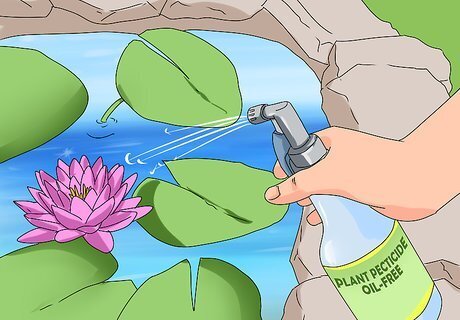
Control pests with an oil-free, biological insecticide. Oil or detergent-based pesticides can damage lotuses, so avoid these products. For most pests, including spider mites, mosquitoes, and caterpillars, sprinkle a Bt (Bacillus thuringiensis) biological insecticide into the water.Checking for common pests: Check your plants for small, nearly invisible specks and thin, gossamer webs, which are signs of spider mites. Look for mosquito larvae, which look like tiny worms or tadpoles, wiggling around in the water. Other common lotus pond pests, such as slugs and snails, are easy to spot and can be removed by hand.
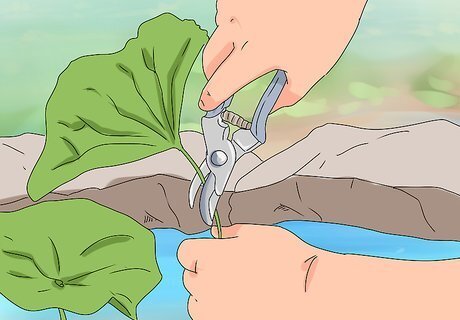
Protect your lotuses from frost during the winter. After the growing season, cut back plants' spent foliage down to the soil. The tuber, which goes dormant over the winter, needs to be protected from hard frosts. If you've dug an end of the pond deeper than 32 in (81 cm), move the container to this frost-proof depth until spring. If you didn't build a deep end into the pond, move the container to a cool, dark place, such as a garage. Keep the soil moist so the tubers don't dry out.


Comments
0 comment