
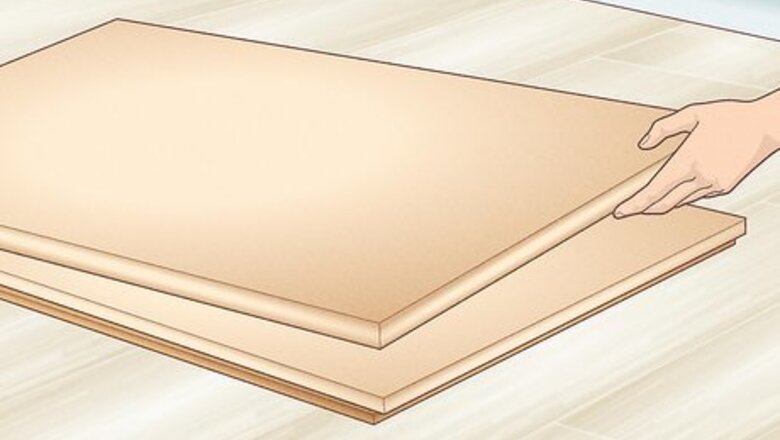
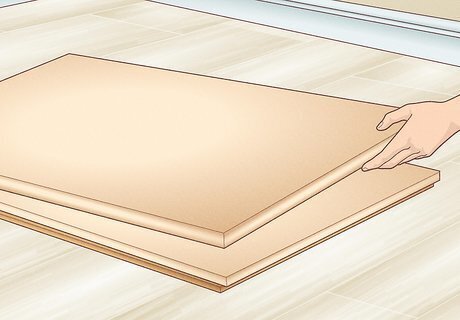
Figure out the basic materials you will need. The one in the photographs uses ⁄4 inch (1.9 cm) scrap plywood, ⁄8 inch (0.3 cm) Masonite composite board, and ⁄4 inch (0.6 cm) Lauan plywood.
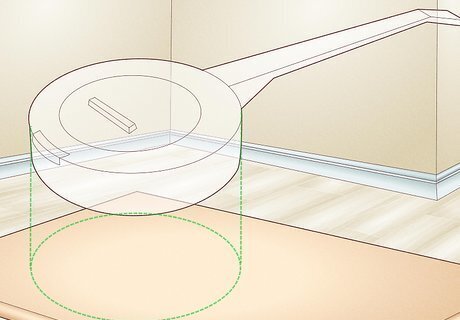
Decide how large you are going to make your banjo. Since you need to be able to scribe a pretty neat circle, you may want to use an inverted 5 gallon (18.9 L) bucket, as in the photograph.
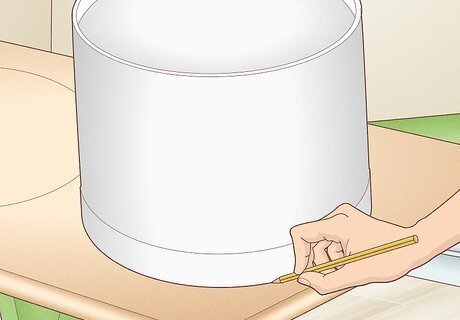
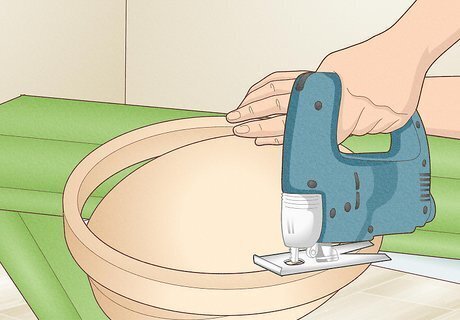
Mark two circles the diameter you want the banjo's body to be. Cut these with a jigsaw, following the line as closely as possible, since these will be mated pieces.Other approaches:Cut the circle with router or bandsaw instead.Make or purchase a circle-cutting jig for better accuracy.Use a plastic bucket or a tambourine as the banjo soundbox.
Scribe a line about ⁄4 inch (1.9 cm) inside your first cut, so the finished plywood will form a ring. Leave some wider places on opposite sides for attaching the instrument's neck. Cut these with your jigsaw, as well as some blocks about two inches long and ⁄4 inch (1.9 cm) wide on roughly the same radius for spacers.
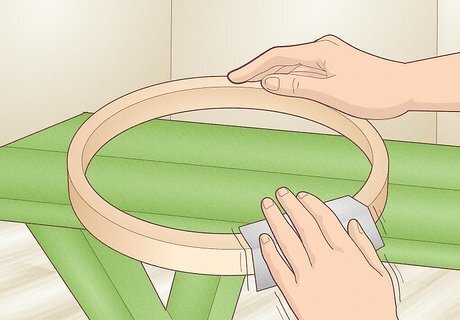
Sand or otherwise fit the two plywood rings so that they match closely. If they are not very round, make marks on their edges, so they can be refitted in the same position when they are fastened together permanently.
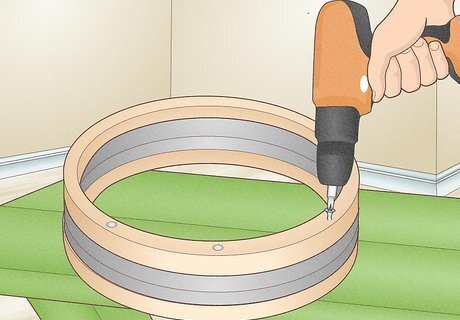
Attach two stacked spacer blocks at 5 or 6 locations around one of your rings, then place the other ring on top, and fasten through the top ring and spacers into the bottom ring using wood screws, and preferably, wood glue. Note that this forms a structural round box (the banjo's sound box) so it should be solidly assembled.
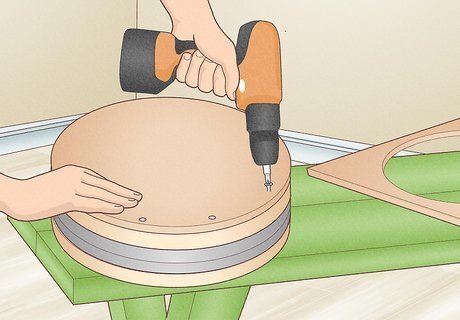
Cut a piece of finished grade plywood to fit one side of your sound box. You can scribe it with the box itself, or the bucket or other item you originally scribed the first rings with, and if you like, allow it to be slightly oversized so it can be sanded to fit nicely.
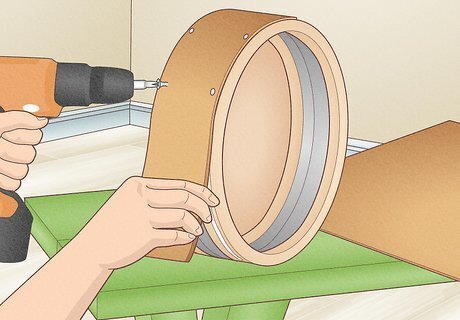
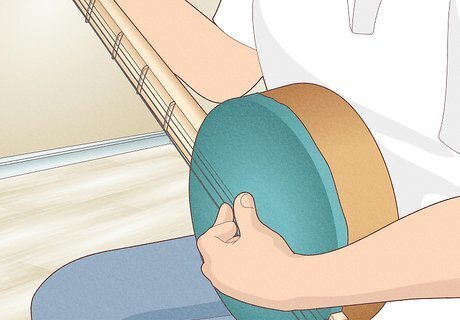
Cut a piece of ⁄8 inch (0.3 cm) Masonite composite sheeting or other material to wrap this assembly. Attach one end near where you think the instrument's neck will be attached, then wrap it around the frame, securing it will glue and small wood screws.
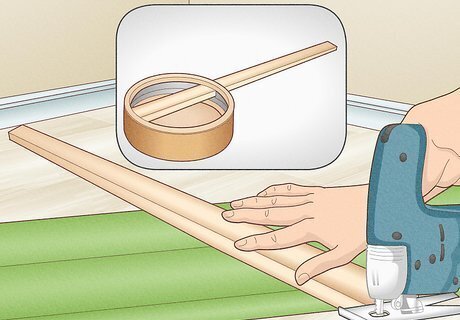
Cut your banjo's neck from a piece of 2X4 lumber. Make it about 24–26 inches (61.0–66.0 cm) long, tapered from 3 ⁄2 inches (8.9 cm) on one end to about 1 ⁄2 inches (3.8 cm) on the other. Attach this to the sound box through one of the blocking spacers you have previously added, using heavy wood screws pre-drilled through the sound box. Bevel the last two inches of the opposite end to attach the end piece.
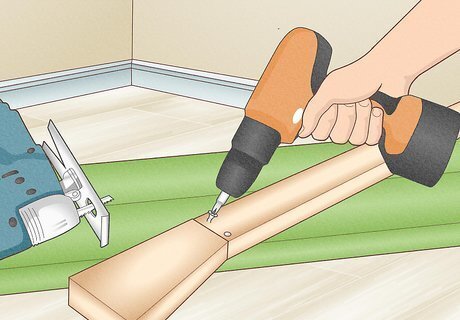
Cut out the end piece for the banjo neck, tapering it from about 2 inches (5.1 cm) to 3 inches (7.6 cm) in with, ⁄2 to 1 inch (1.3 to 2.5 cm) in thickness, 4 or 4 ⁄2 inches (10.2 or 11.4 cm) long. Attach this with two wood screws, keeping it aligned with the neck.
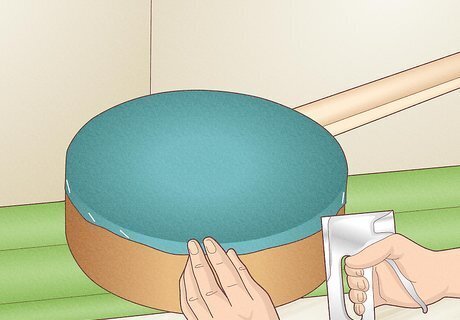
Stretch the drum material over the face of the sound box, tacking or screwing the material you use to side. Plastic, fabric, or even natural animal membrane can be used for this. In the example in the pictures, a faux leather was purchased for this purpose. Note that the material must be stretched very tightly.Materials Pros and Cons:Clear plastic: Bright, loud, thin sound. Can make it yourself by cutting a large PET-01 plastic bottle.Frosted top plastic: Common choice for bluegrass. Crisp notes with less sustain than clear plastic.Fiberskyn: warmer, old-time "plunky" sound, but fairly versatile.Calfskin: the original old-time classic, but expensive and vulnerable to humidity.
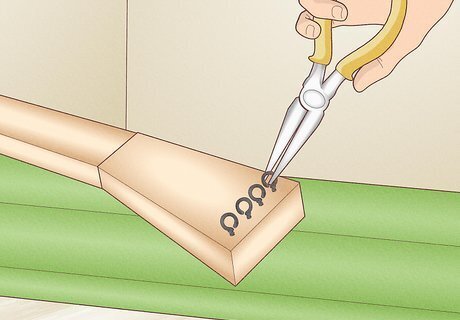
Attach eye screws at the end piece of the neck for the number of strings you intend to use. Attach a simple block on the end of the sound box opposite the neck, and attach eye screws here, also. Do not tighten these screws all the way down, as they may need to have space on the screw thread to turn for tuning the banjo (tightening the strings).
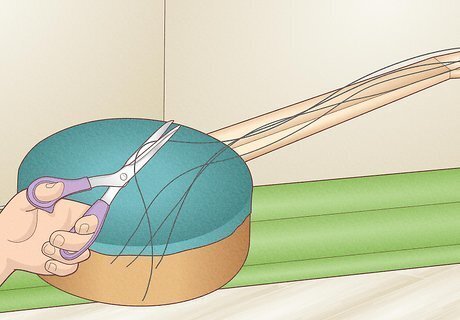
Cut lengths of string for stringing the instrument. You will need to cut them a few inches longer than the distance from the eye screws on each end, allowing for tying a simple knot to secure them. Use varying sizes of string, for example, if you use nylon monofilament fishing line, use 100 pound, 60 pound, 30 pound, and 15 pound test lines, to vary the pitch of each. Larger diameter (higher pound test) lines will produce a lower pitched sound, and adjusting the tightness of these strings by twisting the eye screws allowing the strings to wrap the shank will fine-tune the pitch.Store-bought alternatives:Metal: Banjos use plain metal for most strings, so the material advertised is only a wrapping on the fourth string. Phosphor bronze is warmer, while stainless steel and nickel-plated steel are brighter.Nylgut: a synthetic imitation of gut strings; warmer and quieter than other materials. May snap if they hit a sharp edge.

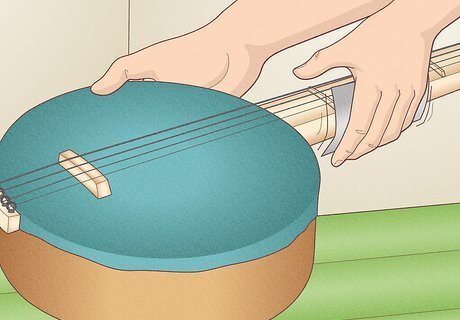
Cut blocks of wood about ⁄8 inch (1.0 cm) wide and 2 inches (5.1 cm) or so long, for frets, tapering them so the tops will be narrow when they are attached to the banjo neck. These can be spaced depending on your preference, but experiment to locate a convenient fingering location, which will depend on how you grip the neck when playing.
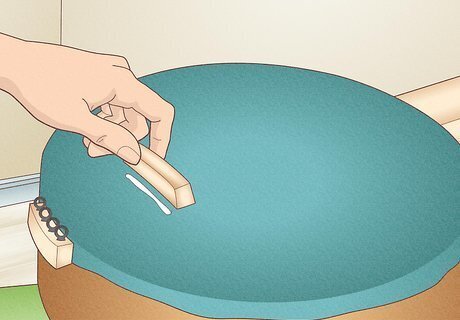
Cut an extra block in the previous step to attach to the diaphragm . This will bridge the gap between the strings and the diaphragm, transmitting vibrations from the strings, which are acoustically modified and amplified by it.
Sand or use a block plane to smooth and/or round any rough edges that will be exposed, then finish the wood with stain and varnish, paint, plastic decals, or any other method you choose. Keep in mind, this is intended to be a fun project, so limit the amount of rules you impose on yourself.
Tune and play around with your banjo, keeping in mind that the original instruments were made from gourds and bamboo limbs, with animal skin thongs for strings, fashioned with hand tools, and evolved into the chrome and lacquer descendants you see in professional musician's hands today.


Comments
0 comment