views
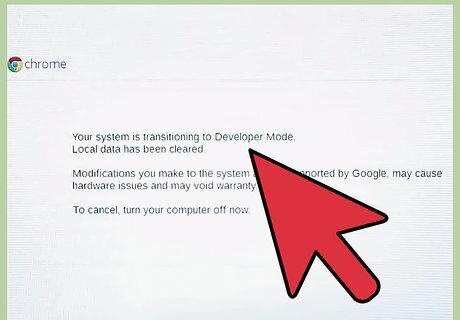
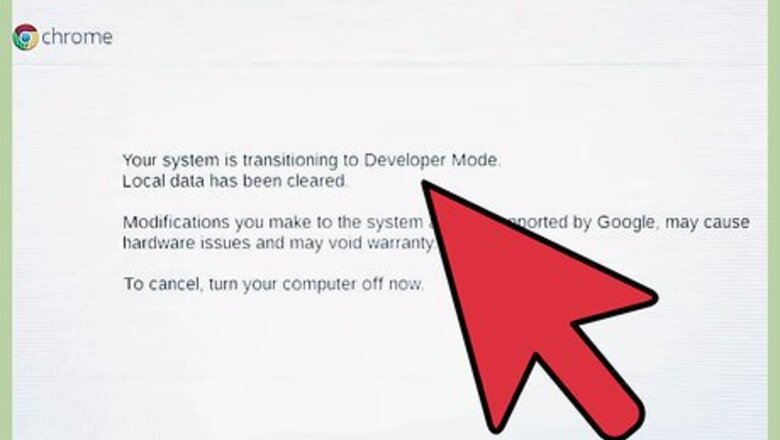
Put your Chromebook into developer mode. You can do this by holding the Esc and Reload buttons, and pressing the Power button; your computer will reboot, and if you were successful, a big exclamation mark will appear.
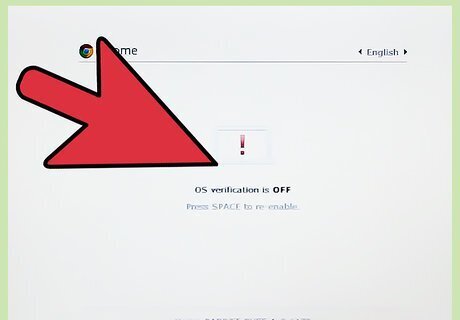
Disable verification and enter developer mode. Press Ctrl+D in order to disable verification; then press ↵ Enter. Your Chromebook will reboot and press Ctrl+D again in order to start developer mode.
Relax. This will take a while as your Chromebook prepares for developer mode; spend a few minutes getting a cup of coffee or relaxing.
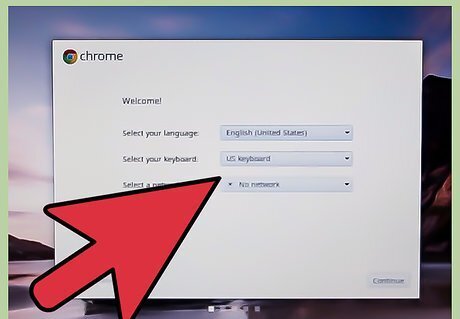
Start developer mode. There are two ways you can do this, either by doing nothing or pressing Ctrl+D again.
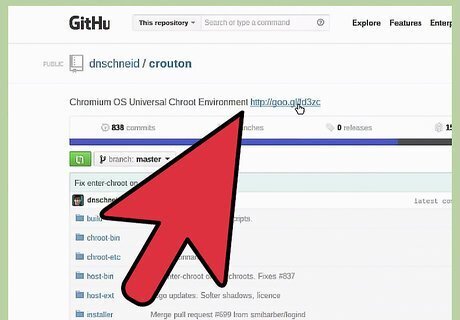
Perform setup procedures. Just like when you first got your Chromebook, you'll have to set up your laptop. Make sure you connect your Chromebook to wi-fi.
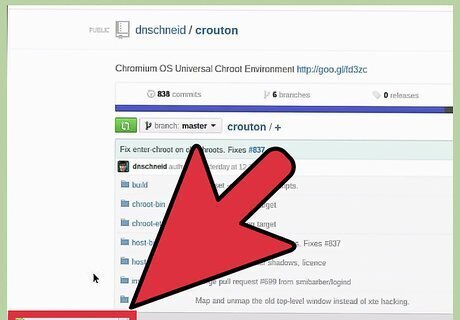
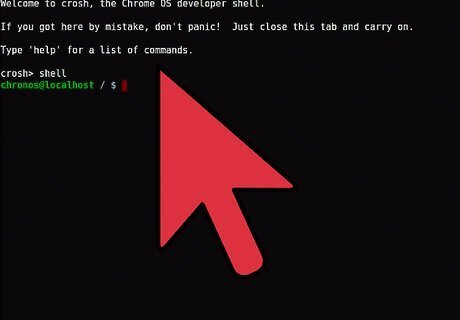
Open Crosh. You can do this by pressing Ctrl+Alt+T. Once there type shell, then the following command: sudo sh ~/Downloads/crouton -t kde sudo sh ~/Downloads/crouton -t unity, or sudo sh ~/Downloads/crouton -t xfce. For some Chromebooks, such as the Acer Chromebook series, you may want to add the following line of code to the end of your command line: -r trusty.
Wait. The installation may last either 10 mins or more.
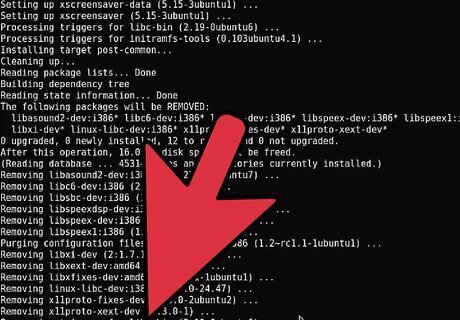
Enter username and password. This is what you're going to use for the system your installing. Make sure you remember the password, as you need this to install programs.
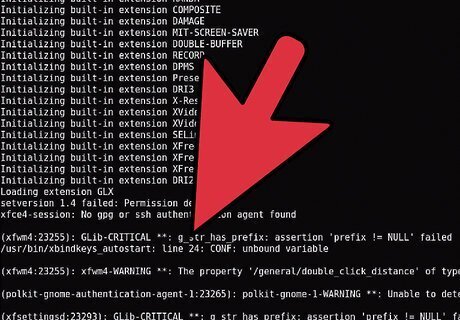
After the installation is complete, type sudo startxfce4, sudo startunity, or sudo startkde.


Comments
0 comment