
Select appropriate molding to be your chair rail. It can be narrow or wide, depending upon the style you wish to add to the room, but it should be appropriate to go in the middle of the wall; it should lie relatively flat against the wall as well.
Determine the height of your chair rail. You can place a chalk line or strip of masking tape on the wall to help visualize the height while you decide. It will probably be somewhere between 30 and 36 inches (75-90cm) high, though some go higher for dramatic effect. Here are other factors to consider: Chair_rail_2.JPGThe height of your chairs. Whether or not you are installing the chair rail to prevent damage to the wall, compare its height to your furnishings. It will help achieve a unified look. Windows in the room. Will you break the chair rail for windows, or position the chair rail below the windows? The height of any paneling that will go above or below the chair rail. If the chair rail will mark the top edge of wainscoting, for instance, simply follow the top edge of that material.
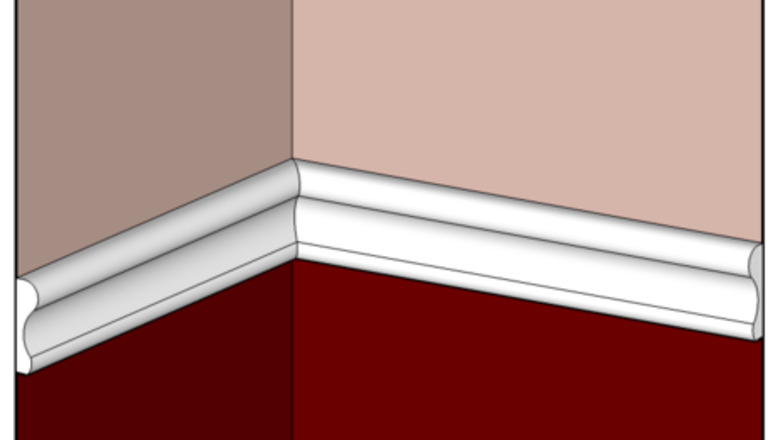
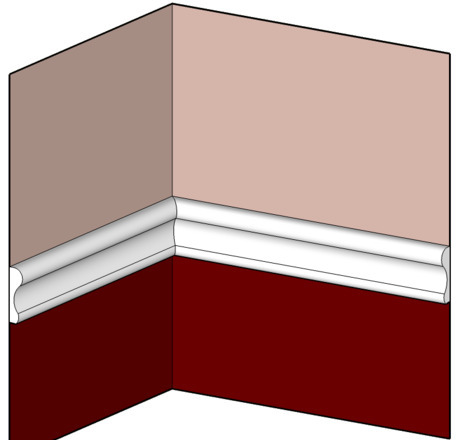
Measure and cut any miters for the chair rail, especially if you are turning any corners that are not 90º. If you have such a corner, look for an angle measuring device at your hardware store. Measure the angle, divide by two, and cut the chair rail on each side of the corner to the half-angle measurement.
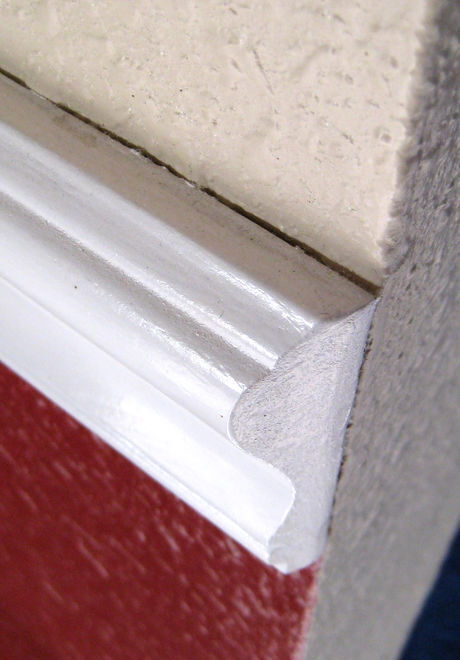
Measure the length of the chair rail carefully. Miter corners, especially interior corners first, then measure at the height where the chair rail goes. Walls are not always exactly plumb or square. If necessary, miter the corners at the opposite ends. Regardless of whether the ends are mitered for interior or exterior corners, or not mitered at all, the back of the chair rail should be as long as the segment of wall against which it will rest.
Paint or finish the molding. It is easier to finish the molding with it before it goes on the wall. Lay it on a drop cloth or newspapers or across a pair of sawhorses, and finish it to match other molding in your home.
Paint, paper, or panel the wall behind where the chair rail will go. Again, this is simpler before the rail is installed. A simple way to define a space or change the appearance of a room is to paint or paper a different color or design above and below the chair rail.
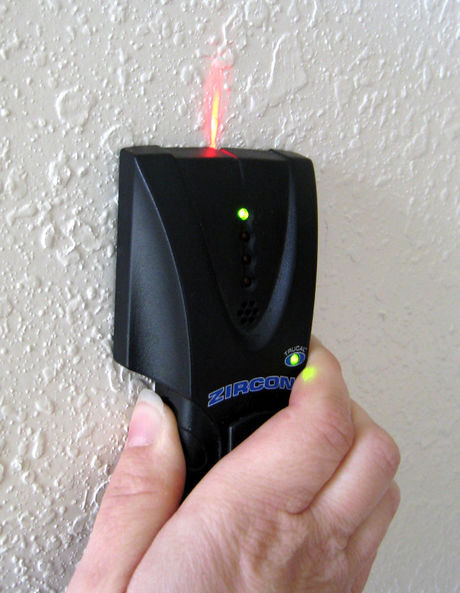
Locate the studs in the wall and mark them with a pencil or bits of masking tape.
Measure up from the floor and/or use a level to mark the chair rail height at each end of each piece.
Have an assistant help hold the chair rail at the marked height.
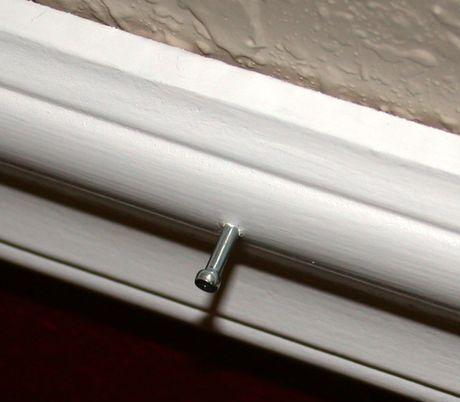
Drive finishing nails through the chair rail all the way into the studs. Take care not to hit the molding with the hammer, as it will mark.
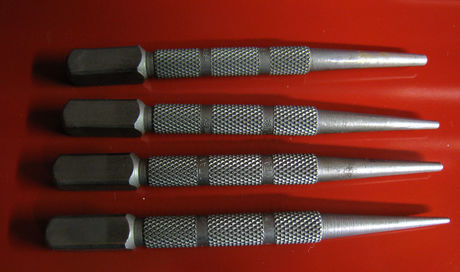
Use a nail set to recess the nails slightly into the molding, so that the heads are inset.
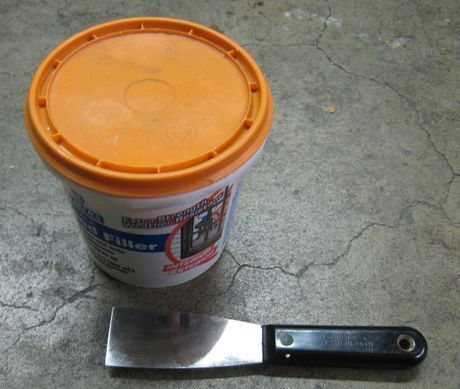
Putty over the nails. If you like, caulk the joints where the ends of the chair rail segments meet.
Touch up the paint or finish anywhere you have added putty or caulk.


Comments
0 comment