views
Deciding when to Harvest
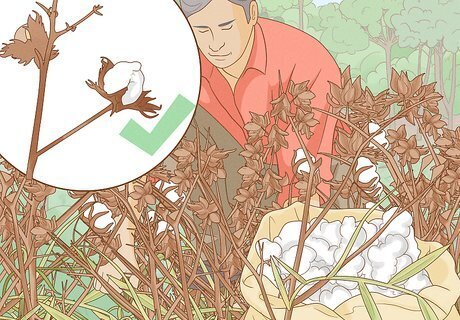
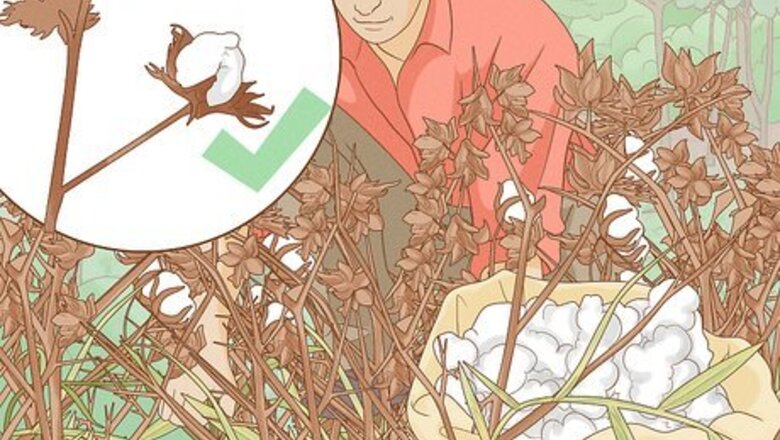
Harvest your crops when the bolls open up and expose the fluffy cotton. Before they are ripe, cotton bolls are closed up and resemble large seeds. They are greenish brown in color and often solid. Once the plant goes into bloom, it develops the white, fluffy cotton. If you are using a cotton picker, wait until the majority of your crops have exposed cotton balls. This way, you can maximize your yield.
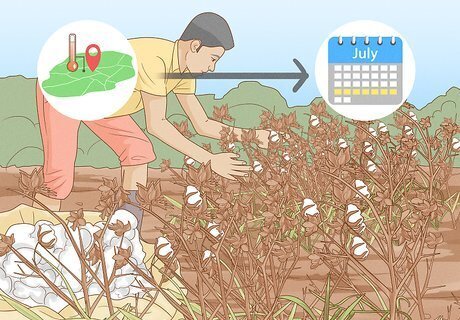
Start harvesting cotton in July if you live in warm climates. Cotton is typically planted in April. In general, it takes 150-180 days from planting until cotton is ready for harvest. If you live in an area with warm temperatures in the spring and summer, your cotton should be ready for harvest by the end of July. Do this if you live somewhere with very warm springs and summers.
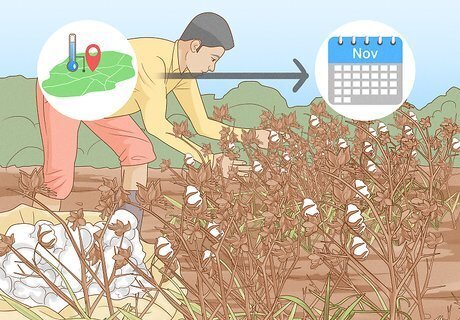
Pick cotton through November if you live in cold climates. Local weather and growing conditions cause the cotton to develop faster or slower depending on your particular region. If your cotton is not ready for harvest in July, let it grow until the bolls open up. This on average occurs throughout the fall if you live in an area with more mild spring and summer weather.
Picking Cotton by Hand

Wear a thick pair of gloves to protect your hands. Cotton bolls are sharp and pointy and can injure your hands. While this is not required, wearing gloves will help preserve your hands as you pick the cotton.
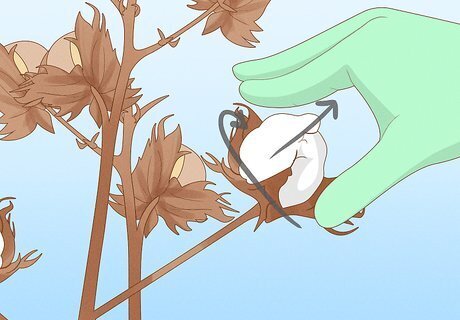
Pull the cotton at its base and twist it out of its boll. Cotton is easy to harvest because you can clearly see the fluffy white blossoms on the plant. You can turn your hand in a clockwise motion, for instance.
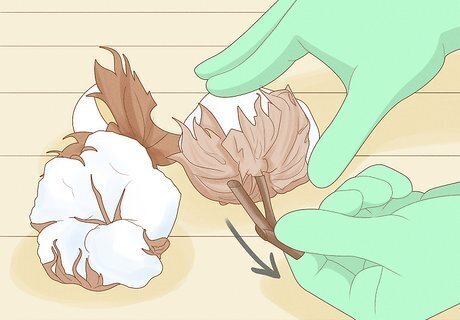
Separate the cotton from the boll if any of the plant remains. Ideally, the boll will stay on the plant when you remove the cotton. If the boll comes off with the cotton, simply remove it using your fingers. This makes it easier to use the cotton after it dries.
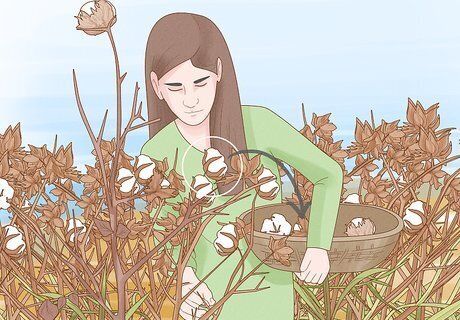
Place your cotton in a bucket or bag as you harvest it. To keep your cotton clean and fresh, carry a container with you and fill it up as you go. This way, you can easily keep track of all of your cotton and protect it against dirt and debris.
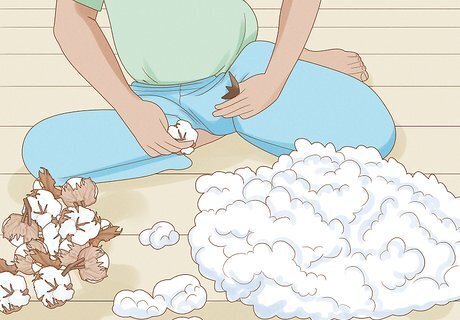
Lay your cotton on a flat surface and remove any leaves. After you harvest the cotton, sort through your bucket or bag, and get rid of any leaves, branches, or debris. This ensures your cotton is clean and fresh, so you can then use it for crafts or making fabric.
Using a Harvesting Machine

Read the user manual thoroughly before you operate the machine. Every cotton picker is slightly different in terms of their particular settings and location of the buttons. Reviewing the instructions ensures you start up and operate the machine correctly. This is very important. If you overlook the instructions for your particular cotton picker, you can get injured.

Sit in the driver’s position and buckle your seat belt. A cotton picker is a large machine used to harvest cotton quickly across a field. Operate these similarly to other farming equipment. Using a seat belt ensures your safety.
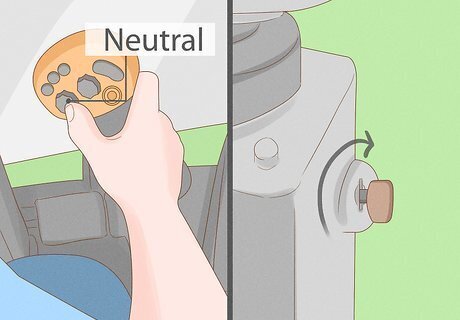
Move the lever into the neutral position and turn the key. Insert your key into the ignition. Then, push the lever downwards with moderate force into the middle spot where the track starts to divert. Move your key to the “Start” position, and then allow the key to return to the “Run” position after the engine starts. The automatic brake system engages when the lever is in the neutral position. The multi-function lever is located immediately next to your right hand and the armrest control module.
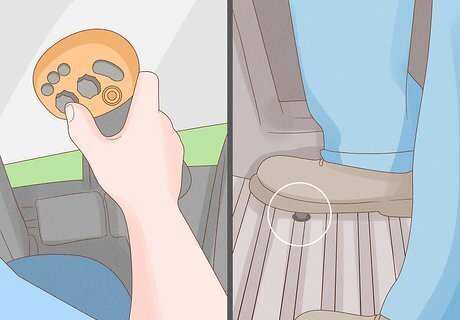
Adjust the initial settings on the cotton picker to start up the machine. First, select your RPM setting on the armrest control module. Most machines have 3 options, fast, normal, and slow. Choose the slow speed to start, then adjust your speed as desired. Then, press down on the floor switch with your foot for about 5 minutes. If you need help adjusting the settings, review your user’s manual. Here there will be a diagram explaining exactly what each switch looks like.
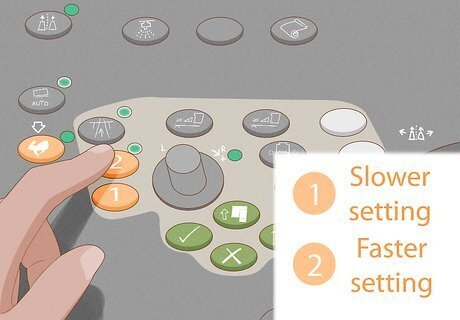
Select the “Field mode” setting and choose your speed setting. Before you move the machine, make sure you have the “Field mode” button pressed, as opposed to the “Road mode” setting. These buttons are typically 2 different colors. In addition, the “Field mode” setting has a slow and fast harvesting speed setting. Select “1” for the slower setting if you want to take your time. Press “2” for the faster setting if you want to harvest the cotton as fast as possible.
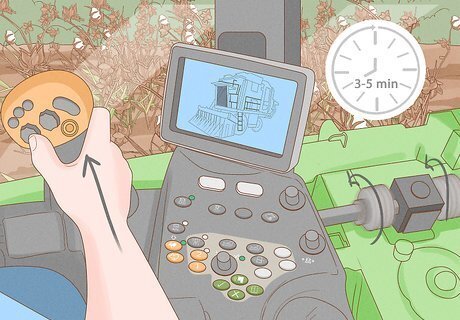
Engage the cotton fan and let your machine warm up for 3-5 minutes. Push down and forward on the upper left switch to start up the fan. Then, press down and forward on the right switch to start up the row units. Move your lever about 1/4 of the way forward to warm up the row units, and gradually move the lever forward to speed them up. Let the row units and cotton fan warm up for about 5 minutes before use. As you move the machine, the row units begin to turn and collect the cotton. Many cotton pickers have specific settings to help you navigate across the rows of cotton. See your user’s manual to initiate these settings.
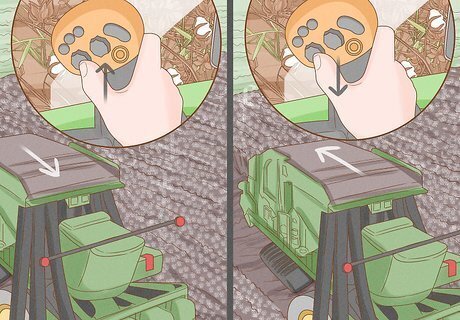
Move the lever forward to disengage the brake and move the machine. Take the lever out of the neutral position to move the cotton picker. To move forward, push the lever forward into the upwards position. To move backwards, pull the lever closer to you and past the neutral position. To collect your cotton, press and release the row unit lower switch on the lever when you start to move. You can easily adjust the lever to control your range of motion. If you want to turn from side to side, simply adjust your steering wheel.
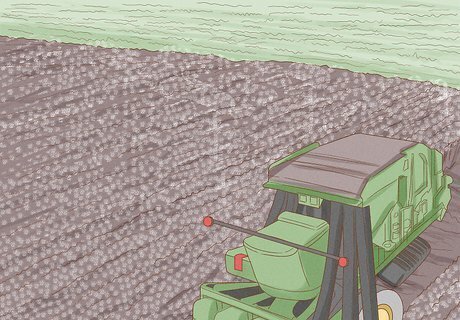
Travel across your cotton field in rows to harvest all of your cotton. The cotton picker automatically harvests the cotton for you. Simply drive straight until you get to the end of a row, then turn your wheel, pivot the corner, and continue driving across the next row. Stop when you harvest all of the cotton in your field.
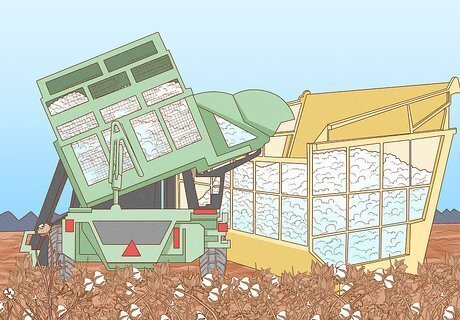
Dump the cotton into a “boll buggy” when the cotton basket is full. After you’ve gone around your cotton field and harvested your plants, select the “Eject” setting on the lever to open up the back of the cotton picker and dump out the cotton. Use the lever to raise up your harvest, and stop raising the picker when you reach the height of the boll buggy. Then, use the adjustment lever to release the wall and pour the cotton into the boll buggy. Continue ejecting the cotton until your picker is completely empty. A boll buggy is a separate storage container used to house harvested cotton. To stop the machine, locate the "Off" or "Stop" button, usually red and near the main lever. Then, turn off your key and remove it from the ignition.
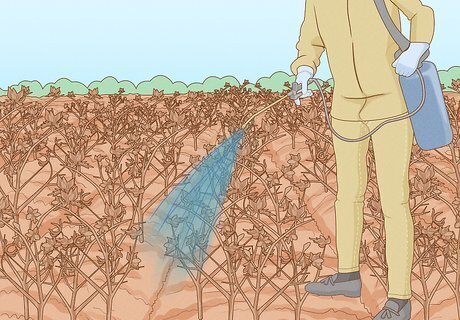
Defoliate your plant after you get rid of the leaves. Defoliation refers to removing the plant's leaves. This is done at the end of cotton's growth cycle in order to encourage new growth the next season. You can remove the leaves by hand, or you can spray defoliation chemicals onto the plants. Get defoliation chemicals from an agricultural or garden supply store.


Comments
0 comment