views
Purchasing
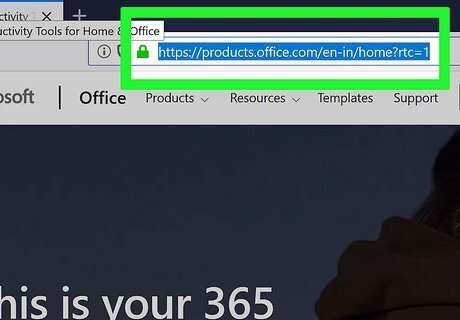
Open the Microsoft product page. Go to https://www.microsoft.com/en/microsoft-365 in your computer's web browser. If you've already purchased Office 365, skip ahead to installing it. If you've already purchased and installed Office 365, you can proceed to the final part.
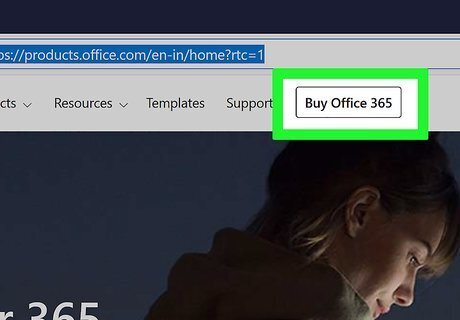
Click BUY OFFICE 365. It's a black button in the upper-right side of the page. This takes you to the page from which you can purchase Microsoft Office 365.
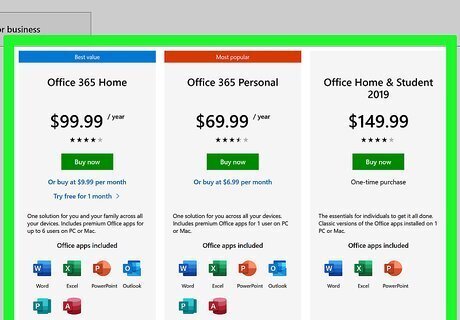
Select a subscription. Click the green Buy now button below one of the following versions of Office 365: Office 365 Home — Costs $99.99 per year. Includes five computer installations, five smartphone/tablet installations, and up to five terabytes of online cloud storage (one terabyte per account). Office 365 Personal — Costs $69.99 per year. Includes one computer installation, one smartphone/tablet installation, and a terabyte (1024 gigabytes) of online cloud storage. Office Home & Student — Costs $149.99 with no recurring fees. Includes Word, Excel, PowerPoint, and OneNote.
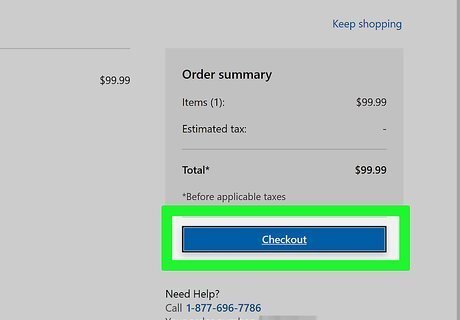
Click Checkout. It's a blue button on the far-right side of the page.
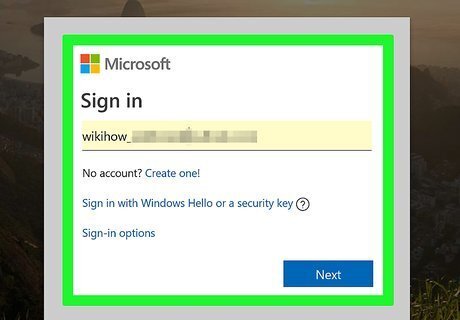
Enter your Microsoft account password. When prompted, type in the password for your Microsoft account, then click Sign in. If you aren't signed into your Microsoft account in your browser, you'll also have to enter your Microsoft account email address.
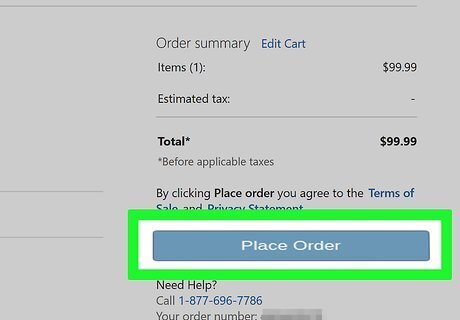
Click Place order. It's on the right side of the page. If you have a card associated with your Microsoft account, this will purchase your Office 365 subscription. You're free to download and install Office 365 at this point. If you don't have a payment option registered to your Microsoft account, you'll first need to enter your preferred payment information before you can purchase Office 365.
Installing
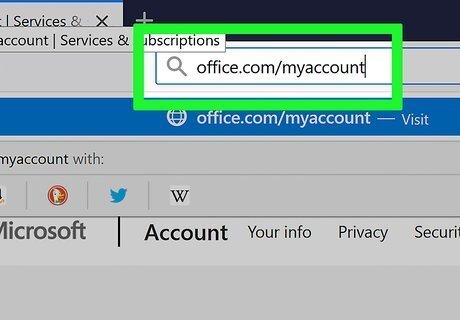
Go to your account's Office page. Go to http://www.office.com/myaccount/. This will open a page with your Office purchase.
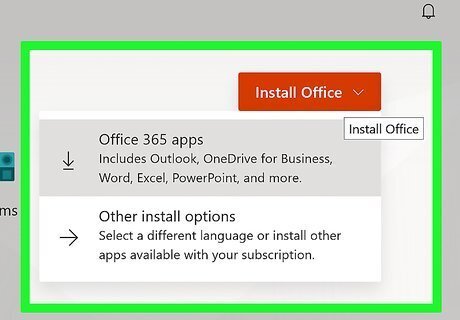
Click Install. It's an orange button below your subscription's name.
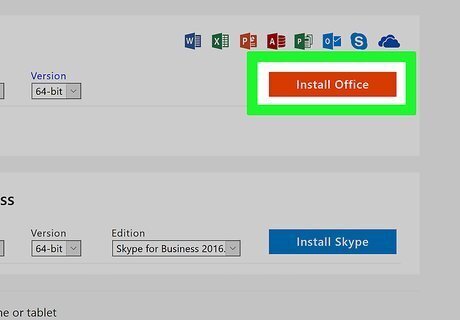
Click Install again. Your Office setup file will begin downloading. If you purchased the Student version of Microsoft Office, skip this step.
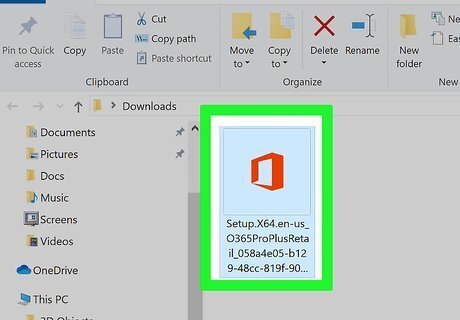
Double-click the Office setup file. You'll find it in your computer's default download location.
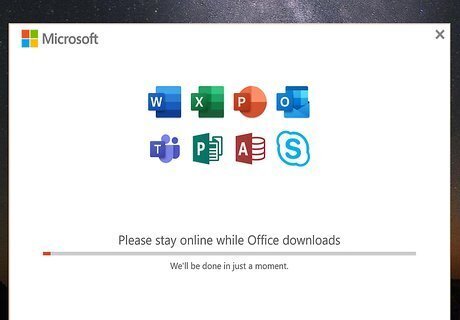
Install Office 365. This process will vary depending on your computer's operating system: Windows — Click Yes when prompted, then click Close when Microsoft Office finishes installing. Mac — Click Continue twice, click Agree, click Continue, click Install, enter your Mac's password when prompted, and click Install Software. Click Close when the installation completes.
Learning the Basics
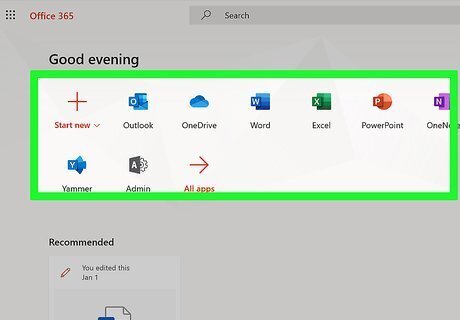
Understand how Office 365 interfaces work. Every Office 365 program has a main window in which you'll complete the program's main function. Additionally, each program has a colored toolbar (also referred to as a "ribbon") at the top of the window. You'll find different tab options (e.g., Insert) in the ribbon. Clicking a ribbon tab will cause the toolbar options to change.
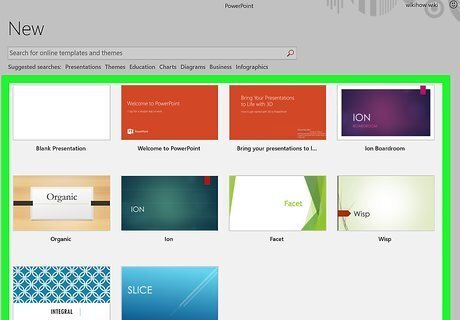
Remember to use templates. Upon opening an Office 365 program, you'll see a launch page with several different options. While one option is to create a Blank file, the other options on the launch page are popular Microsoft templates which can help shape your file to fit specific needs. You can search for additional templates in the search bar at the top of the launch page.
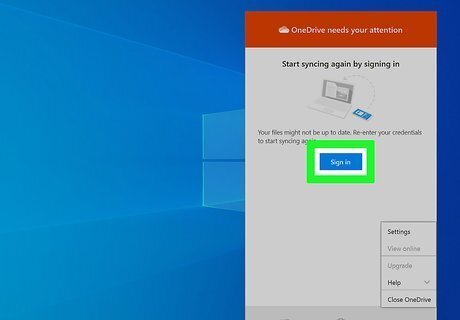
Try using Microsoft OneDrive. OneDrive is the cloud storage service which is connected to your Microsoft account. You get 5 gigabytes of free storage just for signing up, but Office 365 Home and Office 365 Personal users will receive 1 terabyte (1024 gigabytes) of storage. You can store your Office 365 documents in OneDrive in order to access them anywhere. Documents stored in OneDrive can be shared with other users in order to collaborate on documents.
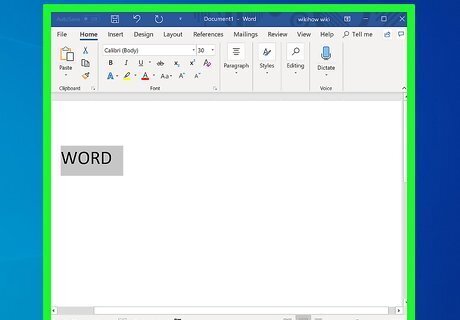
Use Word for creating documents. Microsoft Word is a classic program used to create text documents which can include formatting, images, and various publication options. Word saves files in a format recognizable by both Apple Pages and Google Docs.
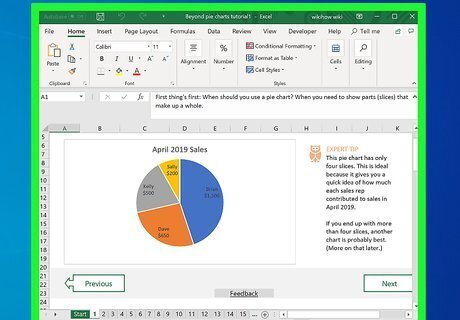
Use Excel to manage data. Excel is a spreadsheet program which can be used to store and format data, create charts, and run calculations based on available values. Storing data such as attendance, employee invoicing, and store inventory is common in Excel.
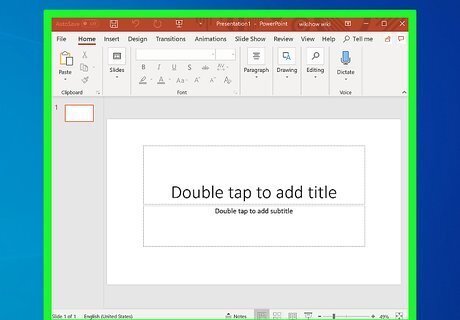
Use PowerPoint for slideshow presentations. PowerPoint allows users to create presentations on a slide-by-slide basis. PowerPoint presentations can also be used to create jeopardy games, flash cards, and more.
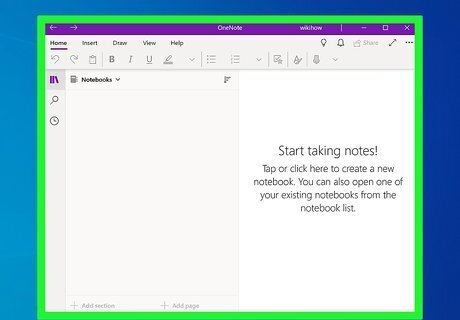
Use OneNote as an advanced notebook. While both Windows and Mac computers have plain text editors (Notepad and TextEdit, respectively), OneNote is capable of storing text, images, and formatting. OneNote also includes the option to create multiple different notebooks, making it easy to organize by category.
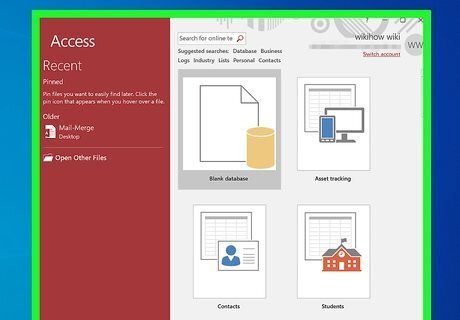
Use Access to build databases. Access is a Windows-only database program which can be used to create databases for anything from store inventory to personal finances. Once you've created a database, you can use Access' tools to display your data in different formats. Access isn't available for the Student edition of Office 365.
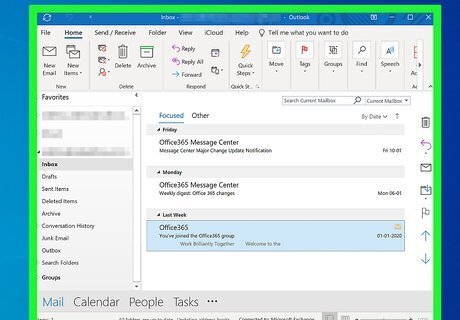
Use Outlook for your email client. Like many comparable desktop email services (e.g., Thunderbird), Outlook allows you to sign into your email address(es) in order to manage and store your email from your desktop. Outlook is not available in the Student edition of Office 365. Using Outlook is unnecessary, but useful if you want to keep a backup of your emails on your computer without downloading the emails manually from their respective services. Outlook replaced Hotmail as the default provider for your Microsoft account's email. It has an online version which can be accessed by going to https://www.outlook.com/ and signing in with your Microsoft account.
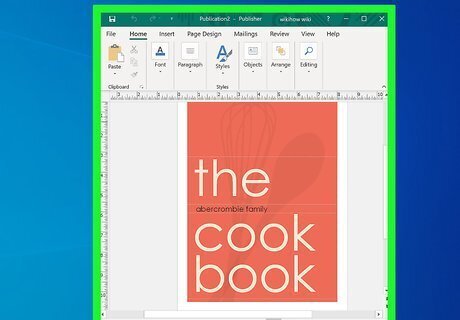
Use Publisher to touch up your Word documents. Like Access, Publisher is for Windows computers only. You'll use Publisher to put the finishing touches on documents by adjusting page layout, design elements, and images. While Publisher can be used for things like preparing documents for online publication, Word is still your best bet for creating text documents. Publisher isn't available in the Student edition of Office 365.




Comments
0 comment