
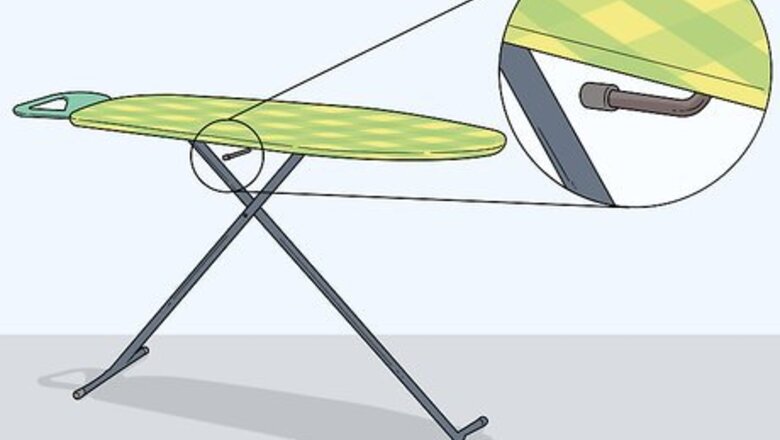
- Look at the underside of the ironing board to find the lever press. The lever press looks like a short, straight piece of metal that raises slightly from the board.
- Hold the level press while pushing on the surface of the board. As you apply pressure to the lever press slowly squat to the floor, bringing the ironing board with you.
- Once you've pushed the board to the floor, secure the legs so that they’re folded into the leg locks.
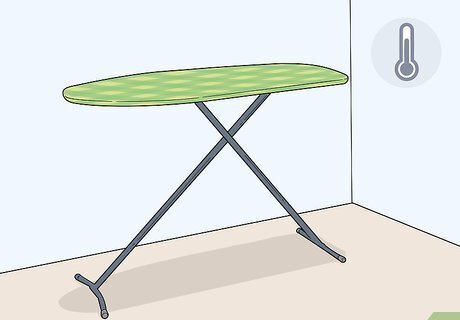
Folding a Freestanding Ironing Board
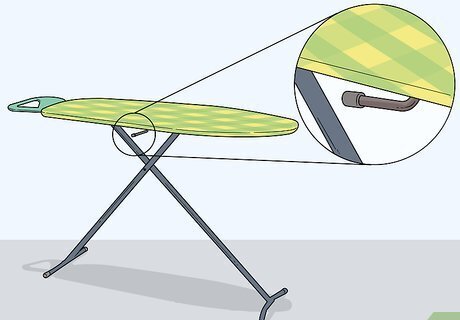
Look at the underside of the ironing board to find the lever press. The lever press should be near the edge of the board, or the nose. The lever press looks like a short and straight piece of metal that raises slightly from the board. This raise indicates the lever can be pressed inward. You might need to crouch down in order to see it. The lever can also be a short post that simply needs to be pressed in. Most levers also tend to resemble an L shape Note that some boards will have two lever presses. However, in most cases, only one needs to be pressed to open and close your board.
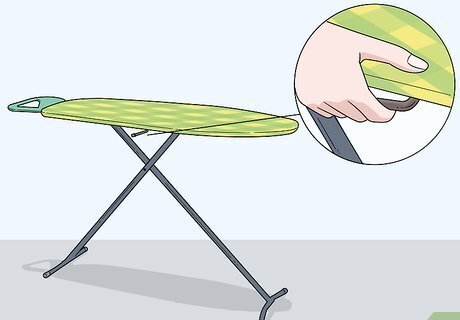
Hold the lever while pushing on the surface of the board. With the ironing board in its standing position place one hand on the press and the other on the opposite side of the board. As you apply pressure to the lever press, slowly squat to the floor, bringing the ironing board with you in the process. You will want to ensure that you are holding the board while you push the lever press, or it might crash down too quickly and hurt you in the process.
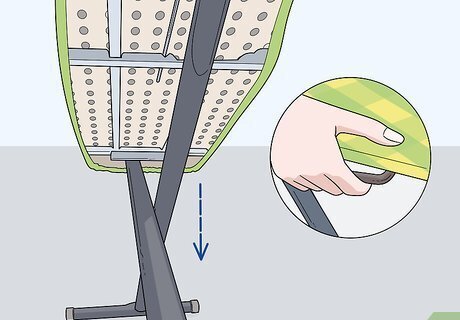
Lower the board all the way to the floor before releasing the lever, so the leg locks can be secured. Once the board has been pushed all the way to the floor, raise the board. The nose of the board should point upwards. Then secure the legs that should now be folded, into the leg locks. This process prevents the ironing board from opening while you carry it to the closet or while it is stored.
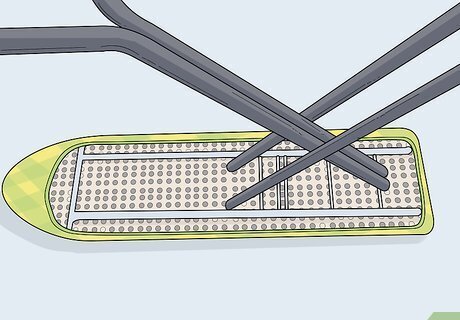
Turn the freestanding ironing board upside down on the floor. This helps situate your board in an easier position for closing the board.
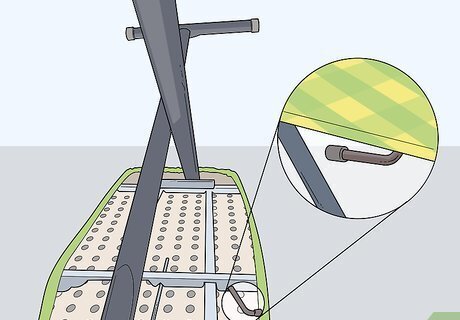
Locate the adjustment lever where the legs anchor to the board near the nose. Apply pressure to the lever with one hand while guiding the legs toward the board with your other hand.

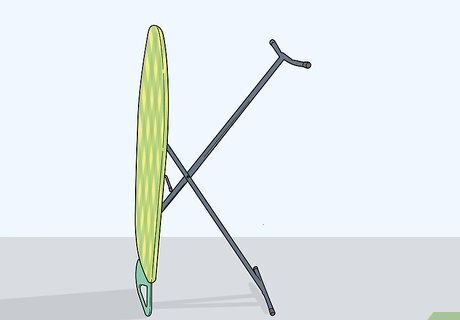
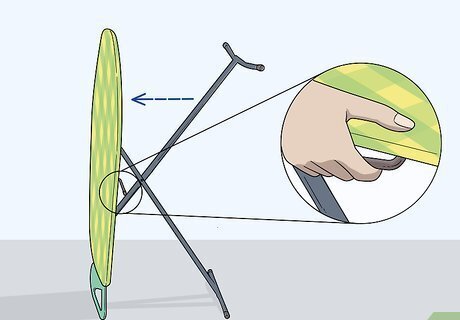
Close your ironing board perpendicular to the floor. Hold your freestanding ironing board with the board perpendicular to the floor and the legs pointing out. With one hand on the adjustment lever and your other hand on the legs, push on the lever and slowly pull the legs toward the board.
Closing Your Compact Ironing Board
Turn your compact ironing board upside down. Fold the board with the legs pointing upward. Perform this action on a stable and flat surface.
Search for the adjustment lever. The lever should be where the legs anchor to the board, near the nose end of the ironing board. With one hand that is ready to apply pressure to the lever, hold the legs with your other hand. While applying pressure to the lever—slowly—guide the legs toward the board. Make sure to secure the legs in the leg lock before storing your compact ironing board. This will ensure the legs do not pop open and potentially harm you.
Store your fixed-leg compact ironing board. If your compact ironing board features fixed legs, simply make sure the board is properly cool before you store it. These compact ironing boards do not require folding!
Collapsing a Built-in Ironing Board
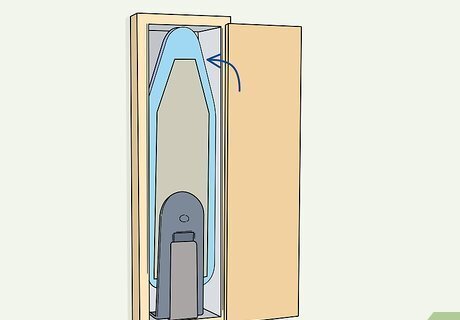
Lift the board to determine how it folds into the wall. As you lift the board at the nose end or each of the sides, one way will give under the pressure. Push your built-in ironing board into the wall in the direction that gives under pressure.
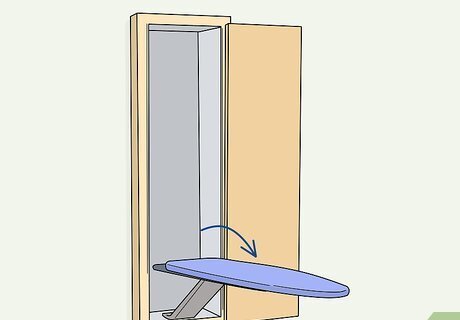
Secure the board to the wall mounting. Some built-in ironing boards will lock in place automatically once they have been pushed all the way into the wall. Others require that you secure the board with the built-in locking mechanism.
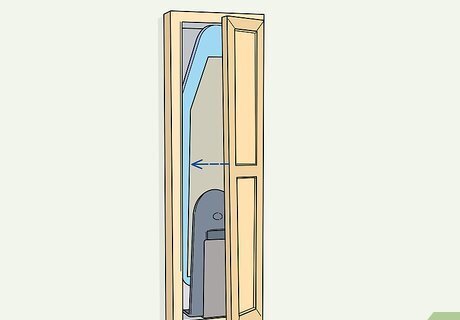
Close the cabinet that houses your built-in ironing board. Once you have closed the cabinet, the ironing board will be securely tucked away for later. Be careful opening the cabinet, however, in case the ironing board comes loose from the locking mechanism.
Creasing an Ironing Pad
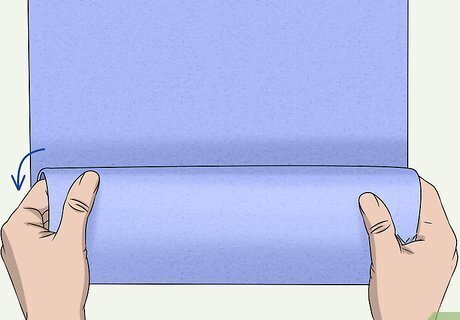
Bend one side of the pad onto the corresponding part of the pad. Ironing pad are pieces of cloth, that are sometime magnetized. They are generally easy to fold and can be draped over a dryer or counter for ironing purposes. Some ironing pads come with magnets, specifically so they can be placed over dryers.
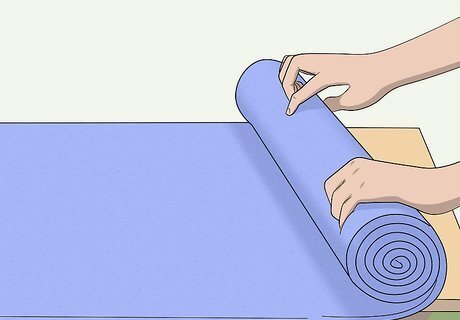
Roll up your ironing pad to create a cylinder shape. Start to tightly roll one end of the pad, while gradually making your way to the other side of the pad. Make sure to continue to roll and tuck as you partake in this process. This will help you save more space.
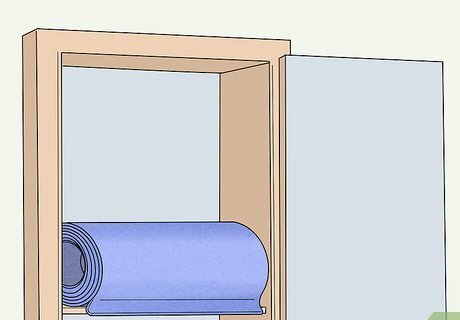
Place your folded or rolled ironing pad into storage. Continue to check the durability of your pad overtime to determine when it is time to be replaced.


Comments
0 comment