
- Make sure you are signed into the same Apple ID on your Mac that you are signed into your iPhone or iPad with.
- Make sure both macOS and iOS are up-to-date.
- Try restarting both devices. You can also sign out of iMessage and back in.
- Make sure text message forwarding is activated on your iPhone or iPad.
Check Your Internet Connection
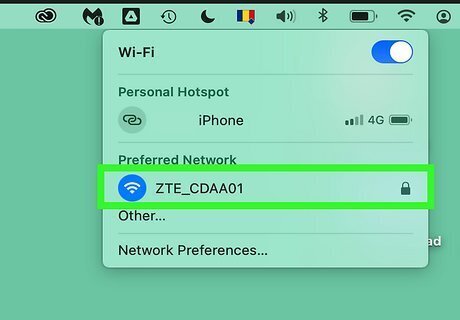
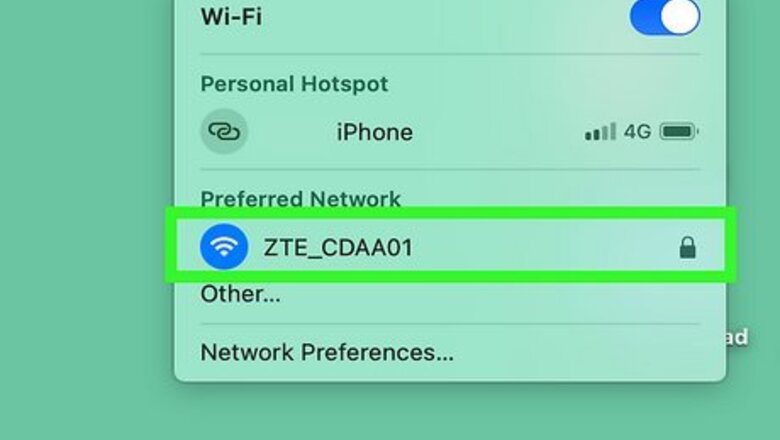
Check that both your Mac and your iOS devices are connected to the internet. If there is no internet connection or your internet connection is not stable, your messages cannot sync. Check and make sure that both your iPhone or iPad and your Mac are connected to Wi-Fi, a mobile data connection, or a wired internet connection.
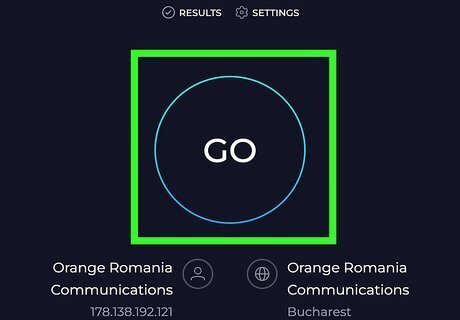
Check that your internet connection is stable. Try using other apps or visiting other websites on your Mac or iPhone or iPad. If other apps are loading slowly or are unable to connect, it could be a sign that your internet connection is slow or unstable. This could prevent iMessage from syncing. Contact our internet service provider for assistance.
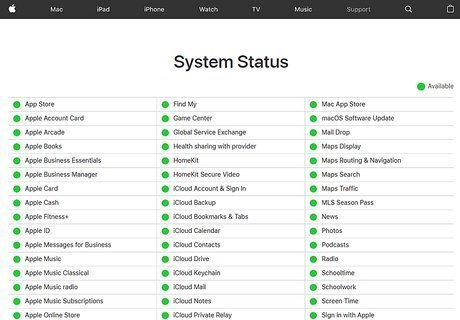
Check the Apple ID and iMessage server status. Not all internet connection issues are on the side of the user. There could be issues with the server that iMessage connects to. If there are issues, Apple is aware of them and is working to fix them as soon as possible. Use the following steps to check that the Apple ID and iMessage servers are up and running: Go to https://www.apple.com/support/systemstatus/ in a web browser. Make sure there is a green dot next to both "Apple ID" and "iMessage." A yellow triangle indicates there are issues with the server.
Check Your iMessage Settings
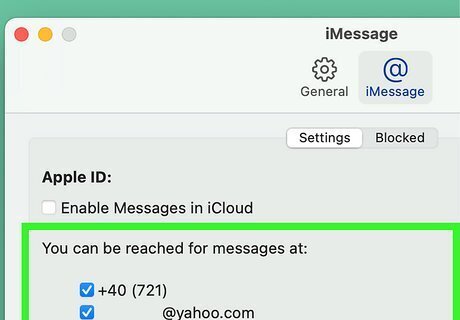
Check the iMessage settings on your Mac. You’ll want to make sure your Mac is set up to receive messages sent to the phone number and email address associated with your iPhone. To get started: Open the Messages app on your Mac. Click the Messages menu at the top of the screen and select Settings (or Preferences, in older versions of macOS). Make sure the boxes next to your phone number and email are checked under the “You can be reached for messages at” header.
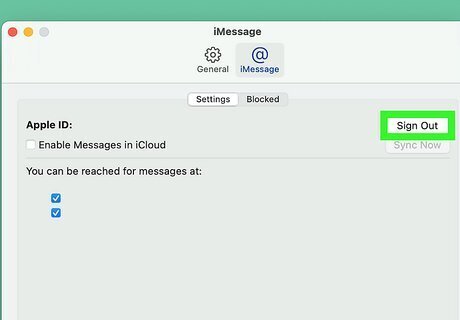
Check the Apple ID settings on your Mac. If you don’t see your phone number listed, you may not be signed into the right Apple ID on your Mac. Compare the Apple ID email address you are signed in with on your Mac and make sure it's the same one you are signed in with on your iPhone. Use the following steps to check your settings on Mac: Open Messages on your Mac. Click Messages in the menu bar at the top. Click Preferences. Click the iMessage tab. Check that your Apple ID is the same one you are signed in with on your iPhone or ipad. Click Sign Out if the email address is not the same. Sign in with the correct Apple ID.
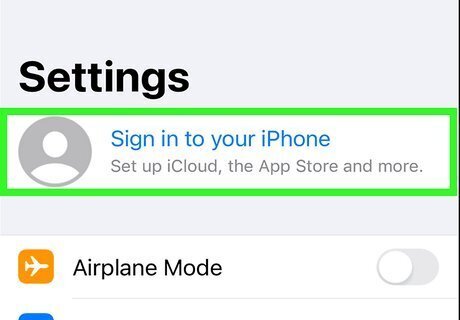
Sign into a different Apple ID on your iPhone. To get iMessages on your Mac, you’ll need to be signed into the same Apple ID on both your Mac and your iOS device. If you are not signed into your iPhone with the correct Apple ID, use the following steps to sign out and sign back in with the correct Apple ID: Open the Settings menu. Tap your name at the top. Scroll down and tap Sign Out. Enter your Apple ID password and tap Turn Off. Tap the toggle switch next to the data you want to keep on your phone. Tap Sign Out and then tap Sign Out again in the confirmation pop-up. Open the Settings app, if it's not already open. Tap Sign In to Your iPhone. Enter the email and password for the correct Apple ID. Enter the 6-digit number sent to your trusted device, if prompted.
Enable Messages in iCloud
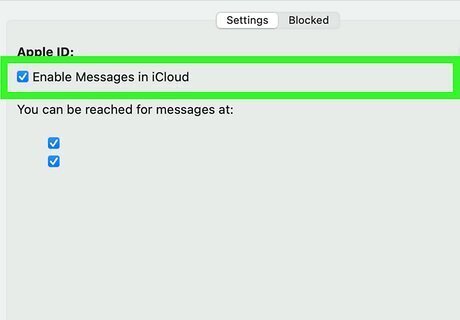
Turn on Messages in iCloud to sync iMessages across all devices. While you are checking your settings on your Mac, check to make sure Messages in iCloud is enabled. Messages in iCloud ensures that your iMessages will be automatically synced between all your devices that are signed into the same Apple ID. Just keep in mind that this setting will use up space in your iCloud Drive, and that it will only sync iMessages and not SMS or MMS messages. If you’d prefer not to use this setting, set up Text Message Forwarding instead. Use the following steps to check: Open Messages on your Mac. Click Messages in the menu bar at the top. Click Preferences. Click the iMessage tab. Make sure the checkbox next to "Enable Messages in iCloud" is checked.
Do a Manual Sync
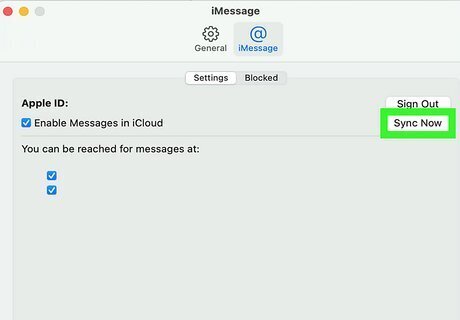
This option will download any iMessages that are in iCloud. First, confirm that your internet connection is stable and you are signed in with the correct Apple ID. Then make sure you have Messages in iCloud enabled on your Mac. The manual sync option is only available if you’re using the Messages in iCloud option to get texts on your Mac. Use the following steps to do a manual sync in Messages on your Mac: Open Messages on your Mac. Click Messages in the menu bar at the top. Click Settings. Click the iMessage tab at the top. Click Sync Now.
Check Your Text Message Forwarding Settings
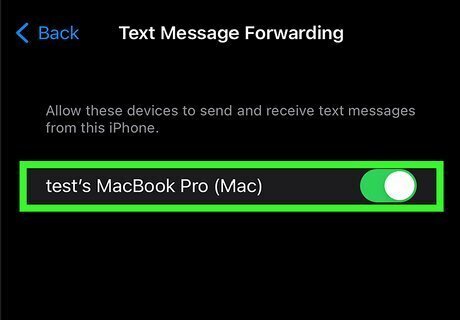
Check your text message forwarding settings. If you are not receiving your text messages on your Mac, you may need to enable text message forwarding on your iPhone. This is an alternative to turning on Messages in iCloud that allows you to automatically forward texts from your phone to other devices using the same Apple ID. Use the following steps to enable forwarding on your iPhone: Make sure your iPhone and Mac are both signed in to the same Apple ID. Open the Settings App on your iPhone. Scroll down and tap Messages. Tap Text Message Forwarding. Tap the toggle switch next to your Mac. If the switch is green, it’s on.
Disable and Re-enable iMessage
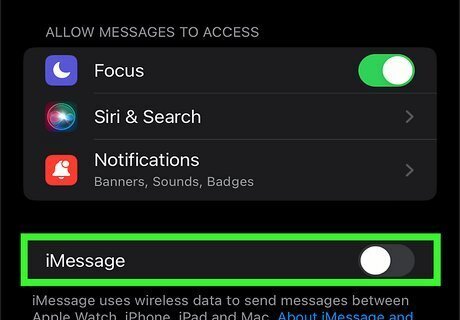
Disable and re-enable iMessage on your iPhone or iPad. Disabling and re-enabling iMessage on both your iPhone or iPad and your Mac may force re-synchronization. Use the following steps to disable and re-enable iMessage on your iPhone or iPad: Open the Settings menu, which has an icon that resembles two gears. Scroll down and tap Messages. Tap the toggle switch next to "iMessage" to turn it off. Wait 30 seconds. Tap the toggle switch to turn iMessage back on.
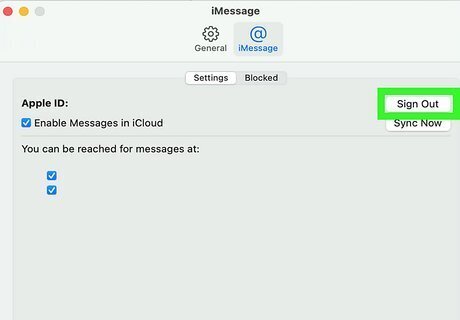
Disable and re-enable iMessage on your Mac. Use the following steps to disable and re-enable iMessage on your Mac: Launch Messages. Click Messages in the menu bar at the top. Click Preferences (or Settings). Click the iMessage tab. Select Sign Out next to your Apple ID. Wait a minute or two, then sign in again. Make sure you sign in with the same Apple ID associated with your iPhone. If you have Messages in iCloud enabled, you can turning it on and off. Uncheck the box and click Disable This Device, wait a minute or two, then check the box again.
Restart your iPhone and your Mac

Restart your iPhone. Sometimes restarting your devices can fix synchronization issues. Use the following steps to restart your iPhone: Press and hold the either of the volume buttons and the Sleep/Wake button until the power screen appears. On older iPhone models, you just need to press and hold the Power button. Drag the slider bar at the top of the screen. Wait 30 seconds for it to fully turn off. Press the power button to turn it back on. On some iPads and older iPhones, the power button is on the top-right side.
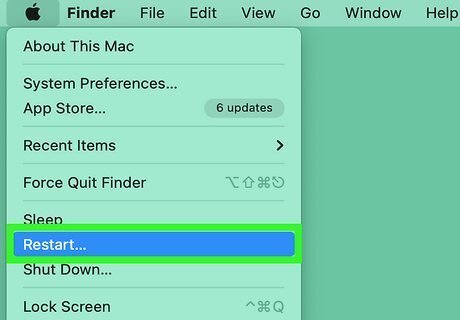
Restart your Mac. Use the following steps to restart your Mac: Click the Apple icon in the menu bar in the upper-left corner. Click Restart. Wait for your Mac to completely power down and then power back on.
Check That the Time and Date Are Correct
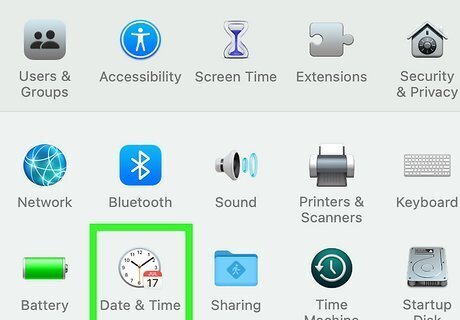
Check the time and date on your Mac. You can usually see the time and date in the upper-right corner of your desktop. If the time and date are not correct for your location, iMessages might not sync. If the time and date are incorrect, use the following steps to correct it: Click the Apple icon in the menu bar. Click System Settings. Click General. Click Date & Time. Click the toggle switch next to Set time and date automatically. Click Set. Enter your Mac password. Enter a network time server. The default network time server for Apple is "time.apple.com." You can also enter a different network time server, like "pool.ntp.org." Click the toggle switch next to Set time zone automatically using your current location. You must have Locations turned on on your Mac.
Update iOS and macOS

Update your iPhone or iPad. Apple frequently releases new updates to iOS which is the operating system for iPhone and iPad, as well as macOS, which is the operating system for Mac. These updates often contain fixes to known problems. Try updating the operating system on both your iPhone or iPad and your Mac to see if this fixes the problem. Use the following steps to update your iPhone or iPad: Open the Settings menu. Tap General. Tap Software Update. Tap Download and install or Install Now if an update is available.
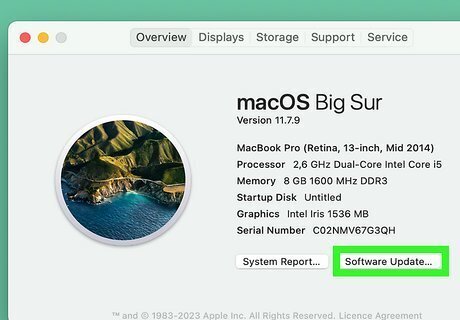
Update your Mac. Use the following steps to update macOS on your Mac: Click the Apple icon in the menu bar at the top. Click System Settings (or System Preferences). Click General in the menu bar to the left. Click Software Update. Click Update Now if an update is available.


Comments
0 comment