
Removing the Screws from the Faucet
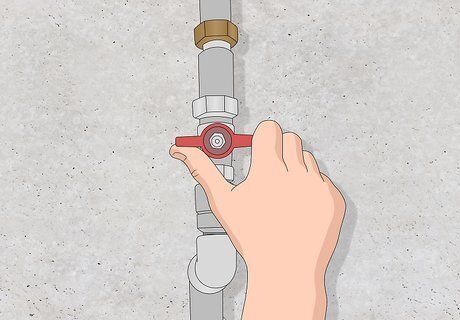
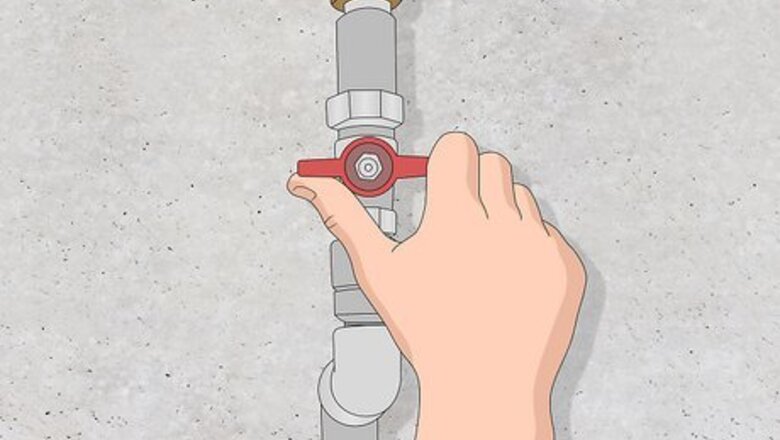
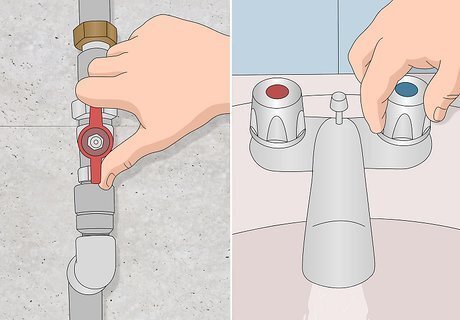
Turn off the main water supply. This will stop water from gushing out of your faucet when you unscrew it later. Press the off switch on your water main box to turn off the water. Alternatively, look under your sink for a small valve. Turn the valve clockwise to shut off the water supply to your sink without turning off all the water in your house. The water mains switch is often located in the basement or on an outside wall near the laundry or bathroom. If you have a landlord, ask them where the water mains are located. If your switch is a wheel, turn it clockwise to shut off the water supply.
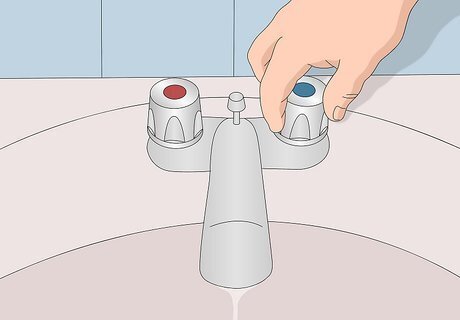
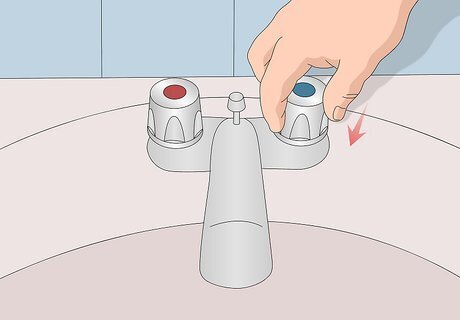
Turn on the faucet you are fixing. This will allow the water in the pipes to run out. Let all the water run out before you start trying to fix the tap. If the water doesn’t stop running, check that the water mains are in the “off” position.
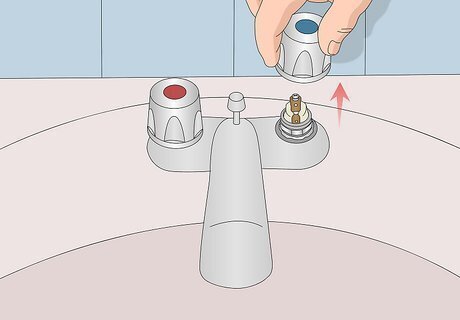
Pull or lever off the decorative cap. If your tap has a decorative cover, you will need to remove this in order to access the screws underneath. Try to pull the cap straight off the tap. If it doesn't come loose, unscrew it counterclockwise. If that is unsuccessful, place a butter knife or a flat-head screwdriver underneath the cap and gently pry it upwards. Some single handle faucets have an allen screw recessed in the handle. If you can't find a decorative cap, check the lower part of the handle where it meets the faucet to look for the screw.
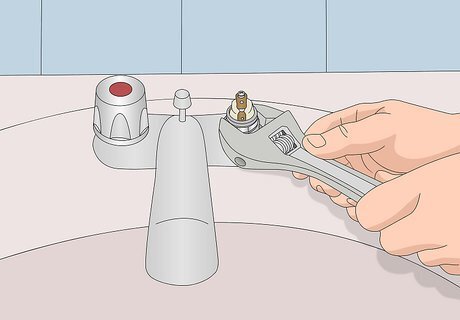
Unscrew the headgear nut using a spanner. A spanner is a tool that helps to tighten and loosen nuts and bolts. The size of the screw will vary depending on what model faucet you have. Experiment to find what spanner fits the width of your screw or use an adjustable spanner. Turn the spanner left to undo the screw, this will cause the handle to come loose. Locate the headgear nut under the decorative cap Keep the screw and handle somewhere safe so that you find it when you want to put the tap back together. Put the plug in the plughole to stop any screws falling down the pipes.
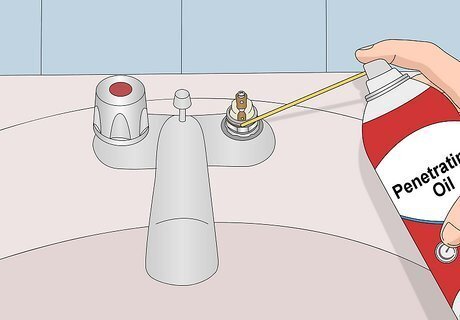
Apply penetrating oil to the screw if it is not turning easily. Avoiding forcing the screw off, as this can damage the tap fitting. Spray penetrating oil around the screw and leave it to soak in for 10 minutes before reattempting to unscrew the nut. If the nut still won’t come off, repeat the process of applying oil. Purchase penetrating oil from a hardware store.
Replacing the “O” Ring
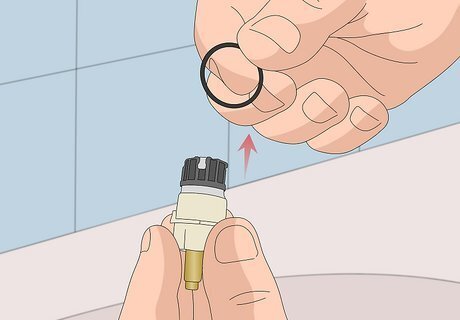
Pull off the “O” ring. The “O” ring is a piece of rubber that sits under the headgear nut. A damaged “O” ring is the cause of a leaky faucet handle. Stretch the ring off the spout and pull it out of the faucet. Keep the “O” ring in case you need it to identify what size replacement ring you will need. If your "O" ring is broken or crumbled, make sure to remove any small pieces from the faucet. This is necessary for your new ring to sit properly.
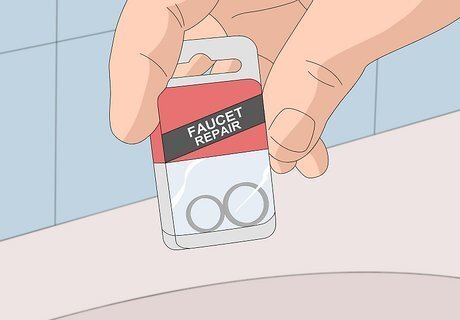
Purchase a replacement “O” ring. There are multiple sized “O” rings so you will need to find one that is the correct size. Take your old “O” ring into the store to help you identify the size you will need. Purchase a ring that is the same diameter and width as the original “O” ring. ”O” rings can be purchased from hardware stores.
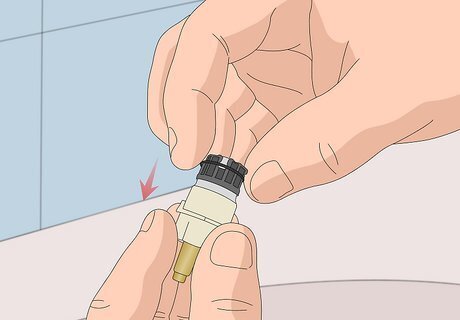
Push the new “O” ring onto the spout. The new “O” ring needs to go in the same place that the original was sitting. Place the “O” ring on top of the spout and use your fingers to push the “O” ring down onto the spout. "O" rings can stretch if they've been in use for a long time. Purchase a new "O" ring that is just slightly smaller than your old one to make sure you get a tight fit.
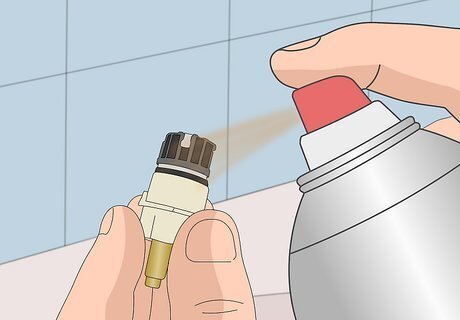
Spray plumbers grease over the “O” ring and spout. Plumbers grease will help to stop the “O” ring from being damaged. Make sure to spray the grease over all the surfaces on the “O” ring as well as the spout. Plumbers grease can be purchased from a hardware store.
Reassembling the Tap

Screw the headgear nut back on using a spanner. Locate the headgear nut and place it back to its original spot. Make sure the handle is in its original placement before you tighten the screw. Turn the spanner towards the right to tighten the screw.
Place the decorative cover back onto the top of the tap. If your tap has a decorative cover, click this back into place. If you misplace your original decorative cover, purchase a replacement from a hardware store.
Turn on the water mains and gently turn on the faucet. It is important to turn the tap on gently at first to release any air bubbles. After the air bubbles are out of the pipes the tap can be used as per usual. The air bubbles will make rumbling noises. Once the noises stop, this signals that the air is out of the pipes.


Comments
0 comment