views
Setting up the Still
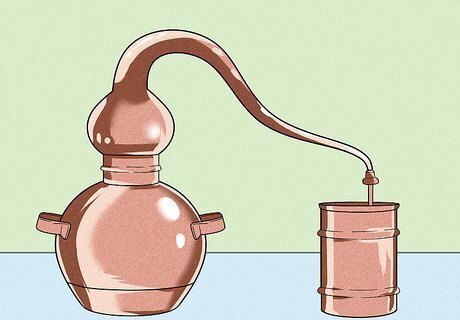
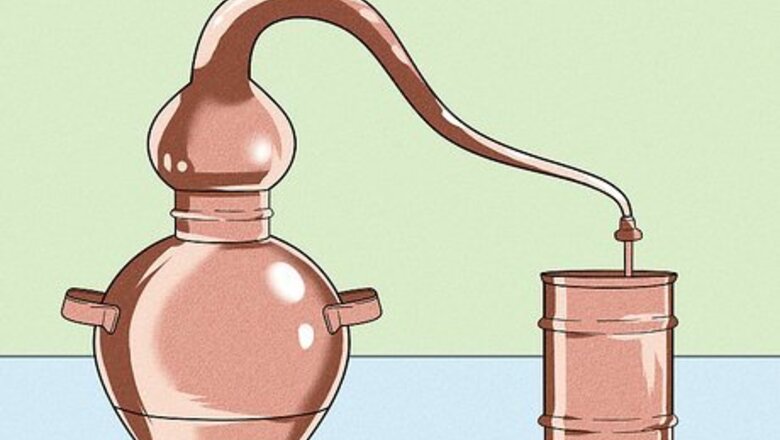
Get a still. Copper alembic pots are used by amateur and professional distillers alike. They come in a variety of sizes, but the 1 litre (0.26 US gal) and 2 litres (0.53 US gal) liter options are the most manageable ones when distilling at home. Alembic pots can be purchased online. Alembic pots start at a price of $130 US for a 1-liter still. If you’re a beginner, consider using a copper teakettle as a still. It’ll give you a chance to try distilling before making a big purchase.
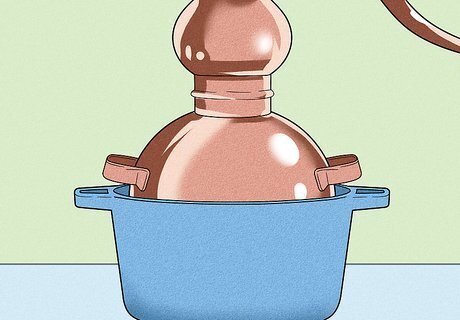
Set the still in a pot. The pot has to be large enough to contain both the still and water. Dutch ovens are a perfect option for this and can hold a two-liter still.
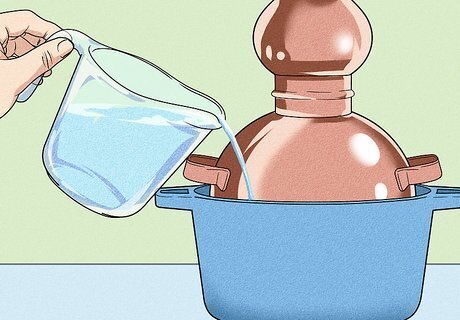
Fill the pot three quarters full with water. Pour the tap water into the Dutch oven. Don’t fill it too much or else it’ll overflow later.
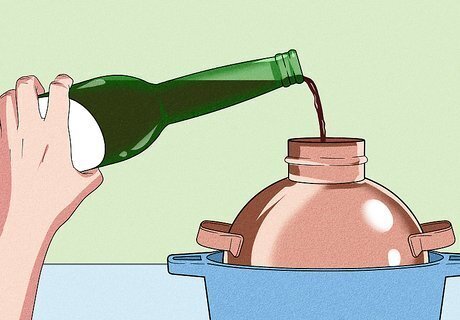
Fill the still three quarters full with wine. Pour the wine into the still, not the Dutch oven. If you fill it more than this, the wine will bubble out the top when you heat the still. You can use any wine purchased from a store. The amount you’ll need depends on the still you’re using. Once you get the hang of distilling, try it with homemade wine!
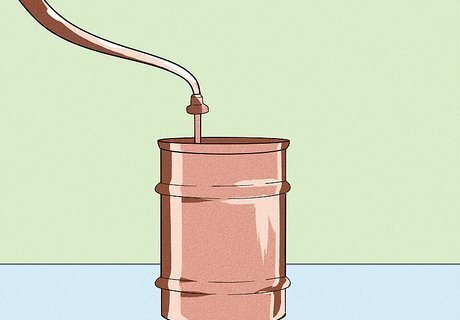
Run a tube from the pot to the condenser. First, place the lid on the still. The condenser is the arm coming out the lid's top. It has a spout you attach the copper tube to. Place the other end of the tube in a spout inside a separate bucket. Many times, all of these parts are included with the still. Some condensers have multiple spouts. The spout facing downwards attaches to a tap. Attach a second tube to the upwards spout and lay the other end in the sink. If you don’t have these parts, you can make your own condenser coil with copper tubing and a bucket.
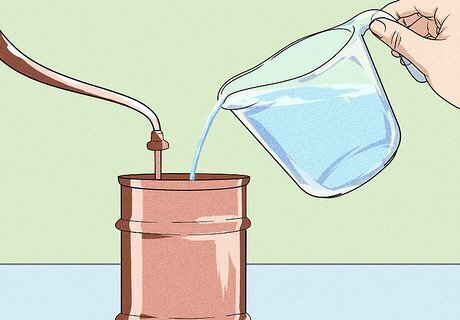
Add cold water to the condenser. Fill the bucket, not the still. The water needs to be cold in order to chill the evaporated wine into a liquid. The condenser tube should be inside the bucket, emerging out from a spout on the side. As long as the tube is snug in the spout, the bucket shouldn’t leak water. If something doesn’t fit tightly on the still, mix 1/2 of a cup of rye flour with 3 tablespoons of water. Place the paste around the loose area. When the still heats, the paste will form a seal.
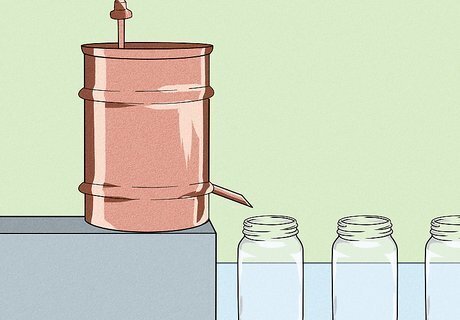
Put a glass under the spout. Have a lot of glasses on hand, since you’ll need to rotate them out to catch the distillation as it drips. For the first glass, you can use a large jar or bottle. The first 50 millilitres (1.7 fl oz) won’t taste good, so you’ll throw it away anyway.
Heating the Wine
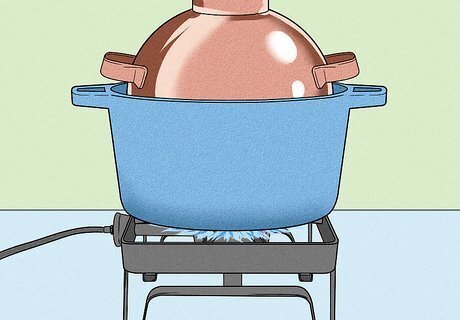
Turn the heat high until the alcohol drips. Keep a close eye on the still. If the water gets too hot, it’ll boil and cause the distillation to drip into the glass faster. As soon as you see it begin to drip, you’ll need to adjust the temperature. A faster drip speed means less alcohol is being captured in each drip. You can adjust the drip speed to your preferences as you practice distilling. Never use an open flame. When distilling indoors, an electric burner is your safest option. You can use a propane or natural gas burner outdoors.
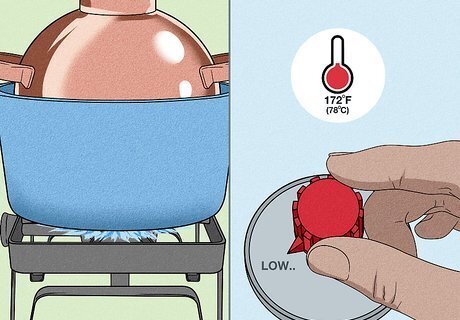
Lower the heat to continue distillation. Aim for a water temperature of about 78 °C (172 °F). If you have a thermometer, you may be able to place it inside the condenser’s spout. Watch the drip speed to judge the temperature. When the distillate drips one to three times per second, your still is at the perfect temperature.
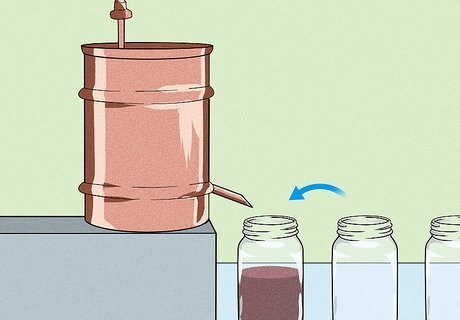
Test the distillate and change out the bottles. Come back frequently to see how your brandy is doing. To prevent spills, you’ll need to replace the bottles. The quality of the brandy will also improve as it drips, which you can detect either by smelling or tasting.
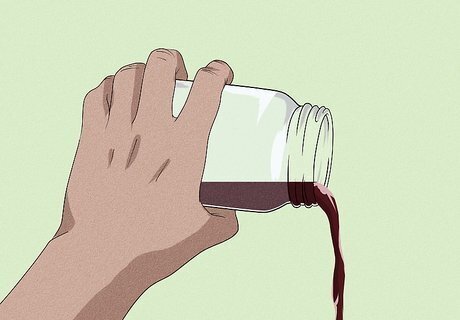
Throw away foul-smelling distillate. The first 50 millilitres (1.7 fl oz) is undrinkable. It has a lot of acetone and wood alcohol, which is poisonous and smells rancid. This liquid is called the foreshot or the head. Pour it out.
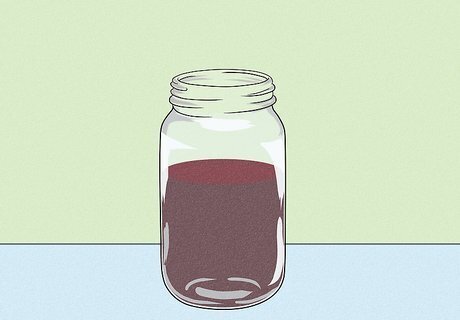
Save the fruity-smelling distillate. After the head drains, the drinkable alcohol, or heart, comes next. You can detect it by sniffing it. It’ll smell like whatever fruits and herbs were used in the wine. At this point the still has heated up more and may drip a little faster. Collect the liquid in small glasses and switch them out as they fill. Expect 2 litres (0.53 US gal) or less of quality brandy.
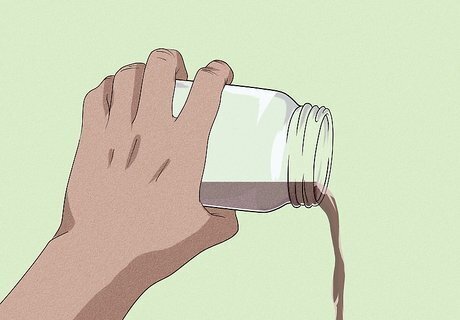
Throw out the liquid as it loses color. Eventually, the distillate will look milky. Smell it and try to detect the fruity aroma from before. Once that odor is gone, the brandy is mixed with water and more unpleasant alcohols. This is called the tail and should be thrown away.
Cleaning the Still
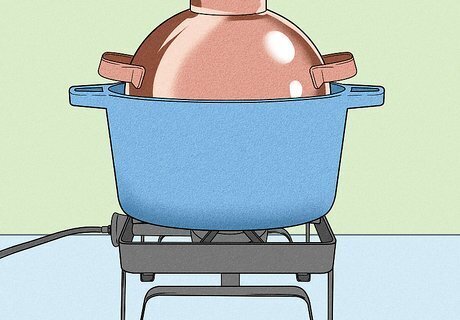
Turn off the heat. Make sure your burner is turned all the way off. Give the still some time to cool down. In the meantime, you can focus on moving the brandy to a cool, dark cabinet or cellar.
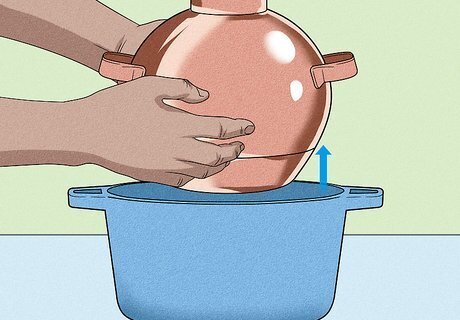
Remove the still and dump out the water bath. The Dutch oven should still have some water in it. Carefully take it over to the sink and pour it out. If you’ve let it rest for ten or fifteen minutes, it’ll have cooled. The biggest risk is dropping and breaking a good piece of cookware.
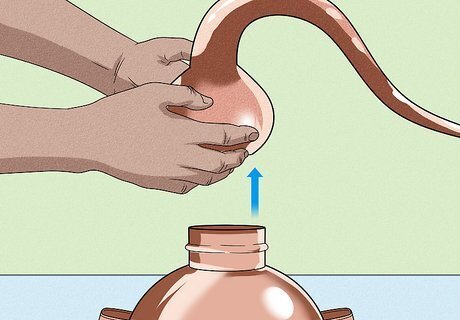
Detach the still’s condenser and lid. The condenser coil is tubing, so it’ll pop off with a little force. Pull the lid off the still. Be sure to pull the other end of the condenser coil out of the bucket of cold water and pour that out.
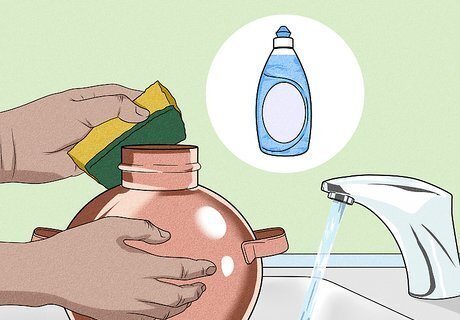
Wash the still with soap and water. Your ordinary dish soap is more than enough to freshen the still. Put the still under the sink and rinse it out. You can use a soft sponge to scrub away any lingering stains. Rinse out the condenser as well.
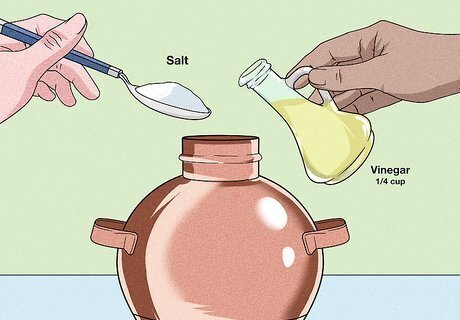
Clean green stains with salt and vinegar. Copper pots will start to turn green during disuse. Pour ¼ of a cup of vinegar into the still, then follow it with tablespoon of salt. Rinse out the still again with water. Polish the metal with a sponge to make it as good as new.


Comments
0 comment