
Trimming Your Plants
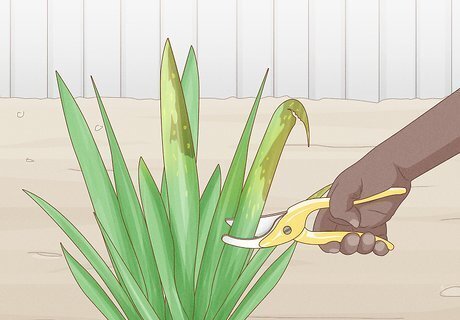
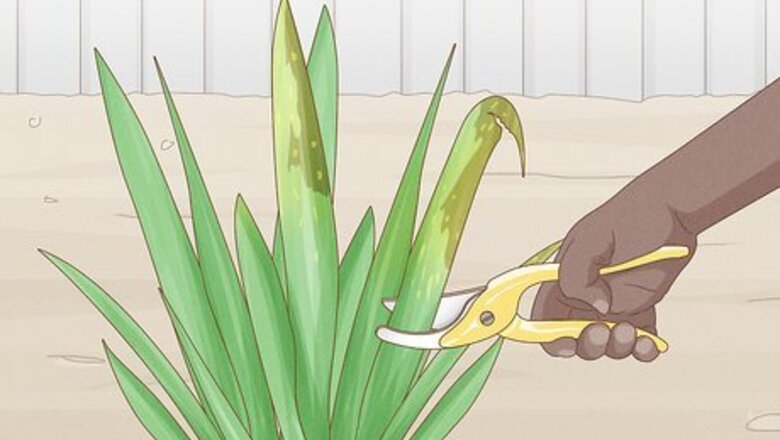
Remove broken or diseased leaves right away. Keep an eye on your iris plants even after they stop blooming. Look for leaves that are visibly broken, along with leaves that show signs of disease. Take a pair of bypass pruners and clip these leaves down so they only stick 2 in (5.1 cm) out of the ground. Cutting back damaged or sickly iris foliage can help prevent the disease from hurting your plants in the next growing season.
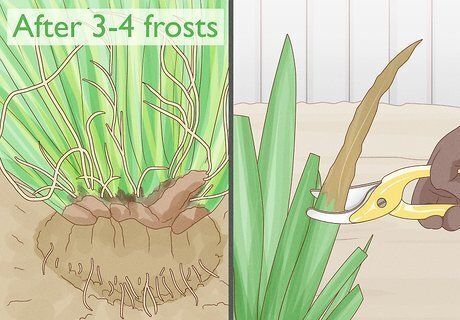
Cut back your irises after several frosts have occurred. Check on the weather reports throughout the week. Specifically, wait for the first few frosts to arrive, which will kill off most of your iris foliage. Once most of your leaves look brown and dead, set aside some time to trim your plants. Make a note on the calendar each time a frost occurs. Once 3-4 frosts occur, you can get ready to cut back your irises.
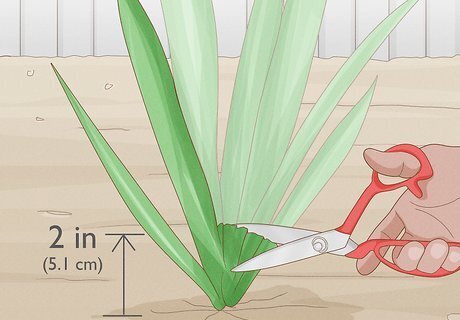
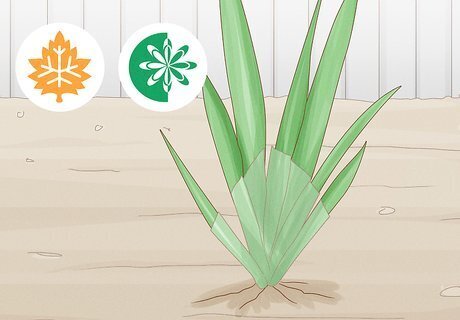
Trim away the entire iris plant so only 2 in (5.1 cm) stick up from the ground. Take a pair of bypass pruners and cut straight across each iris leaf. Leave about 2 in (5.1 cm) of leaf sticking out of the ground, so the plant’s roots don’t have to expend energy keeping the leaf alive. Repeat this process with all of the other iris plants in your garden. Any kind of shears of trimmer will work for this, as long as it cuts your plants in a straight, even line.

Make angled cuts on the sides of your trimmed irises to create a fan shape. Cut along the left and right sides of your trimmed iris plants at a 45-degree angle, which creates a fan shape. This helps make your irises look more uniform, and can prevent diseases from spreading on the leaves. This is more effective if you have a lot of irises in your garden. If you only have a few irises, it won’t make a huge difference if you fan the leaves or not.

Discard or compost the trimmed iris leaves. Collect the leaf trimmings in a trash bag as you cut them off. Toss the leaves out completely, or add them to your compost bin, if you’d like. Double-check your town’s compost regulations before adding anything new to your bin.
Wait until spring for your irises to regrow. Give your plants time to recharge and grow back with fresh, healthy leaves and buds. Keep in mind that you probably won’t see any progress until springtime.
Dividing Irises to Prevent Overcrowding
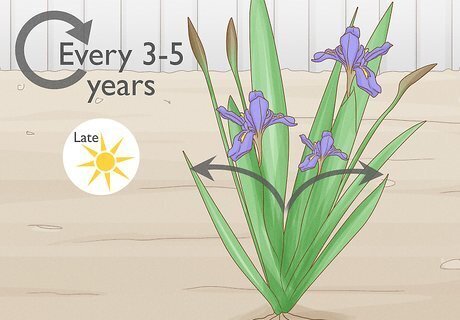
Choose a time in late summer to divide your irises. Wait for your irises to stop blooming, which will be sometime in the late summer months. This time period is the best, as your irises won’t be as likely to develop any bacterial rot. Ideally, you should divide your irises every 3-5 years to prevent your flowers from overcrowding one another. Don’t divide your irises in winter—at this point, they’re just starting regrowth, and dividing them will cause a setback.

Trim down your plants so they’re about 4 to 6 in (10 to 15 cm). Take a pair of bypass pruners or shears and cut in a straight line across your irises. Cut the entire plant back enough so it’s much shorter, or about ⅓ of its original height. This will make it easier to dig up your irises, and will help your plants focus on nurturing their roots instead of their leaves.
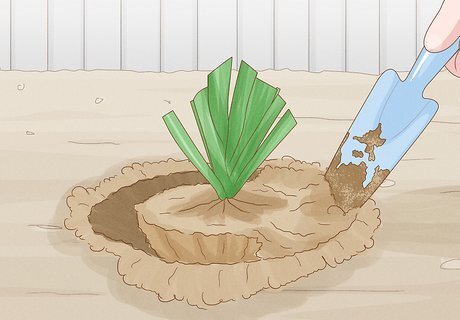
Dig up your irises with a large garden fork. Stick a large garden fork beneath the soil of your irises. Lift slowly and carefully to remove a clump of flowers from the ground. Set this clump aside in an open area where you can examine and sort each flower. If you have multiple groups irises in your garden, remove all of them with a pitchfork. Because of the way they grow, all of your irises will be in clumps instead of growing as individual flowers.

Pull apart the clumps of irises so you have individual rhizomes. Remove your trimmed flowers from the clump and pull apart any irises that are stuck together with your fingers. Note that each iris should have a thick, healthy rhizome, or plant base, along with multiple thin roots threading out from the bottom. The goal of this process is to split apart individual rhizomes, which will make your irises easier to replant.
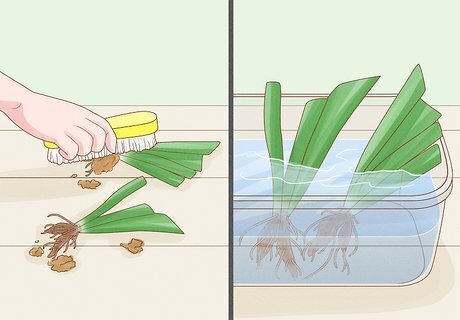
Clean and inspect your irises. Brush off any dirt and rinse off each individual plant in an empty bucket or basin and look for any signs of rotting or infestation. If the plant looks healthy, set it aside for replanting. Watch out for iris borers, which are white worms that feed on irises. Unhealthy or rotted rhizomes tend to have a foul odor, and may feel really light or hollow. If you’d like to go the extra mile, you can sanitize your shears or cutting tool with a mixture that’s 9 parts water and 1 part bleach. This will kill any potential bacteria and make the division process more sanitary.

Replant the iris and spread out the roots in the soil. Place the base of the rhizome about 1 in (2.5 cm) or so into the soil. Separate the roots so they’re ready embedded in the soil, but leave a few millimeters of the rhizome peeking out over the soil. The rhizome is brown, while the rest of the iris plant is green.

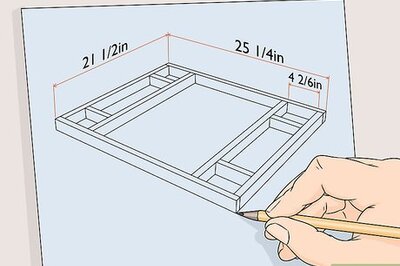
Plant your irises at least 12 in (30 cm) apart. Take out a measuring tape to ensure that your irises are evenly spaced and separated in your garden. This will help prevent overcrowding, and will make sure that your flowers can plenty of nutrients.
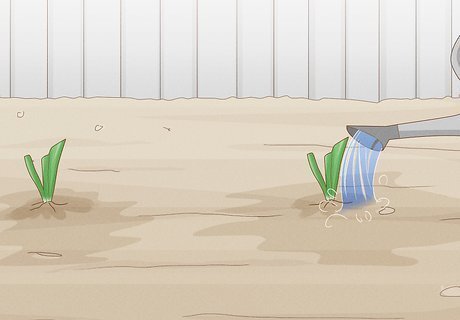
Water your irises after planting them. Fill up a watering can and water each iris until the top 3 in (7.6 cm) of soil is damp. After this, leave the irises be until the weather is dry and warm. You can cut back on watering if you experience a lot of rainy weather. Irises need to be watered on an as-needed basis, but not daily.


Comments
0 comment