views
What are Instagram Reels?
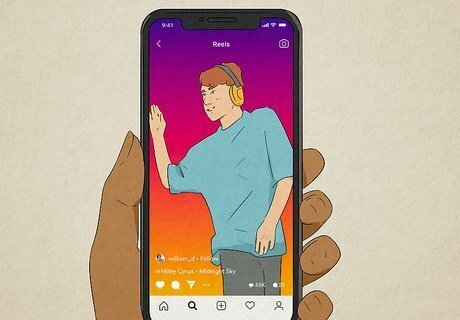
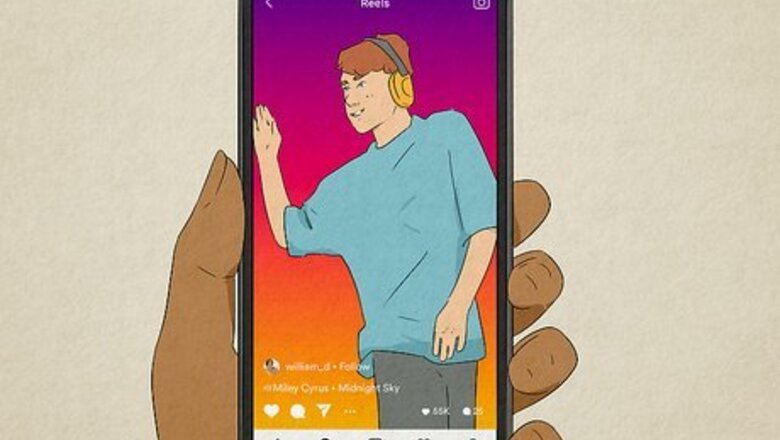
Instagram Reels are short, attention-grabbing video clips that are easy to share. You can create and edit Reels up to 60 seconds long using Instagram's built-in Reels camera or by uploading videos from your phone or tablet.
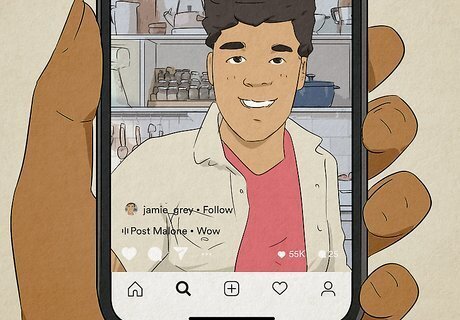
Instagram users see Reels from all accounts, not just those they follow. Unlike Stories, which users only see on their feeds after following an account, anyone can scroll through their Reels tab to discover new content they'll love—just like TikTok's For You page.
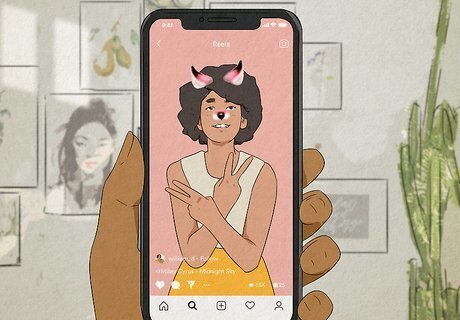
Reels can feature music, voiceovers, filters, and more. Choose from a catalog of popular music, add a creative voiceover to a video, use text-to-speech narration, and use your favorite filters and effects to craft something viral.
Why use Reels?
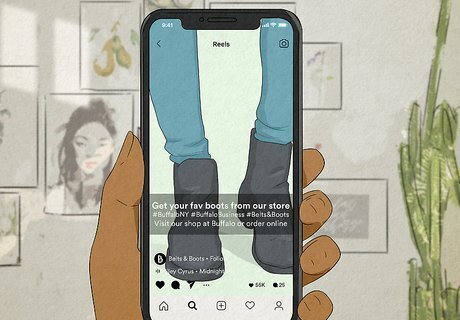
Increase brand awareness (and your follower count). Reels are designed to be shown to people who aren't already following you. A well-executed Reel is likely to appear on the Reels and Explore pages of people with similar interests, making it a cinch for new audiences to discover your content.

Increase your chances of going viral. Reels are extremely easy for users to share with their friends, making them the perfect vehicle for your most contagious content.
Boost your engagement. Along with Stories and posts, users can like, comment, and share your Reels, improving your account's overall engagement rate.
Planning Your Reel
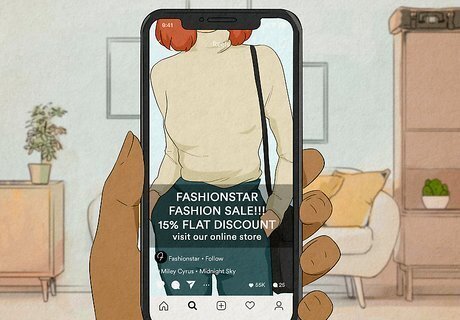
Define your goal. Do you want to sell more of a particular product this month? Or maybe you're trying to get 100 more followers by the end of the week? Before you film your Reel, have a goal in mind, and keep that goal at the center of your storyboarding process. This will help you make more effective Reels and make it easy to measure your success.
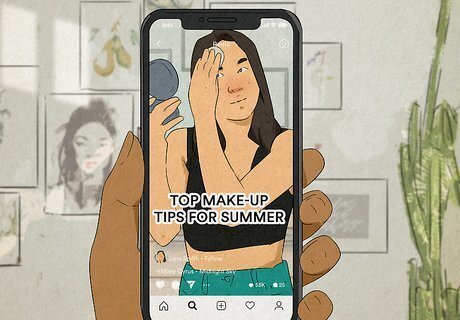
Select a relevant topic. While Reels are a great way to try something new, your Reels should relate to your other content in some way. List some topics that get the best reactions from your followers and choose the topics that have the best potential to translate into short, fun videos.
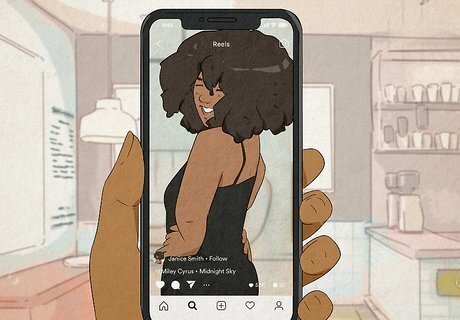
Choose a format for presenting your topic in an entertaining way. Scroll through your own Reels tab to check out what others are doing for ideas, or try some of the most popular formats on both Reels and TikTok: Educational videos: Teach people things they didn’t know with your own unique twist. Tutorials, life hacks, witty Q&As, quick tips, and rare facts all make great short-form videos. Hop on a trend: When you scroll through your own Reels, you're bound to notice trends like certain dances, filters, memes, music, and filming locations. Take an idea that's already viral and use it to present your topic with your own unique twist. Behind the scenes: If you have a business, try a peek into your workspace, your daily routine, and a show-and-tell of your tools to show the human side of your brand. If your account is personal, try to film a day in your life in short clips—the things you see, your habits and rituals, and your progress on projects. Before and after: Makeovers, restoring antiques, big cleaning projects, and home remodeling videos will all both shock and satisfy viewers. Relatable stories: Find a way to connect your topic to something anyone can relate to, then narrate your connection to the topic over a thoughtful video. Listicles: Everyone loves a funny, informative, or thought-provoking list. For example, "10 products to try if you love xxx," "Top 5 best self-esteem boosting songs," "7 unique nail color ideas for fall," etc.
Creating a Reel
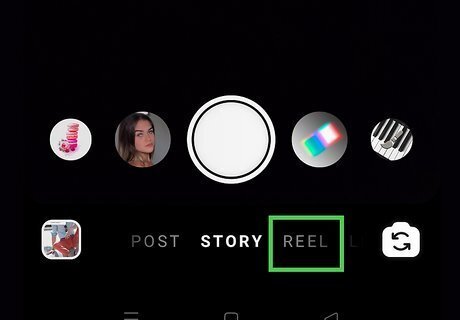
Tap the Reels tab at the bottom of Instagram. It's the director's clapboard icon with a triangle at the bottom-center part of the screen. This takes you to the Reels page, where the first Reel in your feed will begin to play.
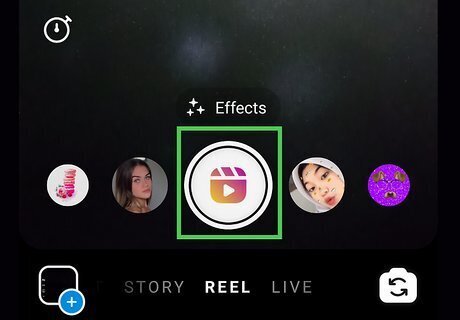
Tap the camera icon. It's at the top-right corner of the currently-playing Reel. This opens the Reels creation tab. Want to create a Reel from a video you've already made on your phone or tablet? Tap the gallery icon with the plus symbol at the bottom-left to choose something from your camera roll.
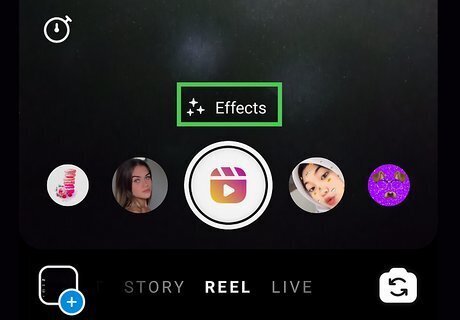
Try a fun camera effect. If you love the effects from Instagram Stories, you'll be happy to know they are also available for Reels. Scroll through the effects carousel at the bottom of the screen to try some out, or tap the three stars above the shutter button to browse through hundreds of user-created effects.
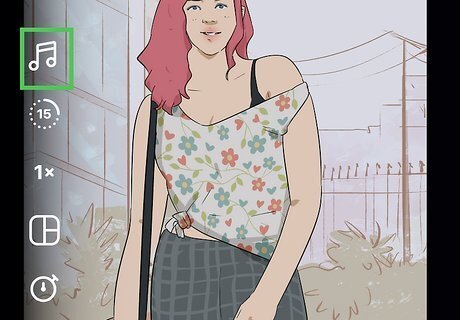
Select audio for your Reel. Choosing the right music for your Reel is crucial to its success! You can add music at any point, including after you're finished filming the Reel. Tap the music note icon to open the music library, then search for or select a song. You can then choose the part of the song you want to use so it plays in the background as you record your reel. Want to know which songs are trending on Reels? Just scroll through your own Reels feed—if the song on the current Reel is trending, you'll see a small white arrow pointing upward at the bottom-left corner (right next to the song's title). Tap a trending song to see how many Reels have used it, and examples of how it's been used. You'll also see the option to save the audio for later or instantly create a new Reel with the same audio. If you're also on TikTok, check TikTok's trending songs for a hint at what's trending (or will soon trend) on Reels.
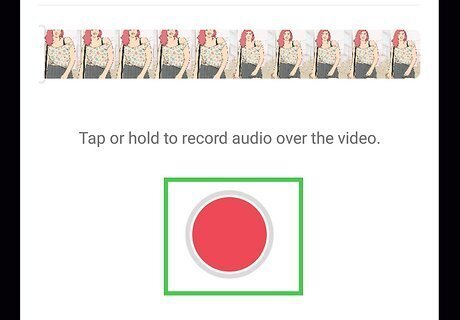
Tap the large circle to start (and stop) recording. You can record your Reel straight-through for up to 60 seconds at once, or tap the shutter button to stop at the end of each segment. A pink line will appear at the top of the screen to show the segment length. For example, let's say you're creating a Reel of your favorite parks in the city. Record 10 seconds at the first park on your list, then head to the next location to record the second part of your clip. You can save a draft of your Reel at any time during creation and continue editing it later. Just tap Next and select Save Draft. To recover a draft, just return to the new Reels screen, tap the square at the bottom-left, tap the Drafts tab, and select your draft.

Continue recording clips and then tap Next. Your combined clips can be a maximum of 60 seconds long, but you don't have to record for all 60 seconds. When you're finished, just tap Next to see a preview of your Reel.
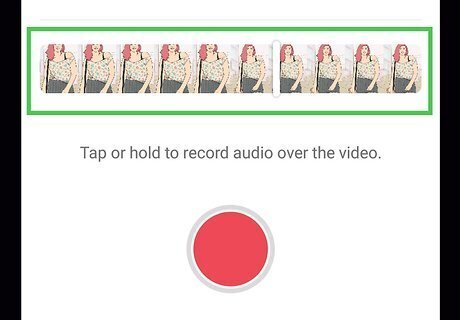
Edit, watch, or trim your clips. If you want to change anything about the clips, tap Edit clips at the bottom. You can now tap individual clips that you can trim, reorder, or even remove from the Reel. If you want to keep recording clips for this Reel, tap Add clip at the bottom to return to the camera screen. Tap Done when you're finished making edits.
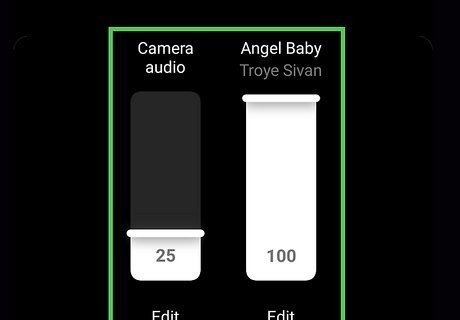
Customize the audio mix. Once you have your preview, you can tap the music note at the top of the screen to adjust the volume of the camera microphone and the volume of your background music. You can also tap Voiceover in this section to record yourself speaking over any part of the video, or tap Sound effects to add funny sounds like air horns or crickets chirping.
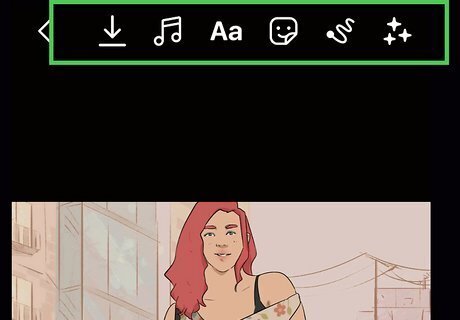
Add text, stickers, drawings, and effects. Use the icons at the top of your Reel preview to add some finishing touches to your video. When you add text, stickers, or drawings, you'll be able to control how long (and when) each item appears on the screen. Adding text to the video also gives you the option to add text-to-speech translation.
Tap Next when you're finished editing. It's at the bottom of the screen.
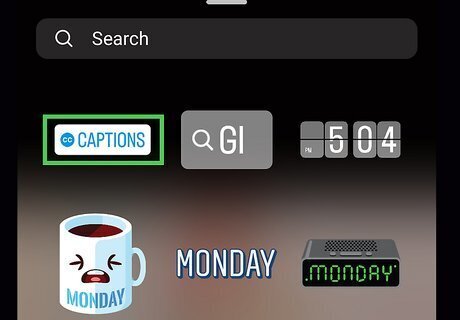
Add your caption and relevant hashtags. Tap the Write a caption field to add your caption the same way you would on a post or Story. You'll also want to add relevant and trending hashtags to make it easy for people with relevant interests to find your Reel. Tap 'Tag people to tag other Instagram accounts you want to mention. For an added boost, tap Add location to geotag the Reel—this makes it so people checking out that location on Instagram will see your Reel on the location's tag page.
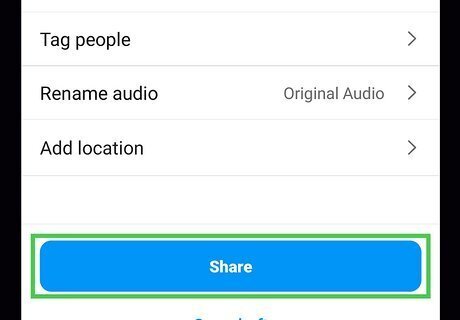
Tap Share to post your Reel. When you share your Reel, it will be added to your profile's Reels tab, and your followers will see it as they scroll through their Instagram feeds. Your Reel will also be shown to relevant users who are exploring their own Reels tabs. The more people who like and interact with your Reel, the broader its reach will be. Popular Reels also appear on the Explore page (the magnifying glass), making them even more likely to be discovered by likeminded people.

Bring even more attention to your Reel. Now that you've shared a Reel, there are two easy ways you can share it even further to boost its reach and your engagement rate: Recommend the Reel on Facebook: People using the Facebook app will also see your Reel if you allow your Reels to be suggested on Facebook. To make sure your Reels are recommended to Facebook users, tap the profile icon in the Instagram app, tap the three-line menu, select Settings, and head to Privacy > Reels. Toggle the "Recommend on Facebook" switch to On for an added boost. Share the Reel to your Story: Open the Reel on your profile, tap the paper airplane icon at its bottom-right corner, and then tap Add reel to story.



Comments
0 comment