views
The Form
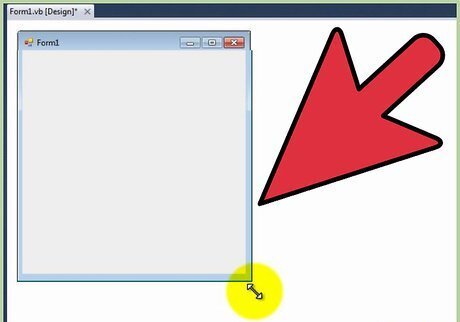
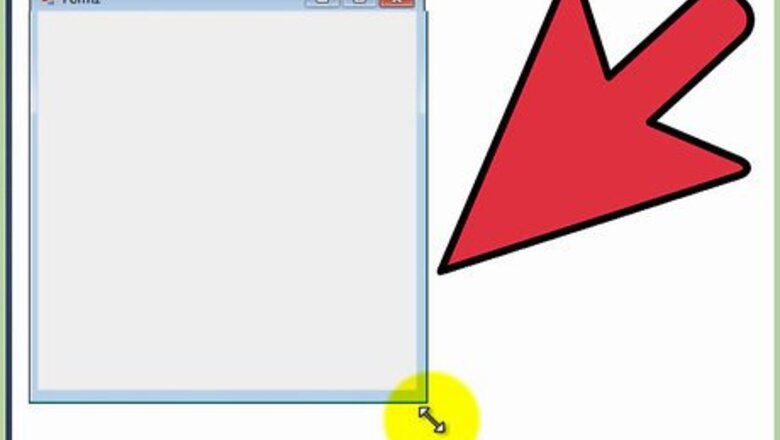
Adjust the form to the size you require. It doesn't matter what size the form is, providing it can fit a large textbox and two buttons.
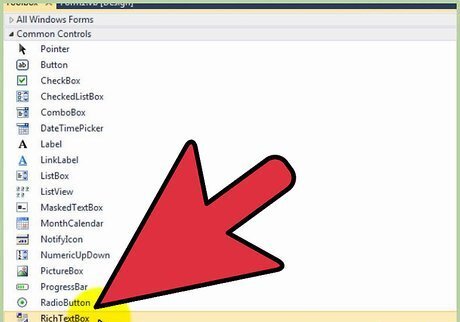
Add a RichTextBox to your form. You can add a RichTextBox by double-clicking or dragging it onto the form. Adjust the size of the RichTextBox to your requirements.
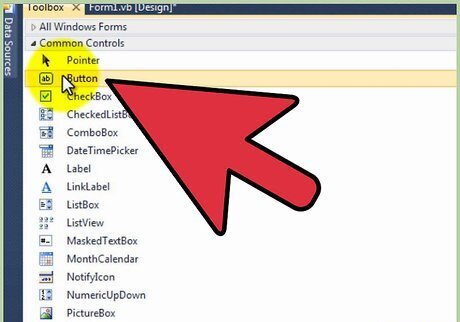
Add two Buttons to your form. Ideally, place the two Buttons near the RichTextBox. Again, you can add Buttons to your form by double-clicking or dragging onto the form.
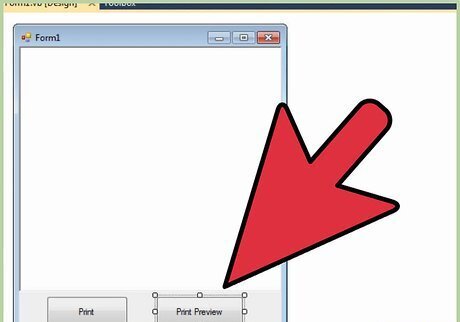
Name the Buttons "Print" and "Print Preview". You can change the text for the buttons in the properties box.
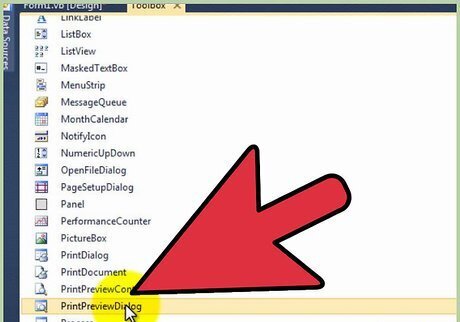
Add the controls: "Print Document" and "PrintPreviewDialog" to your form. These will not be visible on the form as they perform in the background.
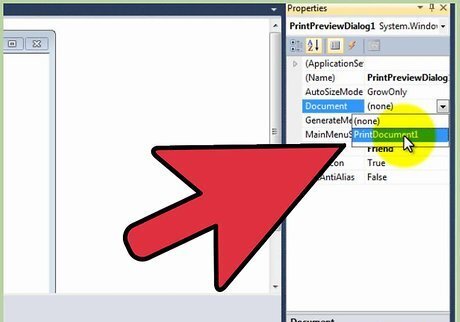
Click on PrintPreviewDialog and change the "Document" to "PrintDocument1". You can change this in the properties box after clicking on PrintPreviewDialog.
The Code
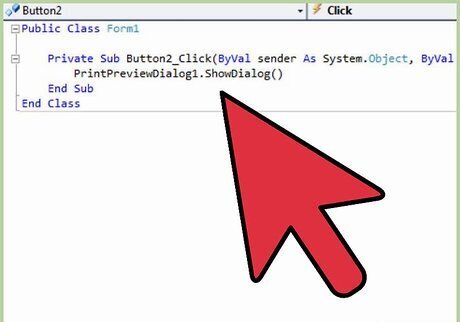
Double-click on your "Print Preview" button. This will bring up the page for coding. A Private Sub has already been created and awaiting code to tell it what to do when the Print Preview button is clicked. Add the following code into the Private Sub: PrintPreviewDialog1.ShowDialog()
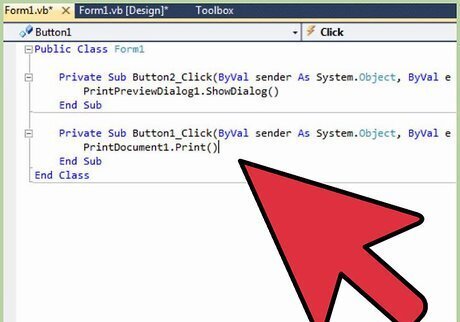
Go back to the form and double-click on your "Print" button. You will be taken back to the page for coding. In the Private Sub that has been created, add the following code: PrintDocument1.Print()
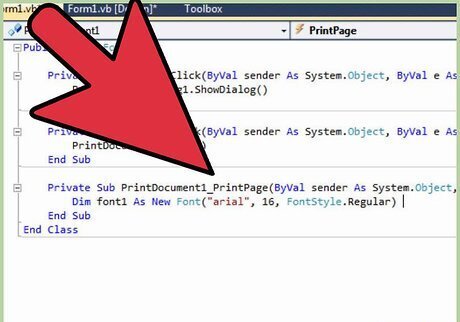
Go back to the form and double-click on "PrintDocument1" located underneath the form. You will be taken back to the page for coding. A Private Sub will be created called "PrintDocument1_PrintPage". Place the following code into the Sub: Dim font1 As New Font("arial", 16, FontStyle.Regular) e.Graphics.DrawString(RichTextBox1.Text, font1, Brushes.Black, 100, 100)
Debugging and Testing
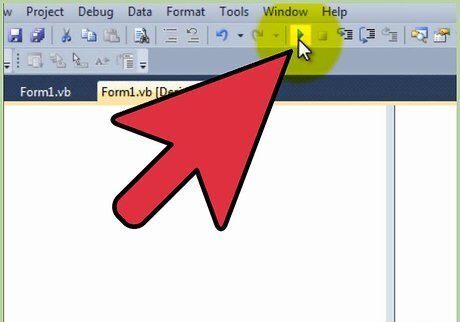
Click "Start" to begin the debugging and testing process. If you have followed part one and two of this article you should encounter no errors.
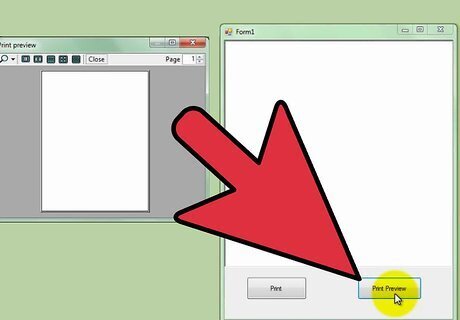
Test to see if the Print Preview function works.
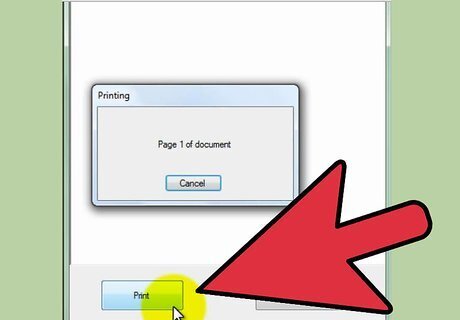
Test to see if the Print function works.
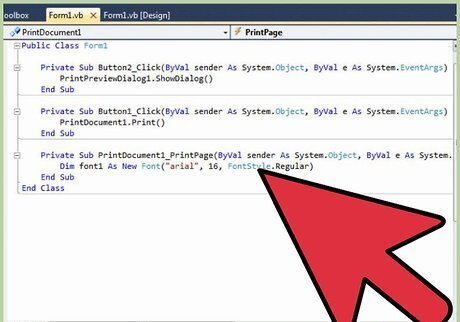
Clean up your code. After the debugging and testing process has completed with no critical errors, be sure to clean up your code. Make it look tidy and professional.




Comments
0 comment