views
Visit Facebook. Open a web browser on your computer or laptop, and visit the Facebook website.
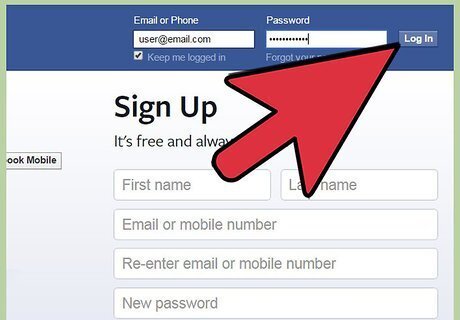
Sign into your Facebook account. Enter your email address and password on the text fields provided on the Sign In page, and click on “Log In” to access your account. If you don’t have a Facebook account yet, simply fill up the Sign Up form on the same page with your full name, email address, and password, and click the “Sign Up” button to get an account.
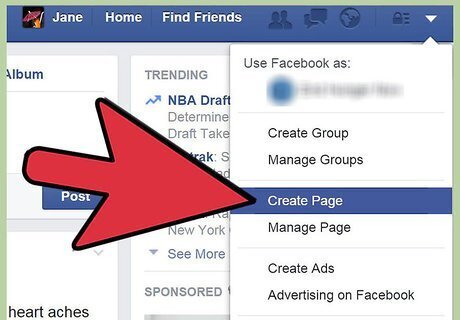
Create a page. After logging in, you’ll be directed to your account news feed. To start creating your Facebook band page, click the “Create Page” button on the lower part of the menu panel on the left-hand side of the screen.

Specify your Facebook page. On the Create Page section, you can customize the kind of fan page you’re about to make. Select “Artist, Band or Figure” from the list of options on the page, and select “Musician/Band” from the Category drop-down list that will appear. Enter the name of your band on the text field provided right below the Category, and click “Get Started” to proceed to the next step.
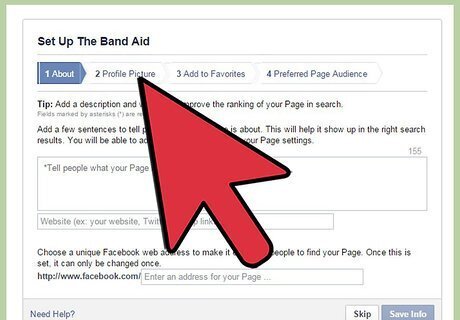
Set up your band page. Before you can start, you need to put some basic information on your Facebook fan page: About – Enter a short description in 155 characters about your band, the music you make, or the members on the allocated text field on the page. Facebook address – Enter the unique Facebook address you’d like to use to identify your fan page. A good address to use is the name of your band (e.g., www.facebook.com/my-awesome-band). Upload a picture – Click the “Upload from Computer” link to open a dialog window that you can use to select the picture you’d like to use as profile picture for your fan page. Add to Favorites – To provide instant access from your personal Facebook account to your Facebook band page, click the “Add to Favorites” button to add its link under your personal Facebook account’s Favorites section, which you can easily open from the left menu panel. Preferred Page Audience – If your band focuses on a specific group of audience, you can set your page’s demography by choosing the location, age, gender, and interest from the drop-down lists. This way, Facebook can prioritize advertising your page on these particular groups of people.
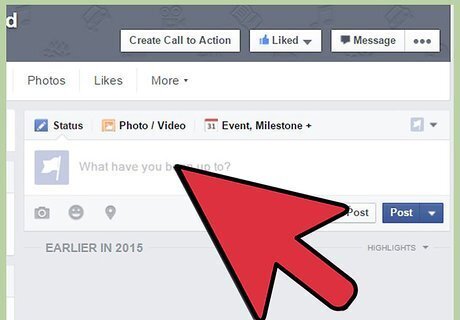
Publish your Facebook band page. Once you’re done setting up the details of your fan page, click the “Save” button you see on the screen to finalize and publish your Facebook band page.




Comments
0 comment