views
Obtaining a churner
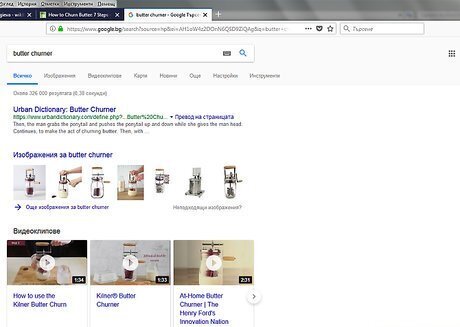
Search online for a butter churn retailer. They can be purchased from kitchenware and homestead specialist stores, online auction sellers and may be available through such sites as Craigslist or #Freecycle. Butter churns can be wooden, ceramic or glass. Some are small or handheld, while others are much larger and can be used when standing. Unless you're making huge quantities and/or want a workout, the handheld or small one will probably be sufficient for the standard kitchen cook. There are antique versions and modern versions of butter churners. If purchasing an antique one, check it thoroughly to ensure that all parts are working and that they're not rusted, etc. You may need to replace parts before using; if unsure, ask a specialist in antique kitchen products or a dairy farmer for advice.
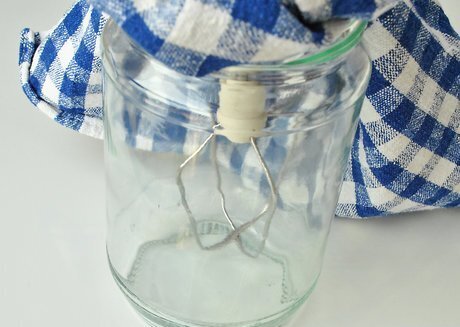
Devise your own churner. It is possible to make a butter churner, if you're good with wood, cutting and improvising. The simplest version is to make an "up and down churn", which consists of a dash (small dowel or similar) inserted into a jar through the lid and then moved up and down. A more complex paddle churn can made using a jar or coffee can with a lid, through which you push various pieces of dowel and rig them up to a small wheel for turning. Look online for a suitable pattern. Use your electric beater (such as the ubiquitous KitchenAid mixer). Depending on the motor quality, this might require turning on and off, to give the motor a break but some of the newer, heavier-duty ones should be able to cope. It's a good idea to cover the mixer with a tea towel, to prevent the cream from spattering upward when "churning".
Churning the butter
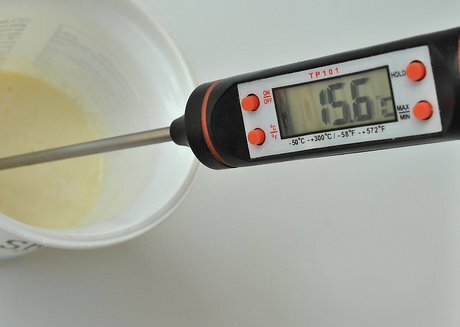
Ensure that the cream to be used for making the butter is at room temperature (60ºF/15ºC). If the room is cold, use warm water to help warm up the cream while it is still inside a container. If the cream is too warm, cool it down with cool water.
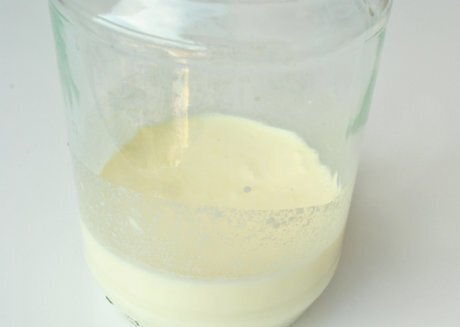
Fill the container to a quarter or a third (no higher) with cream. Any additional amount will make it hard to churn.
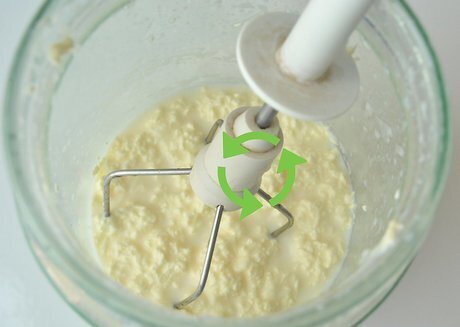
Turn the wheel or handle of the churner, or move the dash up and down, or turn on the electric beater. Continue to turn the mechanism (churn) for up to half an hour. If the butter is not forming by now, the cream is either too hot or too cold and will need to be either warmed up or cooled down. The butter should form much faster if working with an electric mixer.
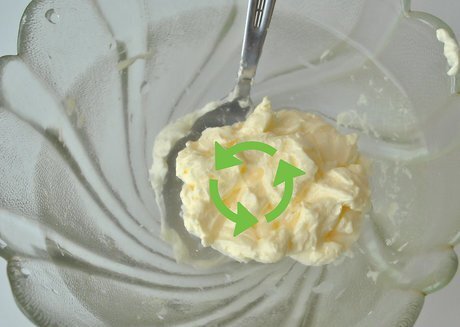
Wash and work the butter. This step is optional but it does help the butter store better. Once the butter has formed, remove it from the churner. Place the butter in a ceramic or glass jar. Add 1/2 cup cold water. Shake for two to three minutes. Strain out the water. Repeat one more time to reveal clear water. Mash the butter. This will remove the last of the water, then strain.
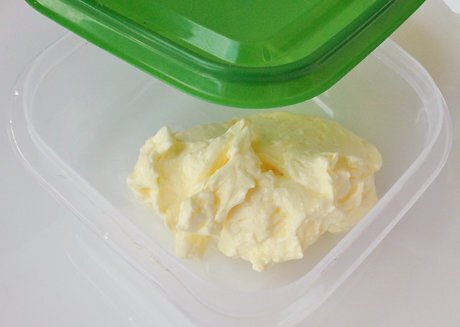
Transfer the butter to its mold. Squeeze it in, then refrigerate to set. It is now ready to eat, or can be stored for longer. See How to store butter for details.





Comments
0 comment