
- Use the DPI analyzer tool at https://www.mouse-sensitivity.com/dpianalyzer to quickly check your mouse's DPI.
- DPI determines how far your cursor moves with your mouse movements. A higher mouse DPI results in better accuracy.
- While DPI is determined by your mouse, the software on your computer determines mouse sensitivity.
Using a DPI Analyzer
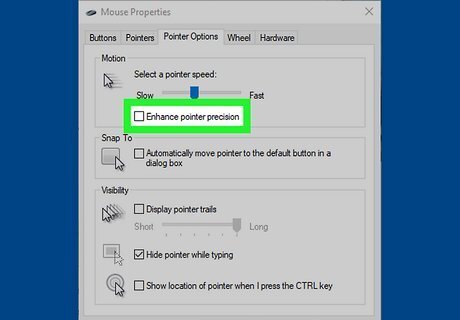
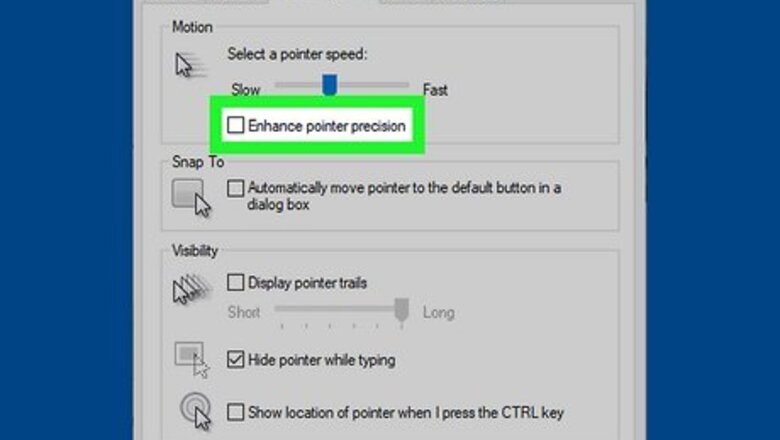
Disable Enhanced Pointer Precision (Windows only). If you are using a Windows PC, you will need to disable Enhanced Pointer Precision to get an accurate DPI reading. Use the following steps to do so: Click the Windows Start menu. Type mouse settings. Click Mouse Settings. Click Additional Mouse Settings. Click the Pointer Options tab. Uncheck "Enhanced Pointer Precision." Click Apply.
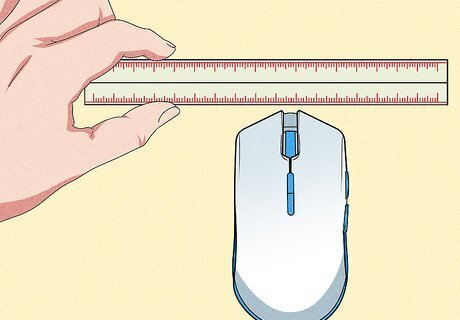
Draw a ruler on a sheet of paper or place a ruler in front of your mouse. You can use an online DPI calculator to estimate DPI based on the distance you move your mouse on your desk. You'll need to be accurate in your measurements, so begin by taking a ruler or measuring tape, tracing it on a sheet of paper, and then marking inches and centimeters across the sheet. This sheet of paper will become your temporary mouse pad.

Go to https://www.mouse-sensitivity.com/dpianalyzer. This is a gaming-focused DPI analyzer that helps you determine your mouse's true sensitivity level (DPI).
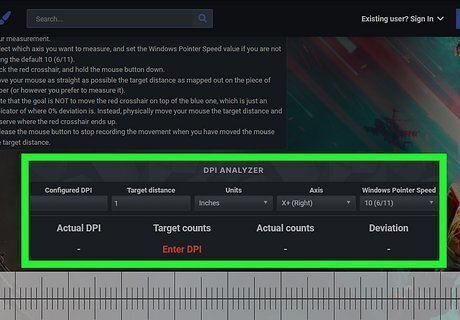
Enter the distance you'll be moving your mouse. Let's say we want to test the DPI by moving the mouse one inch. Set the "Units" drop-down to "Inches" and type "1" into the "Target distance" field.
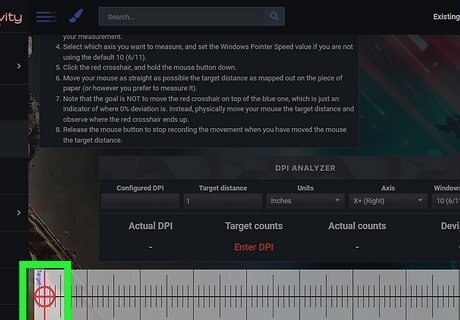
Click and drag the crosshair as you drag the mouse. You'll want to move the mouse exactly the distance you entered in the "Target distance" field. So, if you entered 1 inch, click and drag the mouse one inch to the right to measure the DPI. When you lift the mouse button, the DPI of your mouse will appear in the "Actual DPI" field. If your mouse has a dedicated DPI button, you can use it to increase or decrease sensitivity. If your mouse has a built-in screen, you'll see the DPI as you make adjustments. If it doesn't, you may be able to install the mouse's software to view and adjust the DPI.
Using Mouse Driver Software
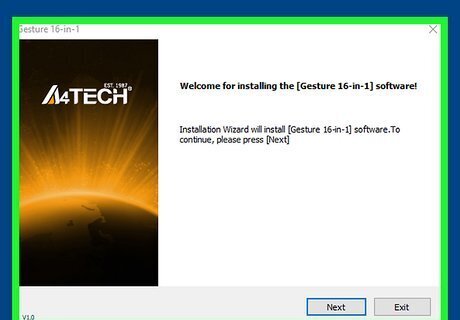
Download and install the drivers for your mouse. If you have a high-end gaming mouse that supports high DPI or changeable DPI settings, it likely has support software you can download. Go to the manufacturer's web page and download the driver software for your mouse. Not all mice have driver software.
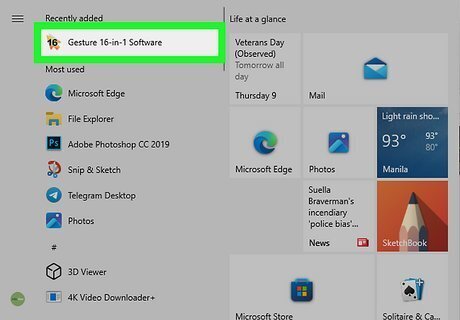
Launch the app and locate the DPI/Sensitivity settings. The location varies by manufacturer. It may be under the Settings option, the Performance option, or similar.
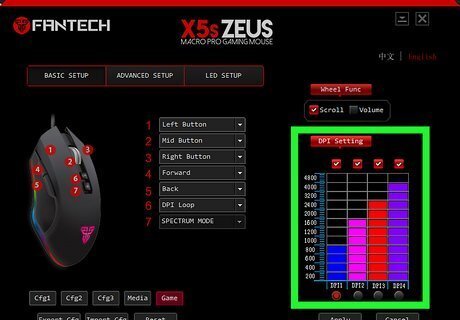
Check the DPI settings. The driver software should display the current DPI settings. It should also display some options to change the DPI settings if you want to.
Using MS Paint (Windows)
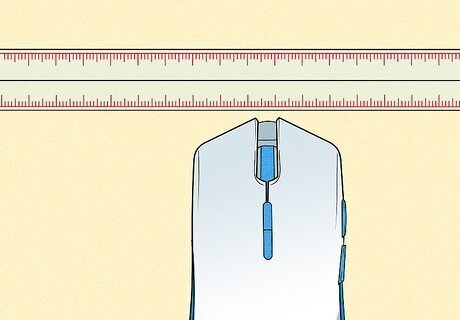
Draw a ruler on a sheet of paper or place a ruler in front of your mouse. You can either draw a ruler on paper and use the paper as a mouse pad, or place a ruler in front of your mouse. If you are using a sheet of paper, use a ruler to mark the inch lines accurately.

Open MS Paint. To open MS Paint, click the Windows Start menu, type MS Paint, then click the MS Paint icon.
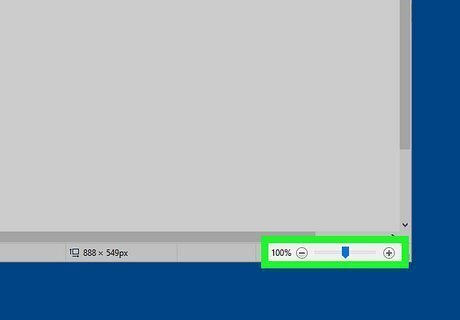
Set the zoom level to 100%. There is a slider bar in the lower-right corner you can use to zoom in and out. Make sure the zoom level says "100%". If it does not, simply click the zoom level number and type 100.
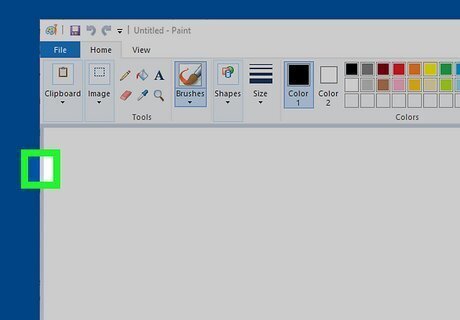
Place the mouse cursor on the far left edge of the canvas. Notice that it displays the height and width pixel coordinates in the lower-left corner. When the cursor is on the far left edge, the width coordinate reads "0".
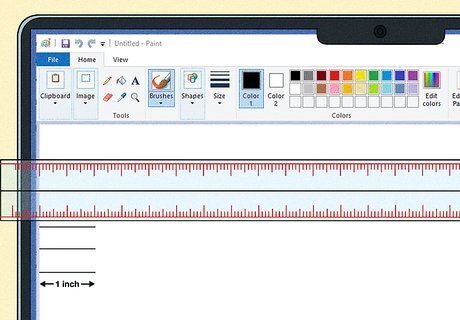
Draw three 1-inch lines starting from the far left edge of the document. Make sure each line starts on the "0" width coordinate. Use your ruler or paper to measure the width of each line as you draw.
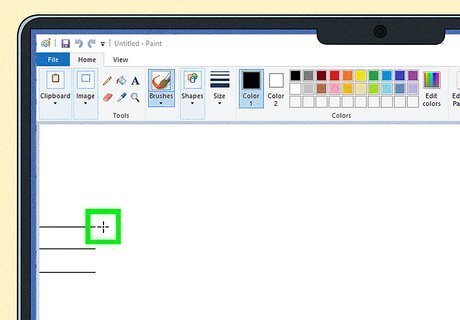
Determine the pixel width of each line. To do so, place the mouse cursor on the far-right tip of each line. Write down the pixel width in the lower-left corner for each line.
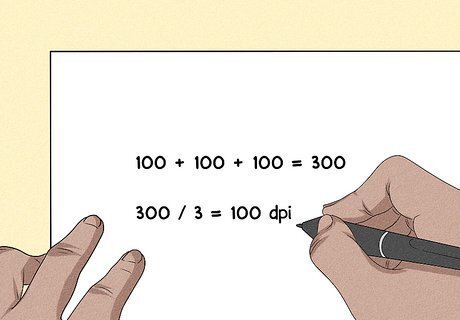
Find the average pixel width of the three lines. To determine the average pixel width of all three lines, add the pixel width of all three lines together to determine the sum. Then divide the sum by 3. This will tell you the approximate DPI of your mouse.
Change Sensitivity on Windows
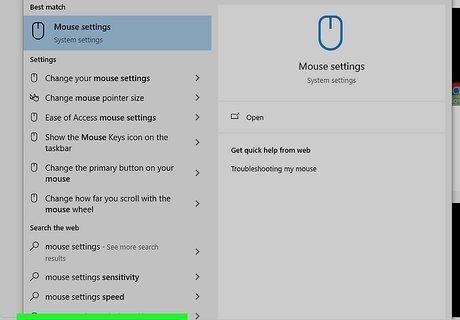
Type mouse settings into the Windows search bar. A list of matching results will appear. The Windows mouse settings don't permit you to view or specify the exact DPI of your mouse, but you can see (and adjust) the sensitivity visually on a slider, or use a DPI analyzer.
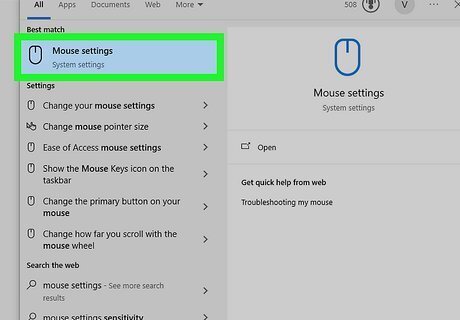
Click Mouse settings. It’s the option with the outline of a gear on its left side.

Click Additional mouse options (Windows 10) or Additional mouse settings (Windows 11). It’s in the right panel under the "Related settings" header on Windows 10. On Windows 11, it's below "Related Settings" near the bottom of the menu.
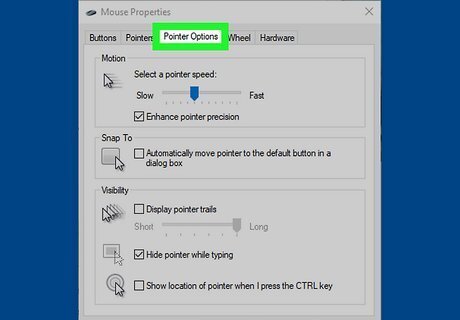
Click the Pointer Options tab. It’s the third tab at the top of the window.
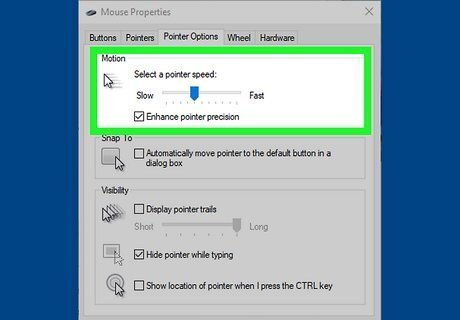
Find the pointer sensitivity under the “Motion” header. The slider at the top displays the speed of your mouse cursor in response to your movement. A mouse that's more sensitive to your movement will have the slider moved more to the right. If the slider is more to the left, the mouse is less sensitive to your movement. You can use this slider to adjust the mouse sensitivity to your preference.
Change Mouse Sensitivity on Mac
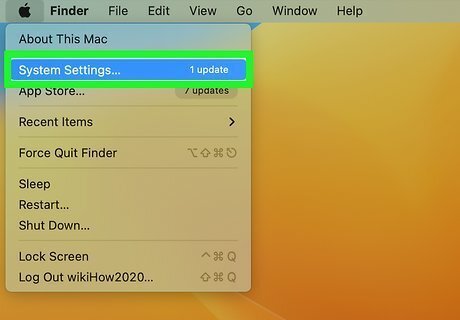
Open your Mac's System Settings or System Preferences. You'll find one of these two options on the Apple menu. Although your Mac doesn't allow you to find exactly which DPI your mouse is set to, you can adjust the sensitivity with a slider and then use a DPI analyzer to check the value.
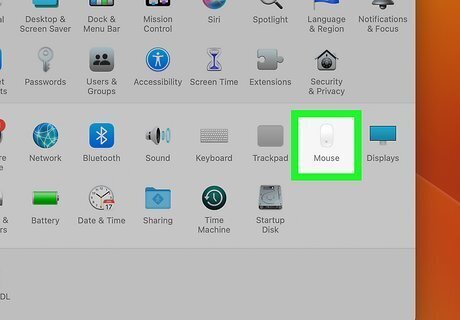
Click Mouse. On newer macOS versions, it's in the sidebar menu to the left. On older versions of macOS, it's in the second row of icons.
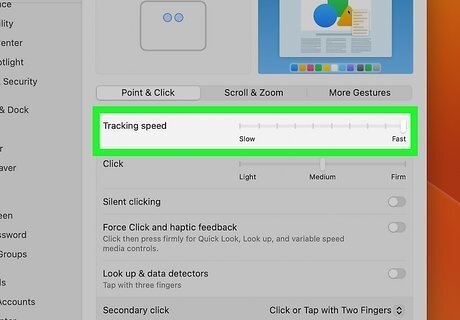
Find the pointer sensitivity under the “Tracking speed.” The Tracking Speed slider shows you the speed of the mouse cursor in response to your movement. Drag the slider right to increase the cursor speed as you move the mouse, or left to slow it down. On older macOS versions, you will need to click the Point & Click tab at the top of the page.


Comments
0 comment