
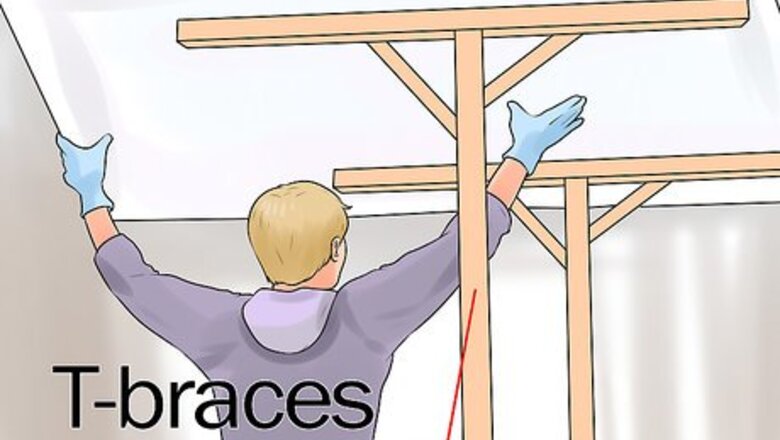
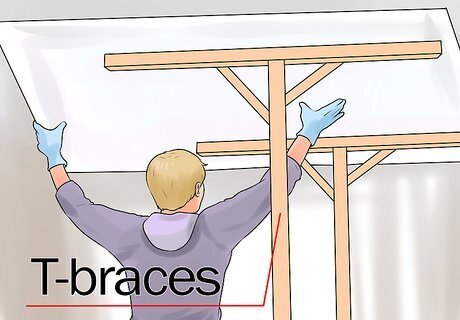
Attach drywall to the entire ceiling. Cut drywall to size with a sharp utility knife and a straightedge. Smoothen the edges of the drywall with coarse sandpaper and a sanding block. Utilize homemade 2-by-4 T-braces to assist yourself and a partner when installing the drywall. Rent a cradle lift for assistance if you are installing the drywall panels yourself. Nail the drywall into place, leaving 6-inch (15 cm) intervals between the nails. Dimple the drywall by giving the nail an extra hit to break the surface material.
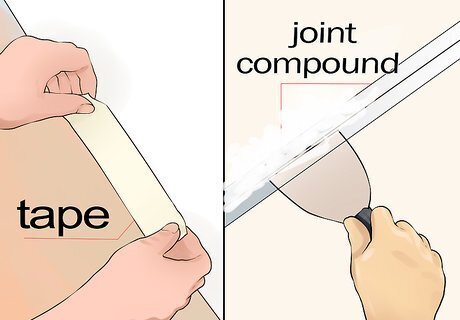
Tape the joints and use joint compound over the tape and nail dimples. Let the compound dry for about 24 hours, then apply a second and third coat.
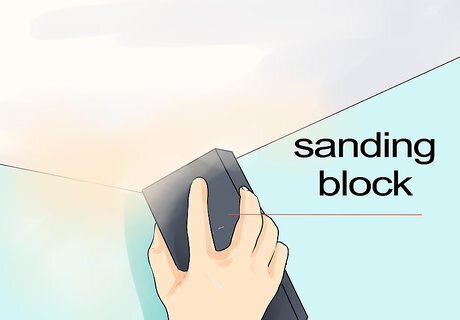
Feather the edges of the drywall with medium-grit sandpaper and a sanding block.
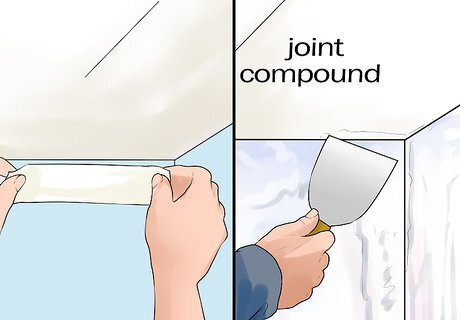
Tape the corners and areas where the walls meet the ceiling. Apply joint compound and sandpaper.
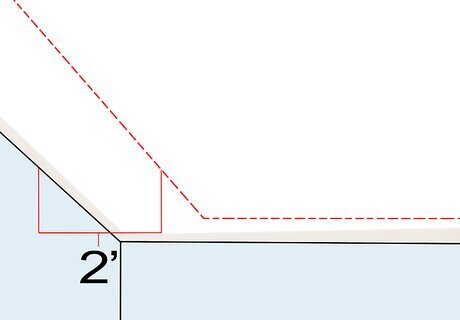
Determine the width of the lowered area. Tray ceilings are made by adding a lower rim to the ceiling, rather than removing material from the center. The width of this rim is typically 1 or 2 feet (0.30 or 0.61 m) (30 to 61 cm), depending on the dimensions of the room.
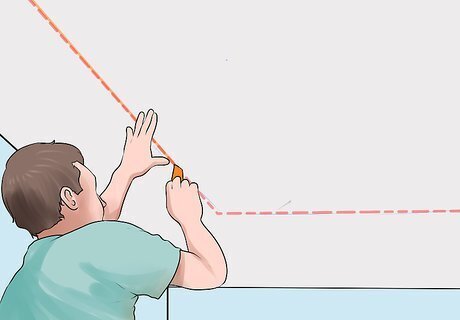
Determine the shape of the lowered area. The shape of the lowered area on a tray ceiling often mimics the shape of the surrounding walls, although you can use a more intricate design. Use a chalk snap line to mark this outline.
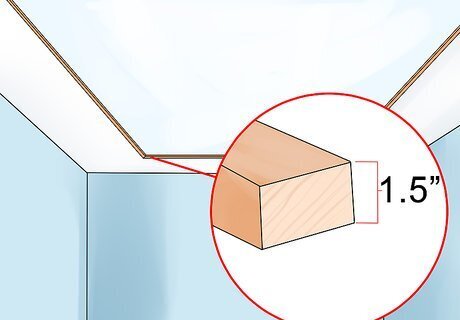
Frame the outlined area with 1-1/2-inch-thick (3.8 cm) furring strips. Secure the furring with glue and nails.

Attach 1/2-inch-thick (13 mm) drywall to the furring to cover the space from the edge of the wall to the edge of the furring strips.
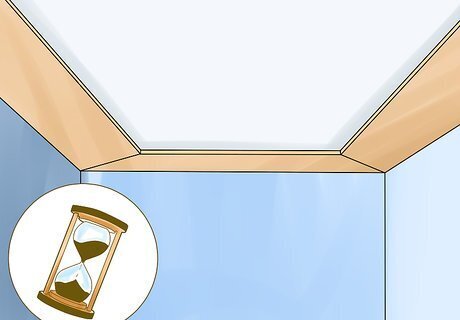
Let the walls dry for a few days. Wait as long as the manufacturer of your joint compound recommends.
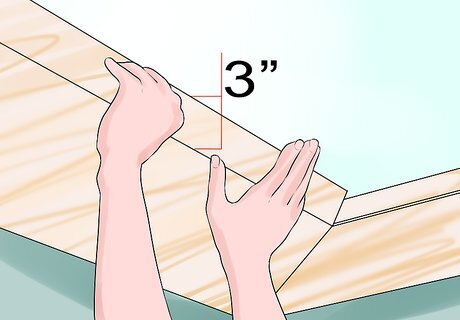
Bridge the lowered section of ceiling to the upper level with a 3-inch-wide (7.6 cm) vinyl bead. The bead runs around the perimeter of the outline at an angle. Snap chalk to outline where the edge of the vinyl meets the upper level of ceiling. Apply adhesive caulk to secure the bead in place. Staple the vinyl bead where it meets the lowered section. Attach the longer vinyl beads first.

Conceal the edges and seams of the drywall with joint compound.
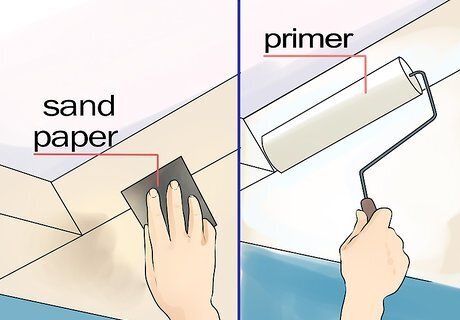
Sandpaper the area and coat it with primer.

Apply more caulk to the edges as necessary.
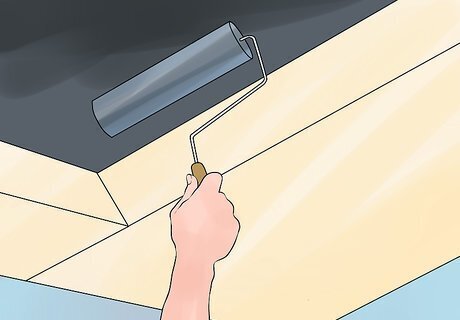
Paint the ceiling. Painting the lowered section of ceiling a few shades darker than the upper ceiling can enhance the contrast between levels.


Comments
0 comment