views
Uploading to OneDrive
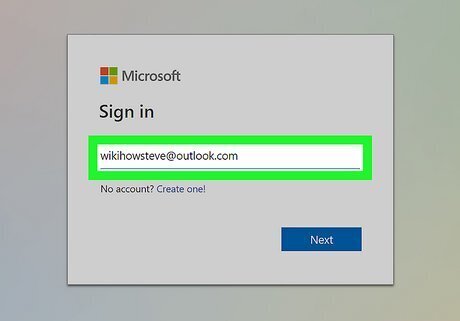
Sign in to https://www.onedrive.com. Because email servers limit the size of attachments, you'll want to upload your file to cloud service and then include a link to the file in your email message. You get 5 GB of space on OneDrive for free with a free Microsoft account. If you subscribe to Microsoft 365, you'll have 1TB of space, and can upload files up to 250 GB. If you'd prefer, you can use a different cloud drive service, such as Dropbox or iCloud, instead of OneDrive.
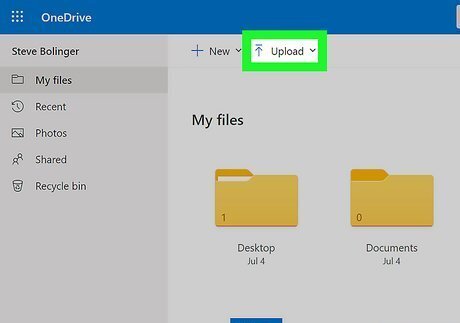
Click the Upload button. It's at the top of your file list. A menu will expand.
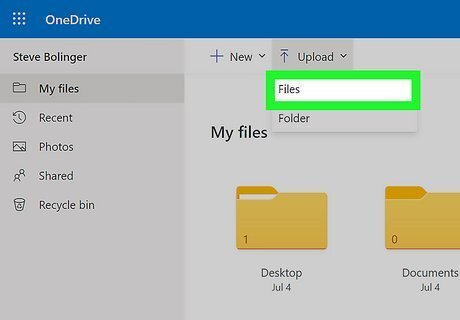
Click Files on the menu. This opens your computer's file browser.
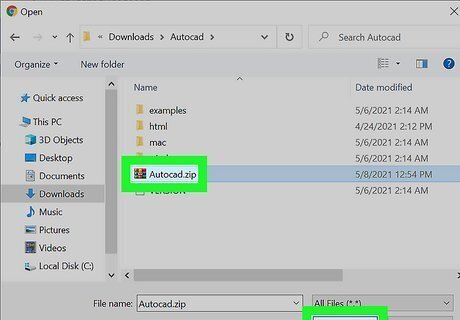
Select the large file and click Open. This uploads the file to OneDrive. You can watch the progress at the top-right corner of OneDrive.
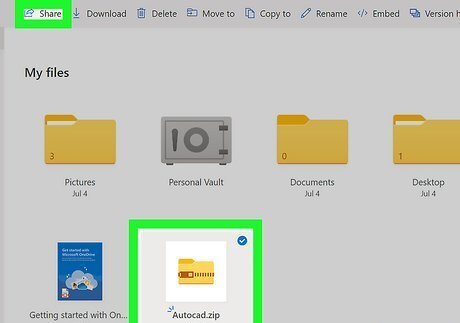
Select the uploaded file and click Share. You'll see this at the top-left corner of the file list.
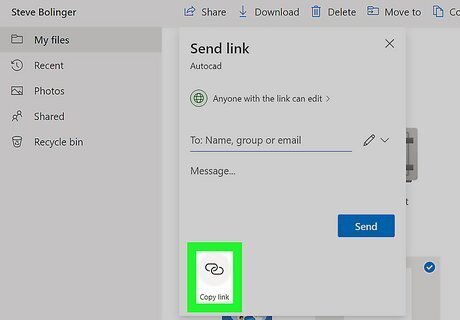
Click Copy Link. This saves a direct link to the large file to your computer's clipboard.
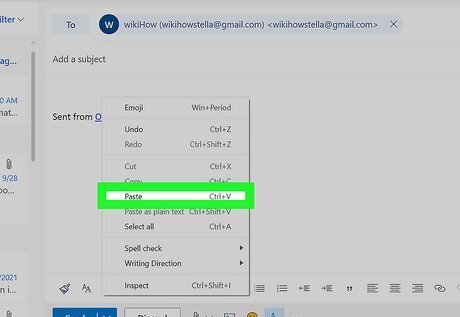
Paste the file into the email message in Outlook. Whether you're using Outlook.com on the web or the Outlook app on your computer, you can paste the URL you copied into the body of the message. Just right-click the location in the message where you want to insert the link and select Paste.
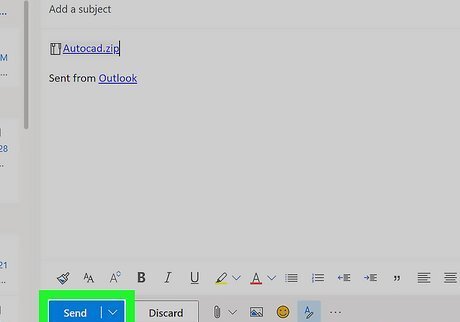
Send the message. When the recipient receives the message, they'll be able to download the large file by clicking the link you included.
Reducing Image Size in Outlook 365
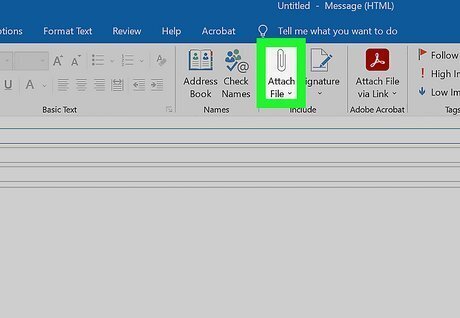
Attach the large photo(s) to your email message in Outlook. If you're using the Outlook application on your computer and want to share large photos, you can tell Outlook to make the images smaller when sending. To attach files in an Outlook message, click the paperclip icon at the top of the new message, select Browse This PC, choose the file(s), and then click Open.
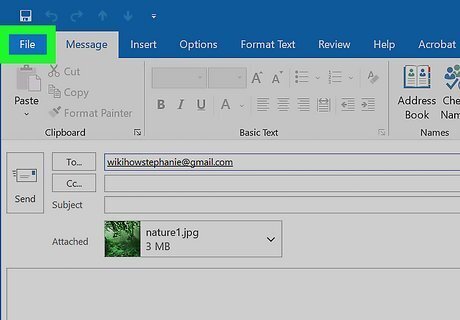
Click the File menu and select Info. The File menu that you need to click is the one that's on the new message, not the one at the top of Outlook. You'll see an Info menu option at the top of the File menu when expanded.
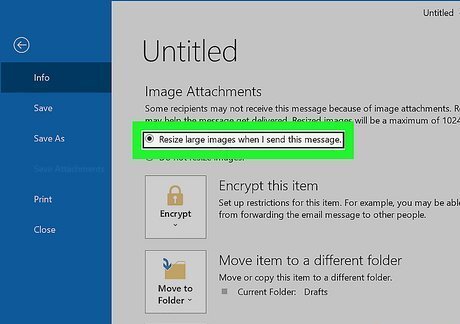
Select Resize large images when I send this message. It's the first option in the yellow box under "Image Attachments."
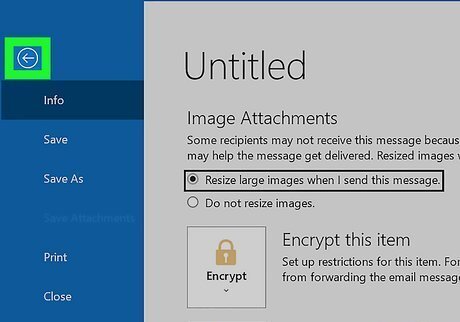
Click the back button to return to your email message. Now that you've told Outlook to reduce the size of the attached image(s), you should be able to send the message without error. If you can't get the images small enough to send this way, send multiple email messages with a few images attached to each, or upload them to OneDrive instead.
Compressing Files Before Sending

Open File Explorer (Windows) or Finder (Mac). If you're trying to send a file (or group of files) that are too large to attach to an email, you may be able to reduce the size of the file by compressing it into a ZIP file. The recipient can then unzip the file to view what's inside. Compressing files helps to save space. It enables you to send multiple files together. To open File Explorer for Windows, click the folder icon in the taskbar, or press Windows key + E. To open Finder for macOS, click the two-toned smiley face icon on the Dock. Some mail servers won't allow you to attach a ZIP File to an email. If you get an error about attaching a ZIP file, try using OneDrive instead.
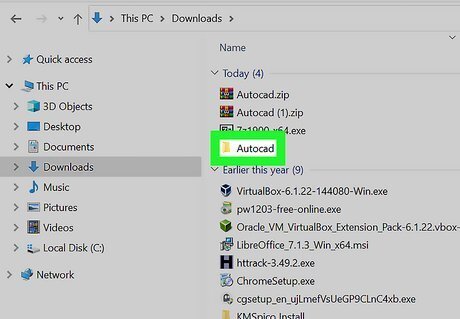
Go to the folder where you've saved the large file(s). For example, if your large files are photos, you can open your Photos or Pictures folder. Compressing files that are already in compressed formats, such as MP3, JPG, or MP4, will typically not reduce the file size by much. This method will work best for uncompressed files such as large Adobe documents, uncompressed video, and images in the RAW format.
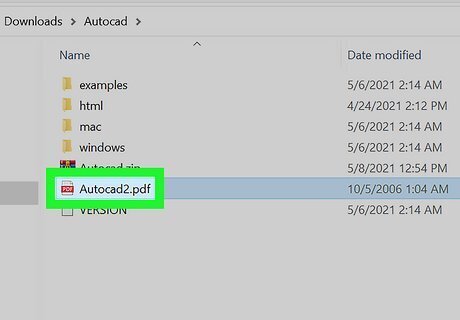
Select the file(s) you want to compress. To select multiple files, hold down the Control (PC) or Command (Mac) key as you click each file.
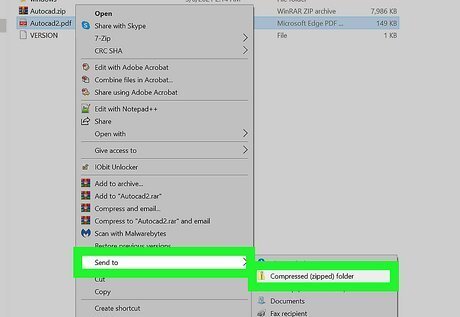
Add the selected file(s) to a compressed ZIP file. The steps are a little different depending on your operating system: Windows: Right-click the selected file(s), choose Send to on the menu, and then select Compressed (zipped) folder. macOS: Press Control as you click the selected file(s) and choose Compress from the menu.
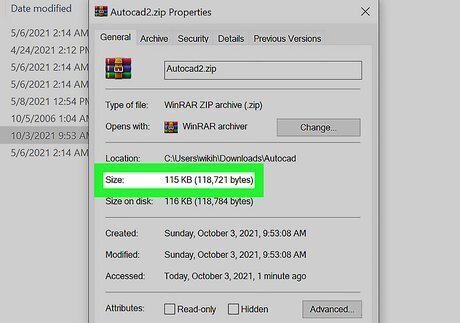
Check the size of the new ZIP file. Once you compress the files into a ZIP, a new file ending with the ".zip" extension will appear in the same folder you're in. You'll want to make sure it's fewer than 10 MB if you're sending it through an Exchange server, or 20 MB if sending through most other types of mail servers. Here's how to check its size: Click the file ending with .ZIP once to select it. If you're using a Mac, click the File menu and select Get Summary Info. If you're using Windows, right-click the file and select Properties.
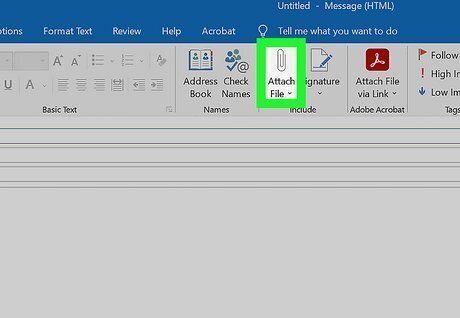
Attach the ZIP file to an email in Outlook. You can do this using the desktop version of Outlook or Outlook.com on the web. Just click the paperclip icon at the top of the message, select Browse this Computer or Browse this PC, choose the file, and then click Open. If the file is smaller than the maximum, the message will send as normal. If you're still unable to send the message after compressing the file, or Outlook won't let you attach a ZIP file to an email, you could try to upload them to OneDrive or another cloud drive instead.




Comments
0 comment