
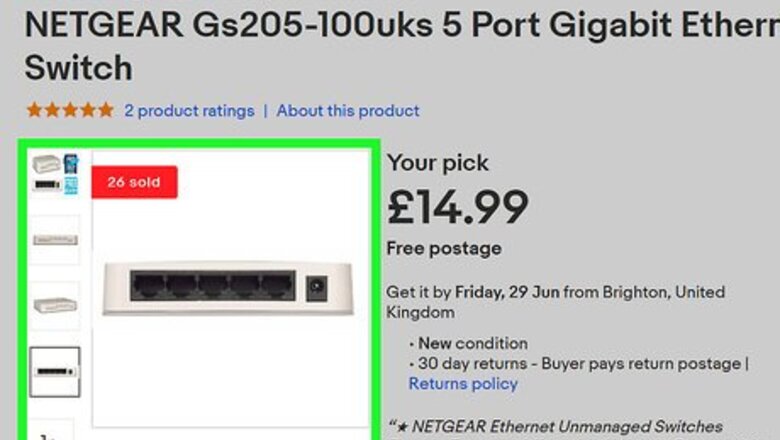
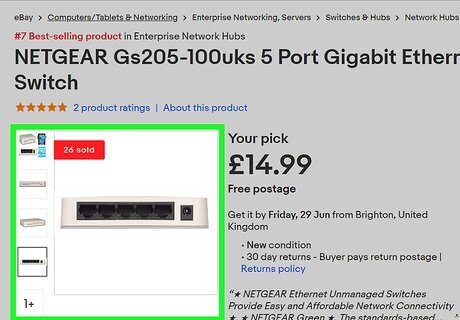
Purchase a switch. There are a couple things to look out for when purchasing a switch. Make sure the switch has more ports than you need. Make sure the switch is capable of transferring data at least as fast as your router. For example, if you have a 100 mbps router, you need a switch that is capable of at least 100 mbps. A slower router will slow down your network.
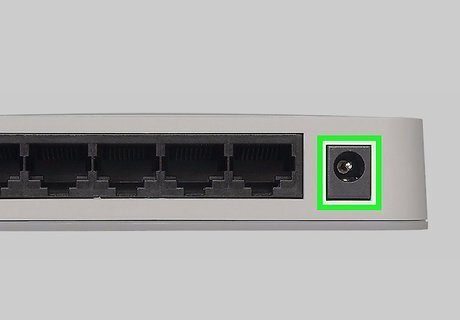
Plug in the switch AC adapter. Find a free electrical outlet near your router and plug in the switch using the AC adapter that came with it.
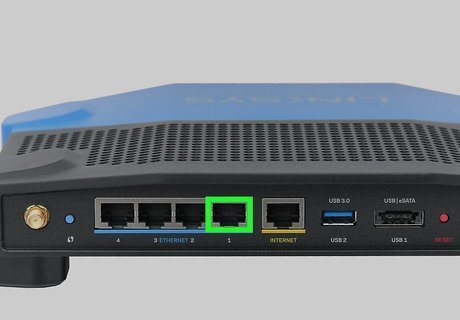
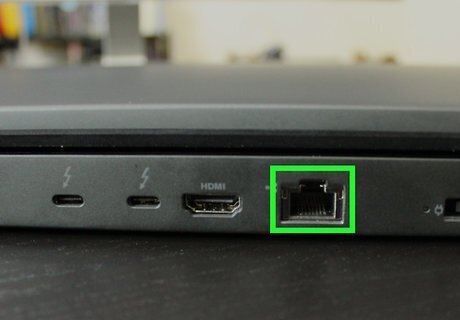
Connect the switch to the router. Use an ethernet cable connected to one of the ports on your router and connect it to the switch. Some switches have a special port called an uplink port for connecting it to your router. Other switches have automatic uplink capabilities that allow you to connect to any available port on the switch.
Plug your devices into the switch. Using ethernet cables, connect your devices to the ports on the switch. With the switch connected to your router, your devices are now ready to connect to the internet. If you have a switch that has a faster speed than your router, the devices connected to it will be able to transfer data to each other faster than they can transfer data from the internet.


Comments
0 comment