
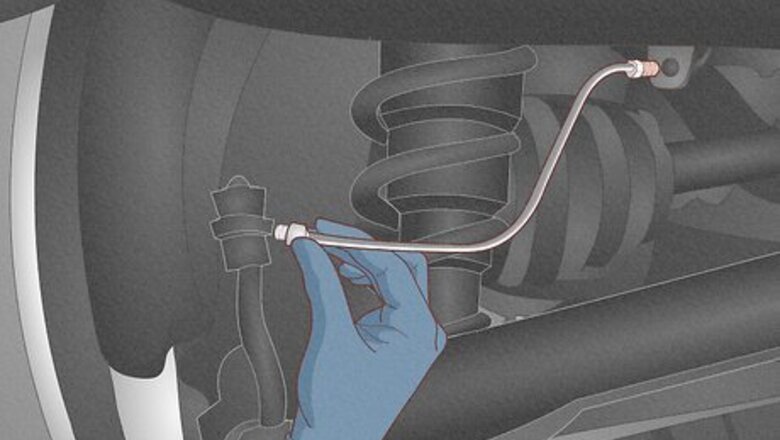
Preparing Your Tubing
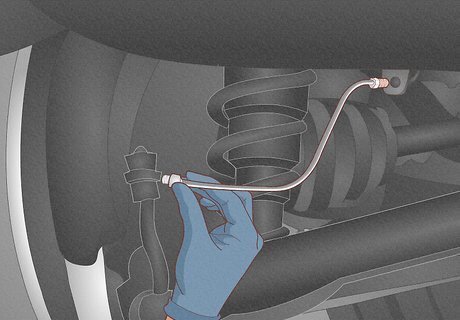
Remove the old brake lines and get your new materials. Remove your old brake lines by unscrewing them from the master cylinder and junction box. Keep all the old parts as a size reference for your new ones. Bring the old parts to an auto shop and purchase new lines and tube nuts of the same size. All cars have different lengths of brake lines, and different sections of your brakes are longer than others. Put a pan under your car when you remove the brake lines to catch the brake fluid. The brake fluid will also be specific to the kind of brakes you buy, so check your user manual to be sure you’re getting the right type. Check the owner’s manual of your car for further specifications on the width and length of your tubing.
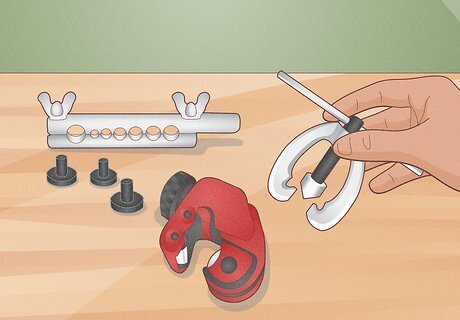
Purchase or rent a double flaring tool kit. These kits are relatively inexpensive, and quickly pay for themselves if you're flaring multiple lines. Get an entire kit, since it can be difficult to get the different tools by themselves. Kits come with a flare bar, flare yolk, and different sized anvils. Some kits come with tubing cutters and deburring tools, as well.
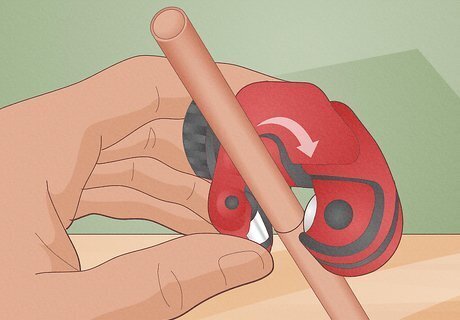
Cut the new brake tubing to the required length with a tubing cutter. Measure a new length of tubing against your old brake lines to determine where to cut it, then clamp it into a tubing cuter. Twist the cutter around the line and slowly clamp it tighter until the tube falls off. Tubing cutters clamp to the tube and then rotate around with a small knife, slowly cutting in a circular motion instead of pushing down, which could pinch the tubing. In a pinch, use a hacksaw. Only use light pressure, focusing on cutting side-to-side instead of up and down.
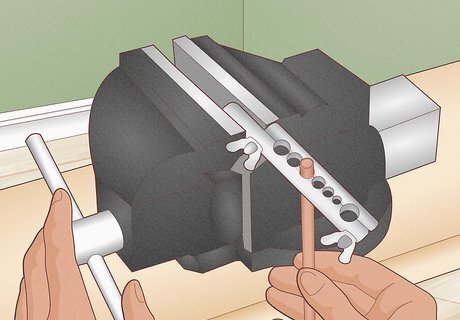
Secure the tube in a double flaring bar. Take the double flaring bar tool from your tool kit and clamp it upside down in a table vise. Match your tubing up to the correct size hole, and clamp it in an inch above the surface of the tool.
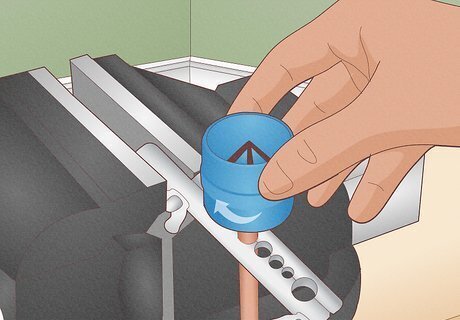
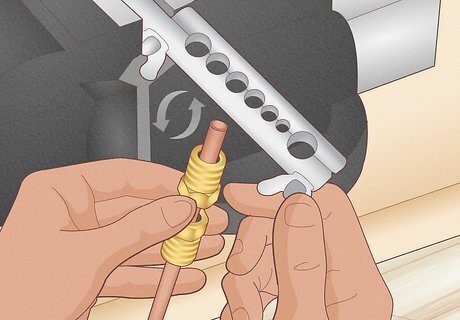
De-bur the cut ends. Put the pointed end of a internal chamfer tool, into the cut end of the brake line. Twist the tool to remove the metal burs in the line. If anything is left inside, the tubing could crack.
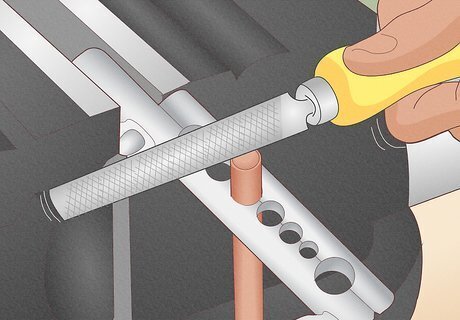
File the top of the tube. Use a file to shave down the top until it’s completely flat. If there are any burs left on the outside, shave those down as well. The top of the tube needs to be totally clean and square to flare correctly.
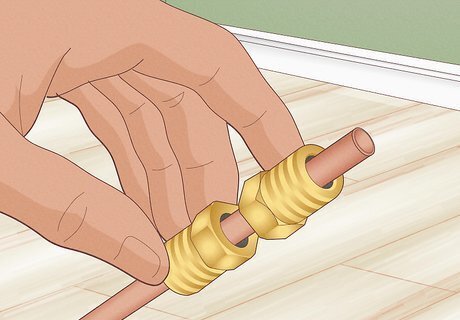
Unclamp the line and slide two fittings over it. Slide two new tube nuts (the same size as your old ones) onto the brake line—these connect the line to the master cylinder and junction box. Put the first one on with the threads facing away from the side you’re working on, then put the second one on with the threads facing the end you’re flaring. Put the tube nuts on now, as they’ll be extremely difficult to put on after the line is flared.
Making the Double Flare
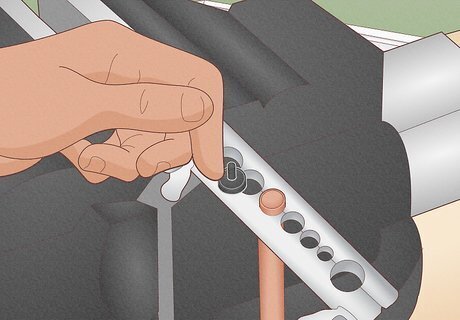
Reclamp the tube so the end lines up with your flaring anvil. The anvil is a round piece with a small rod sticking out the top. The anvil has three tiers, the rod at the top, a thick middle cylinder, and a protruding lip at the bottom. Line up the top of the tubing with the top of the lip. This will be the height of your first flare. Set the anvil next to your tube, loosen the clamp, and raise the tube to the same height as the lip of the anvil. Make sure the anvil is the same size as the tubing you're using. The measurement on the bottom of the anvil (i.e. 3/16”) needs to match the gauge of your tubing.
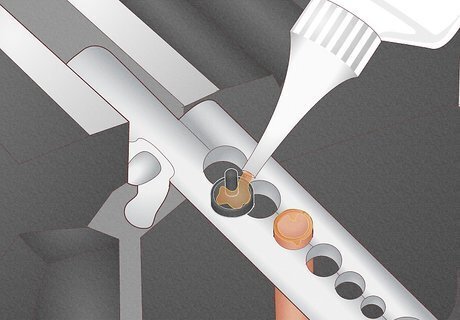
Drop a few drops of brake fluid into the line and on the top of the anvil. Only ever lubricate a brake system with brake fluid. Do not use motor oil. Put a few drips in the line, and a couple on the rod of the anvil.
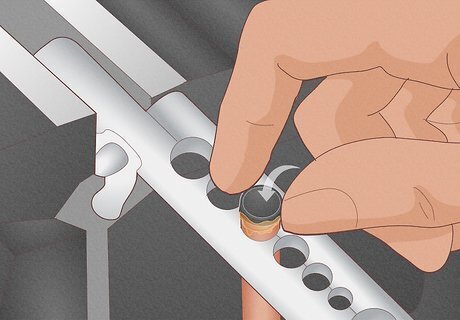
Insert the rod of the anvil into the brake tube. Turn the anvil upside down and thread the rod on top into the hole in the tube. It will sit comfortably in the tube if it’s the right size.
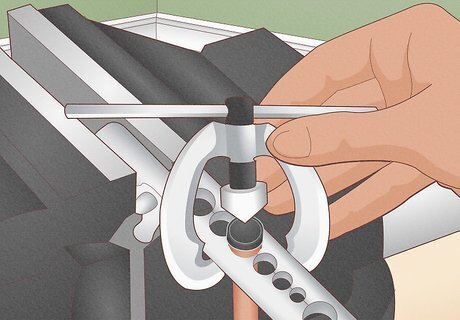
Clamp the flaring yoke onto the top of the anvil. Grab the yoke, an E-shaped tool with an adjustable conical point in the center, and clamp it to the flaring base. Line up the cone so that it presses down squarely on the anvil. The point of the cone will fit snugly into the top of the anvil. Make sure that it is not diagonal, off-kilter, or otherwise misplaced. Once you have the right angle, tighten the yoke down so that it cannot move.
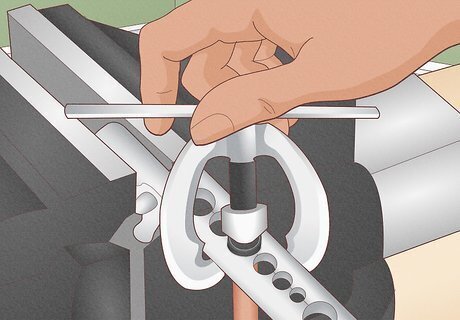
Tighten the flaring cone until the anvil is flush with the base. Turn until the bottom of the anvil sits comfortably on the flat anvil base, then unscrew it and remove the anvil. This creates your first flare. Use slow, even force to compress the anvil. Don't use excessive force here, or you could damage the flare.
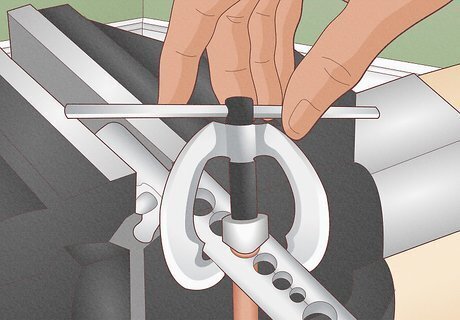
Bore the flaring cone directly into your tube until it’s flush. Repeat the earlier process, just without the anvil. Tighten the cone directly into the top of your tube, then stop when it’s flush with the top of the flaring bar. Once again, don't use strong or excessive force. Slow and steady is perfect.
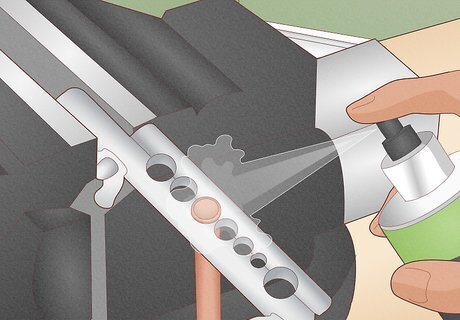
Spray down the finished lines with brake cleaner and compressed air. Remove any metal shavings or dust with brake cleaner and compressed air. This will ensure your entire braking system is working properly. Never use anything else to clean brake lines.
Repeat the process on the other lines, then install them. Remove the line from the flaring tool. Flare all of the brake lines using the same method. When you're done, install the brake lines, tighten the tube nuts onto the connections, and bleed your brakes.


Comments
0 comment