
This article is partially based on an interview with Vanessa Stahl, Jewelry Designer.
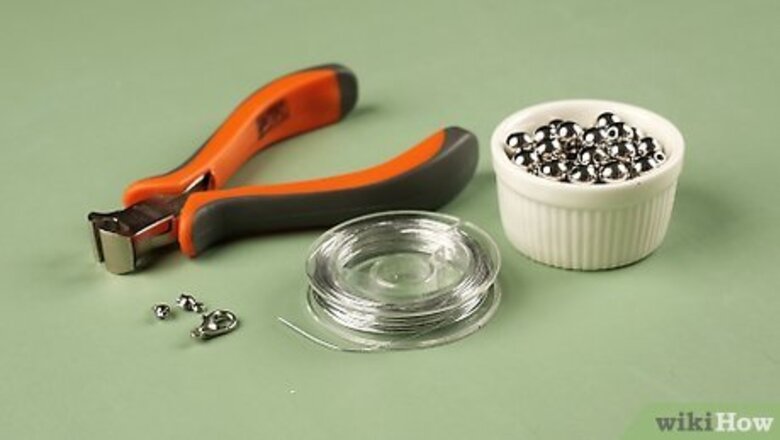
Gather your beading materials.
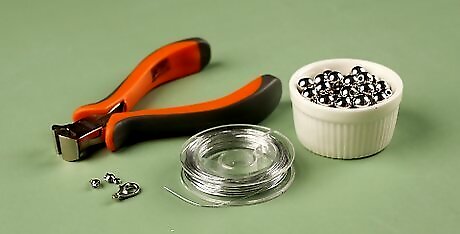
You'll need beads and beading thread or wire. Also, get a wire cutter, crimp beads, super glue, and closures to finish your necklace properly. Keep in mind that the smaller the wire or thread gauge number, the thicker the wire or thread will be. Opt for a wire or thread that’ll easily pass through your chosen beads.
Select a length for your necklace.
Measure your neck to find the perfect length. Take a fabric tape measure and loop it around your neck while looking at yourself in the mirror. Try small and big loops to see what style of necklace you prefer. A choker is the shortest necklace and is usually around 16 in (41 cm) in length, according to gemologist Joseph R. Villarreal. A collar necklace is a little longer and goes down to about 16 in (41 cm). A lariat is the longest, coming in at about and over 45 in (110 cm). You can also make up your own style and length. These are simple suggestions to give you a rough idea. Note that the finished length of your beaded necklace includes the beads you've used and the length of the jewelry clasp of your choice.
Cut your thread or wire to size.
Add 4 in (10 cm) to the measurement before you cut. For example, if you'd like to make a collar necklace, cut a total of 20 in (51 cm) of thread 16 inches plus 4 inches).
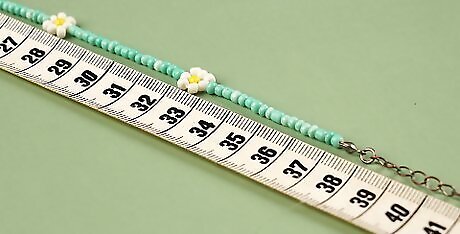
Arrange your beads on a beadboard or flat surface.
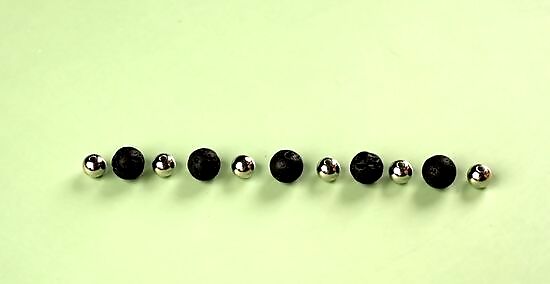
Play with the beads until you find the design you like best. Try different color variations or multiple layers of string. You might want a choker that wraps around your neck a few times or just one long loop. Don’t be afraid to experiment! Try doing an alternating pattern of colored beads, like the rainbow, make a random pattern, or search Google or Pinterest for inspiration. A beadboard is a plastic, foam, or wood board with measurements and slots for you to lay out your beads. While using a beadboard isn’t necessary, it can help you organize and design your necklace. Place your beads in your chosen design at the 0, and measure the length of your necklace using the numbers and dashes along the sides.
Start your necklace with the clasp.
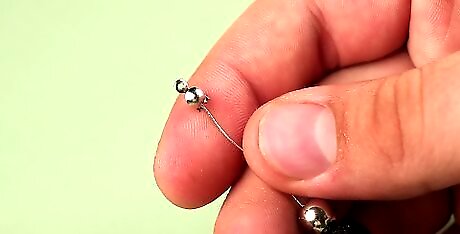
String on 1 bead, then a crimping bead, and then another bead. Place one end of the clasp on after the crimping bead. You can use either a lobster claw or jump ring (clasps usually come in a set with both pieces as one goes on each end). Make a loop with the thread or wire, bringing the material back through the crimp bead. Keep the lobster claw or jump ring at the top of the loop. Use a crimping tool or chain nose pliers to smoosh the crimp bead, securing it in place. If using bead thread, you may wish to put a dot of super glue on either end to ensure that the beads and crimp stay on.
Add your necklace beads.

Slide each bead onto the string. Thread a bead through the string one bead at a time until you run out of beads. Be sure to leave about 4 in (10 cm) of stringing material at the end. Some jewelry makers prefer beading their entire necklace before adding one of the ends—do what you prefer! Adding a lobster claw or clasp to the end of the necklace first will keep your beads on the string without a stopper.
Secure the final clasp section to the necklace with a crimp bead.
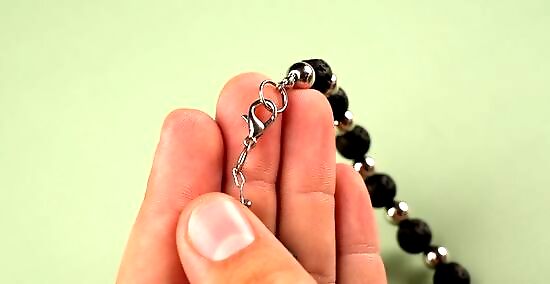
String another crimping bead onto the thread or wire. Slide on the end of the clasp duo you chose (a lobster claw or jump ring), create another loop through the crimp bead, and squish the crimp bead in place. Be careful not to pull the stringing material too tight. Leave a small amount of slack in the necklace. This leaves room for the beads to move and rotate. If the stringing material is too tight, the necklace will be rigid, and this can make the design look angular. Keep in mind that a lobster claw connects to a jump ring. You can’t have one without the other.
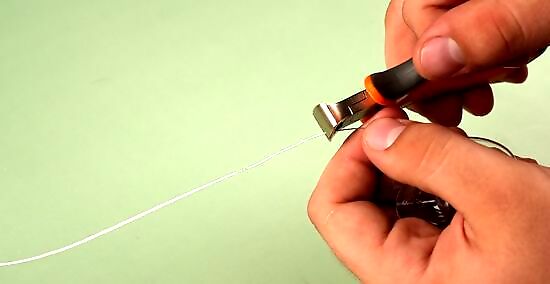
Cut away any leftover string or wire.
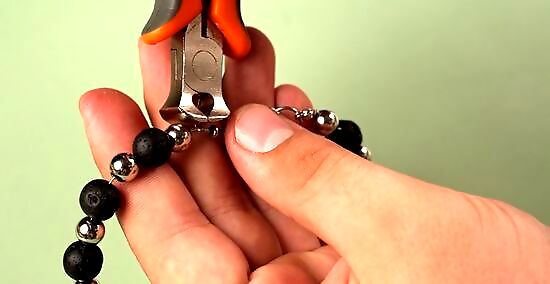
Use wire cutters or jewelry scissors to remove any excess wire or thread. To avoid cutting the material too close to the crimp bead, weave about 1 in (2.5 cm) of the material through the beads for extra security. Now, all that’s left to do is wear your DIY beaded necklace with pride!


Comments
0 comment