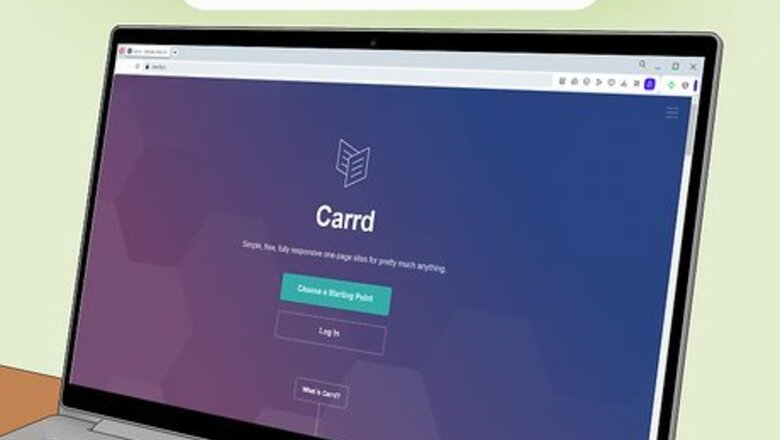
views
- Carrd is free to use, but offers paid plans if you need more features.
- You can start with a premade template and use it as is, or edit it to fit your needs.
- If you feel creative, Carrd allows you to build your own webpage from scratch.
Creating with a Template
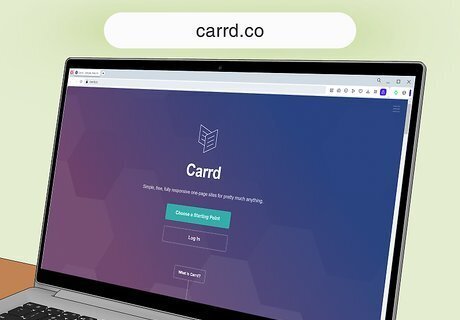
Go to Carrd.co. You can get started with designing a Carrd right away, or you can sign up beforehand by clicking the Log In button. There is a button to sign up on the login page, where you can enter your details such as email and desired password.
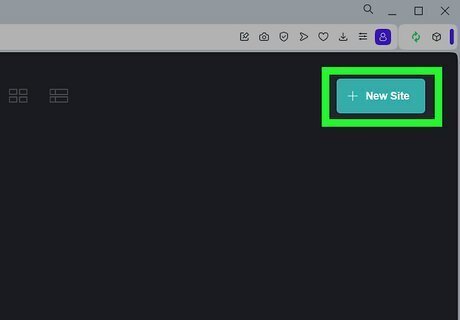
Click the + New Site button in the upper-right on your dashboard. If you're not on your dashboard, click the first icon in the left-hand sidebar that looks like a 2x2 grid of rectangles.
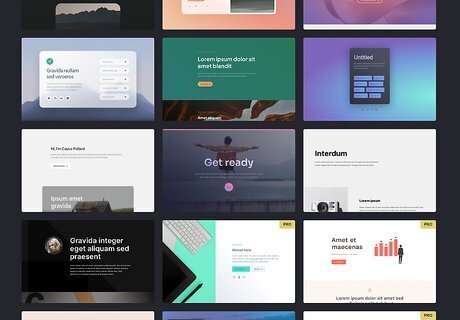
Select a template. Carrd has a number of pre-made templates to make creating a site easier. Some of these templates are free, and some require a pro membership. The pro templates are denoted by a yellow tab in the corner of the template image that says PRO. Use the dropdown at the top of the screen to sort the templates. Hover a template you like and click Demo to see a preview of the template, to ensure it will work for your needs.
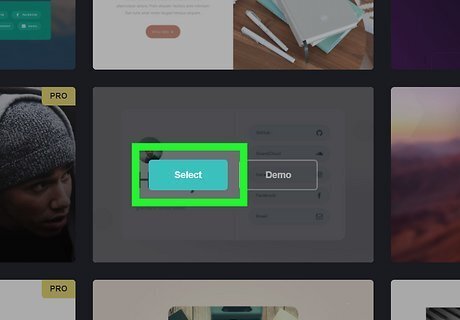
Click the Select button while hovering the template. This will open the template in the site editor.
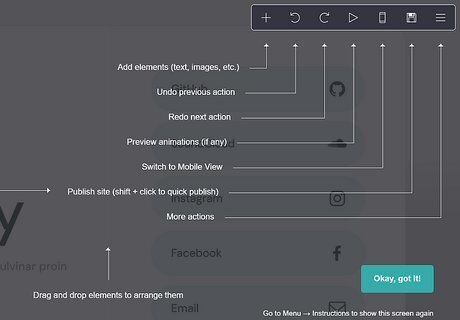
Review the first-time user tutorial. The first time you enter the site editor, Carrd will show an overlay explaining what each button does. You can go to Menu > Instructions to view this overlay again. The toolbar at the top of the screen has options to add an element, undo, redo, preview animations, switch to mobile view, and publish your site, as well as a three-line menu icon for other actions Click on any element on the page to bring up its properties so you can edit it or delete it Drag and drop elements to rearrange them on the page
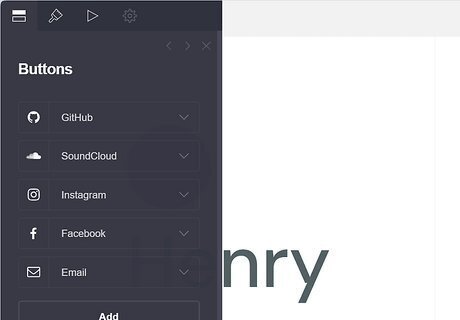
Explore the template. Before you get started, explore by clicking on elements and looking at how they work. Clicking on an element will bring up a popup sidebar that allows you to edit it. These sidebars have multiple tabs. Each element has different tabs, so click through those tabs to see what you can do with the site editor. Most elements have a tab to edit the content of the element (text, image, etc.), a tab to edit the parameters or properties of the content (font size, image size, etc.), and a tab to edit the animation of the content (how it appears when the page loads).
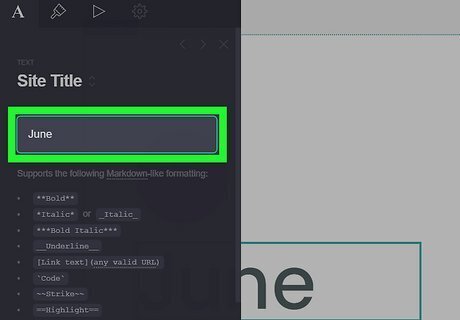
Edit the title. Most templates have a textbox near the top of the page in a larger font, or typeface. This is the title of the site, and what the site's title is may vary. You may want the site's title to be your name if you're creating a portfolio, or it could be the name of your business if you're making a website for your store. The title can be anything you want. If you select a template that suggests a name is the title of the webpage, you can change it to something different.
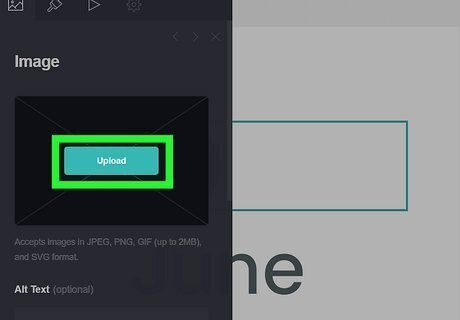
Add images. If you see any boxes on the page with a big X through them, you should insert an image. Add a relevant image (i.e. a picture of you if you're making a personal portfolio, or an image relating to your business if you're making a website for your store). You must place an image in each image box before you can publish your site. If you're not sure what image to place in the box, you can insert a placeholder image instead, or delete the element by clicking on it and selecting the trashcan icon.
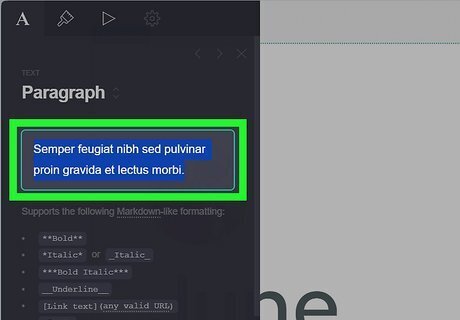
Replace placeholder text. Lorem ipsum is used as placeholder text, and looks like Latin words. If you see text on your site that is lorem ipsum text, replace it with relevant text. This could be a website subtitle, description, paragraph, or the title of a button or link.
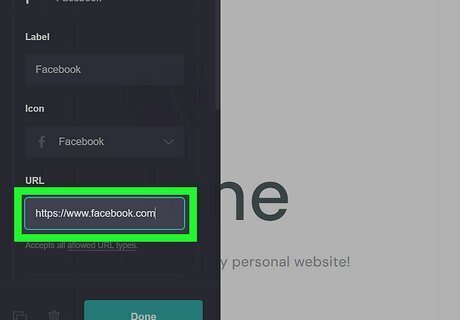
Add links as required. Some elements can be linked, including buttons or icons. If a button or icon has a logo of a social media site or an icon of a phone or envelope, it is likely intended to be a link to a social media profile, telephone number, or email address. Links can be added by clicking on the button or icon, then clicking on the name of the particular button or icon you want to edit in the sidebar. Buttons and icons can be changed to fit your needs. If the template gives you a space to link your Instagram and Facebook, but you only have a Twitter/X and Deviantart, you can change the icon on the icon or button to match what link you're inserting. Buttons and icons have a dropdown list of many symbols and logos for you to choose from.
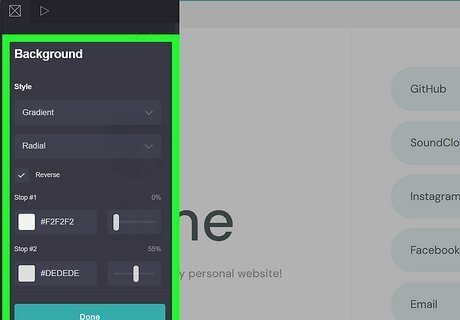
Click the background to edit the page properties. You can adjust the background color as well as add a background pattern, gradient, or video. You can also adjust the page type and add page animations.
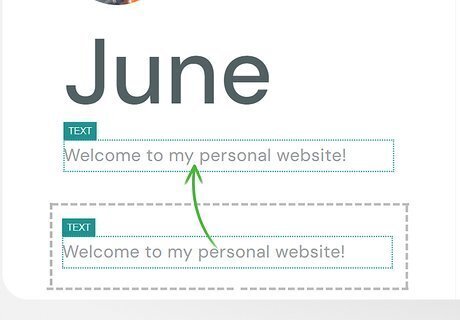
Rearrange, add and delete things as you wish. Just because the template is set up a certain way doesn't mean you have to keep it that way. Play around with the site layout by rearranging, adding, or deleting things. Drag and drop elements to rearrange them. You can rearrange the order of a list of buttons or icons by dragging the name of the button or icon in the popup sidebar. Delete items you don't need by clicking on them and clicking the delete button at the bottom of the sidebar. If you want to delete just one button or icon, click the trashcan button next to that particular button or icon. Add items by clicking the plus button on the toolbar at the top of the page. You can add a variety of elements to a page. Your template probably already has text, images, buttons, and icons, but you can also add lists, videos, audio, galleries, and more. Pro users can add slideshows, forms, widgets, and embeds. More advanced users can use containers and controls to further design their websites. You can also add new elements by duplicating existing ones by clicking on the existing element and clicking the duplicate button at the bottom of the sidebar.
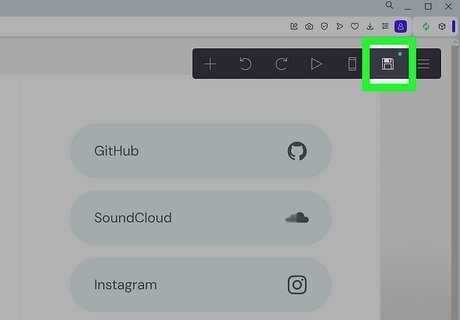
Click the floppy disk icon to publish your site. If you didn't sign up yet, Carrd will prompt you to do so before you can publish your site. Otherwise, fill out the information in the sidebar: Title: The name of your site that will appear at the top of the browser window, in search engines, or in an embed when you share your Carrd link Description: A brief description of your site that will be included in a search engine listing
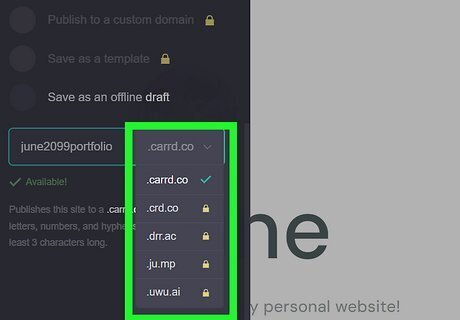
Decide what URL you want to use. You can pick from a few different URLs in the dropdown under Action. Once you've decided on a URL, add your custom URL name. Each URL must be unique, so no two Carrds can have the same URL name. The URL name must also not have any symbols or spaces. You can also save your Carrd as an offline draft if you want to edit it further. If you have a pro plan, you can publish to a custom domain, which involves purchasing a domain name from a domain name seller and connecting it with your Carrd by connecting the host and target with your custom domain.
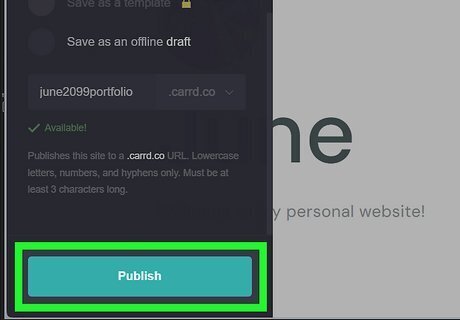
Click Publish once you've filled out all the required information. Once your site is published, Carrd will give you a confirmation popup with a link to your website so you can view it.
Creating with a Blank Canvas
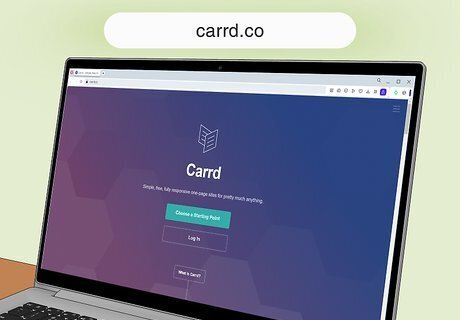
Go to Carrd.co. You can get started with designing a Carrd right away, or you can sign up beforehand by clicking the Log In button. There is a button to sign up on the login page, where you can enter your details such as email and desired password.

Decide what you want your website to look like. You can go in without a plan if you prefer to just play with the website builder, but if you have a specific idea in mind, draft it on paper or in image editing software before you begin.
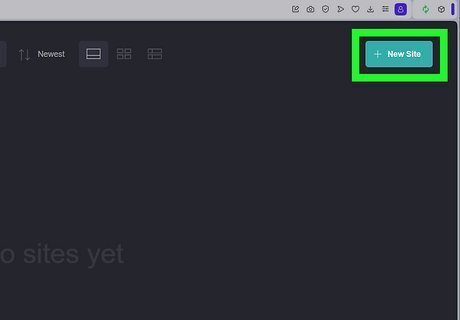
Click the + New Site button in the upper-right on your dashboard. If you're not on your dashboard, click the first icon in the left-hand sidebar that looks like a 2x2 grid of rectangles.
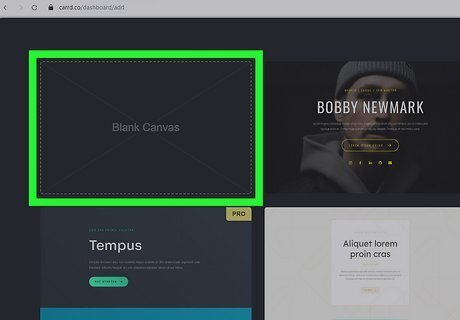
Select the "Blank Canvas" template. You can also click the dotted-line rectangle in the upper-right corner to start from scratch.
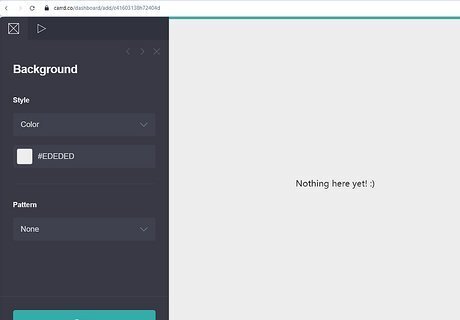
Click the background to edit the page. You can select a background color (or gradient, pattern, or video).
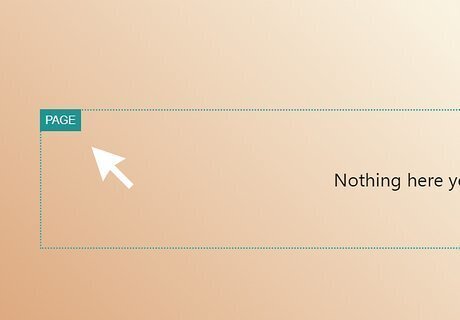
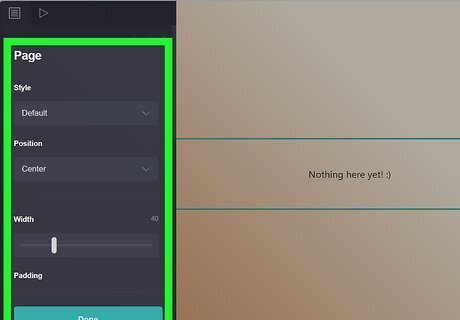
Hover over the text until you see a dotted-line box that says "Page". Click this to edit the page, which allows you to customize the page style, position, width, and size. You can also adjust the padding, which increases the space between the content on the page and the edge of the page border. Note that the padding will only be apparent if you pick a box page style.
Edit the default text box, or delete it. You can click the text box that says "Nothing here yet! :)" and edit it to fit your needs, or delete it entirely.
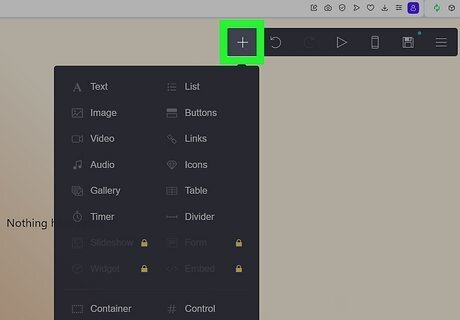
Add elements to the page by clicking the + button. You can add text, images, lists, buttons, links, and more, depending on the layout you're going for.
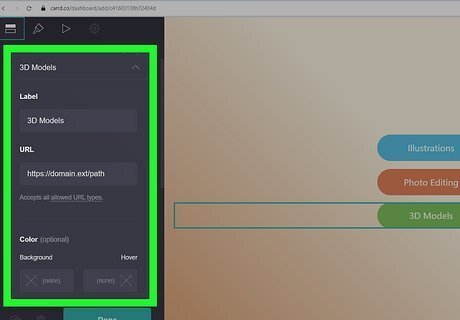
Edit your elements. Click on each element to edit it. You can edit the content of the element as well as the properties of the element by selecting the tabs in the sidebar. You can change font, font size, image size, element padding, element spacing, and more.
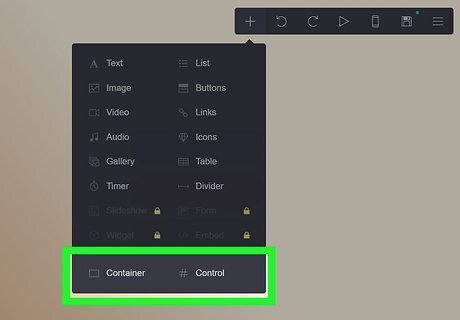
Organize your elements with containers or controls. Containers and controls are a bit more advanced, but can allow you to format your webpage and organize your elements: Containers allow you to create columns. You can also leave the container a single column if you want to add spacing (padding) around all or part of the elements on a page. Controls allow you to create sections or scroll points. Controls have names that start with a #, like #about. You can create the illusion of a multi-page website with controls by creating a button that links to your control, such as carrdname.carrd.co/#about. Anything beneath the gray control bar on the site editor will be on the new "page".
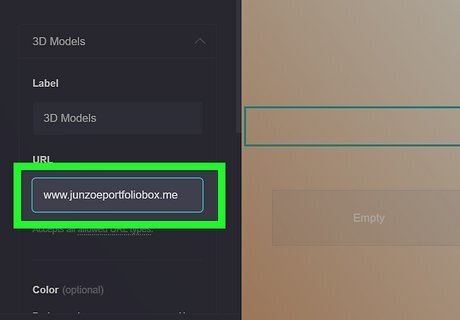
Include links as needed. If you're creating a portfolio, you may want links to your social media pages or email. If you've created a Carrd with controls to make different sections, you should include navigational buttons that link to each control as well as the homepage for easy navigation.
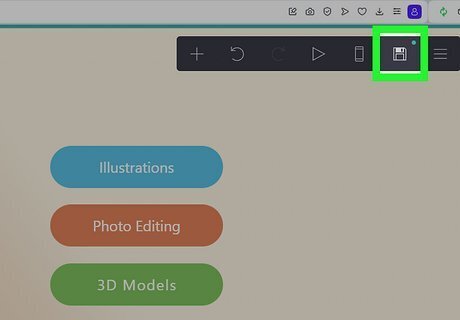
Click the floppy disk icon to publish your site. If you didn't sign up yet, Carrd will prompt you to do so before you can publish your site. Otherwise, fill out the information in the sidebar: Title: The name of your site that will appear at the top of the browser window, in search engines, or in an embed when you share your Carrd link Description: A brief description of your site that will be included in a search engine listing
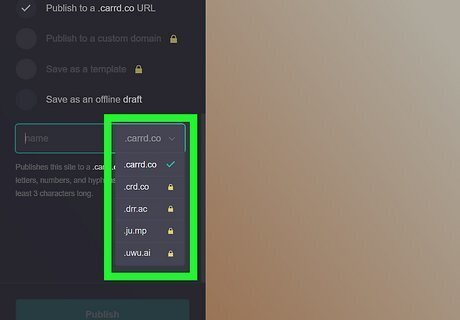
Decide what URL you want to use. You can pick from a few different URLs in the dropdown under Action. Once you've decided on a URL, add your custom URL name. Each URL must be unique, so no two Carrds can have the same URL name. The URL name must also not have any symbols or spaces. You can also save your Carrd as an offline draft if you want to edit it further. If you have a pro plan, you can publish to a custom domain, which involves purchasing a domain name from a domain name seller and connecting it with your Carrd by connecting the host and target with your custom domain.
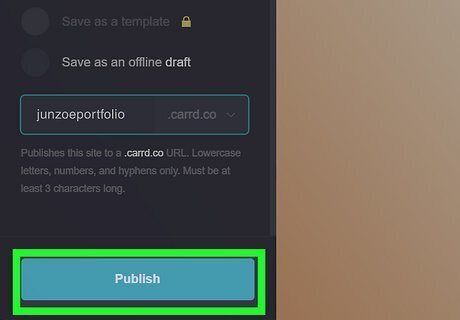
Click Publish once you've filled out all the required information. Once your site is published, Carrd will give you a confirmation popup with a link to your website so you can view it.
Carrd Free vs. Premium
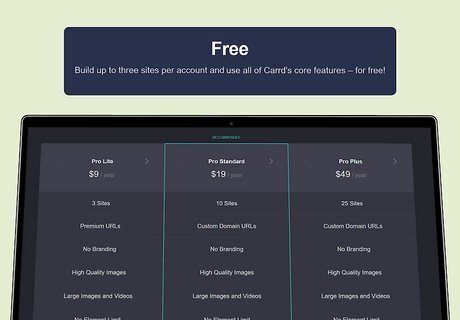
Determine if you'll need a pro account. Carrd can be used completely free, but free accounts have some limitations. Carrd offers three premium plans: Pro Lite, Pro Standard, and Pro Plus. Free accounts cost nothing, but you can only host one site with a maximum of 50 elements on the site. (Elements are images, text boxes, buttons, links, etc.) Your site will also have Carrd branding at the bottom and you cannot use a custom domain nor can you add forms, commerce widgets, or custom code. Pro Lite is $9 per year and allows you three sites with no element limit and no Carrd branding. You can't use a custom domain, forms, or commerce widgets, but you can add multiple editors to your site, transfer your site, and use custom code. Pro Standard is $19 per year and allows you 10 sites. Along with the perks of the Pro Lite tier, you can add a custom domain as well as use forms and commerce widgets. Pro Plus is $49 per year and allows you 25 sites. Along with the perks of the previous two tiers, Pro Plus allows you to customize your site's meta tags as well as download the HTML so you can host your site somewhere else.
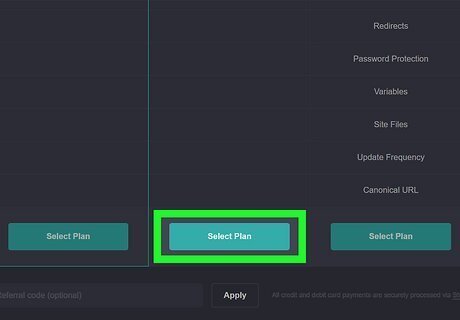
Sign up for a pro account, if desired. Click on your user profile in the lower-right corner and scroll down to Plans. Click the Change button to change your plan, and follow the on-screen instructions to upgrade if you choose to do so. The basics of creating a Carrd are the same whether you have a free or paid plan. A paid plan is beneficial if you know you'll need to place more than 50 elements on your site, or you want to host multiple sites. Otherwise, if you're just testing out Carrd or only need a simple site, the free plan should be more than enough for your needs.






Comments
0 comment