
- Open the Steam app and go to "Steam > Settings" and uncheck the box to launch Steam on startup.
- Alternatively for Windows, open Task Manager and go to "Startup/Startup apps > Steam > Disable."
- For Mac, open System Preferences/Settings and go to "Users & Groups > your username > Login Items > Steam" and click the minus button.
Using Steam Settings
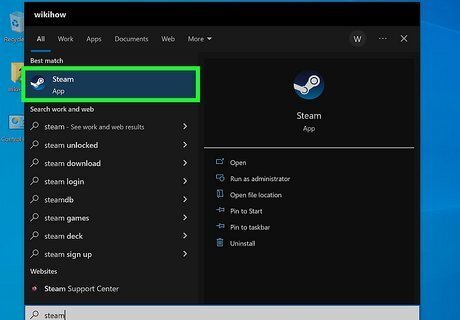
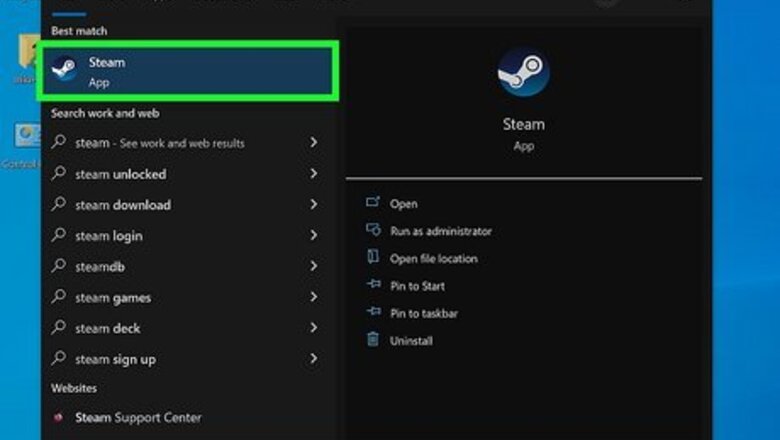
Open Steam. Click the app icon that looks like a gear arm. This method works for Windows 10, Windows 11, and Mac computers and laptops.

Click Steam. You'll see this in the top left corner of the app. This will prompt a menu to drop down.

Click Settings. You'll find this at the bottom of the menu. If you're using a Mac, this will say "Preferences" instead. A new window will pop up.

Click Interface. It's in the menu in the panel on the left side of the window.
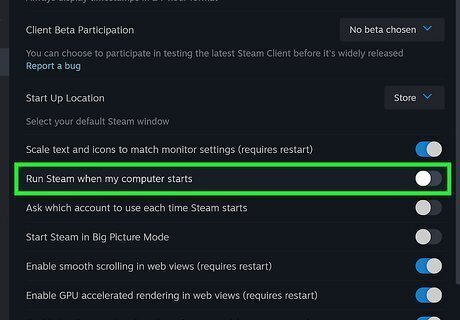
Toggle off iPhone Switch Off Icon "Run Steam when my computer starts". When the switch is grey, Steam will not open when you start your computer. If this option is disabled, you also will not see the app in your Task Manager, Preferences, or Startup Apps list.
Using Task Manager (Windows)
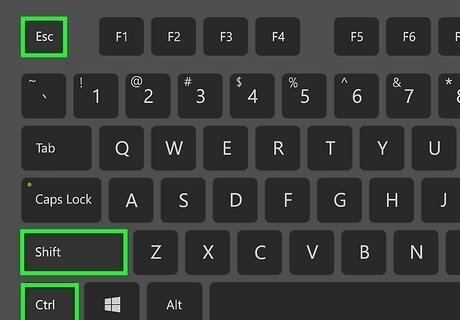
Open Task Manager. You can do this by pressing Ctrl + Shift + Esc or you can right-click the taskbar and select Task Manager. You can use Task Manager to disable Steam instead of using Steam settings. You cannot do both. This method works for both Windows 10 and 11.
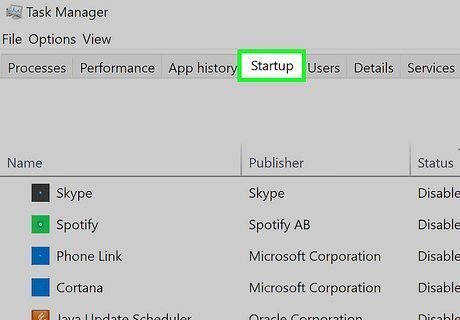
Click the Startup or Startup apps tab. It's a tab running along the top of the Task Manager for Windows 10 or along the side of the window if you're using Windows 11.
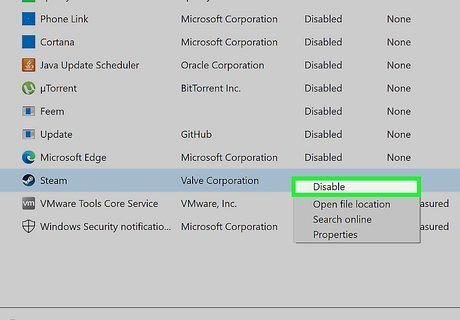
Right-click "Steam" and click Disable. Alternatively, you can click "Steam" to select it and then click Disable. Doing this will prevent Steam from opening as soon as your computer launches just as the settings in the app would.
Using App Settings (Windows)
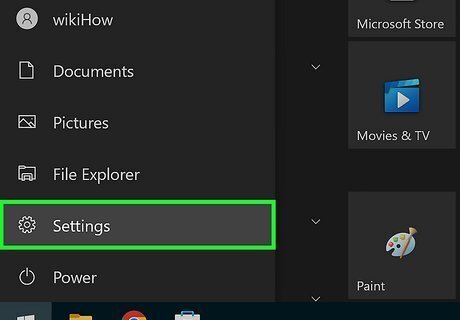
Press ⊞ Win+I. This keyboard shortcut will open Windows 10 and 11 Settings. Alternatively, click the Start icon in your menu, then click the gear icon. This method works for both Windows 10 and 11.
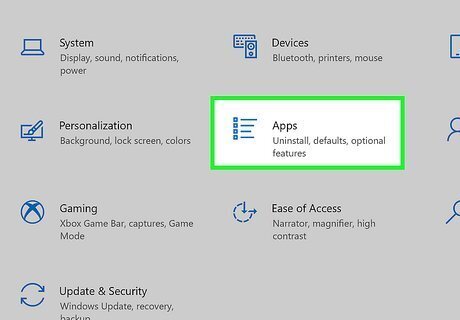
Click Apps. If you're using Windows 11, you'll see this in the menu on the left side of the window. It's next to a bullet-list icon.
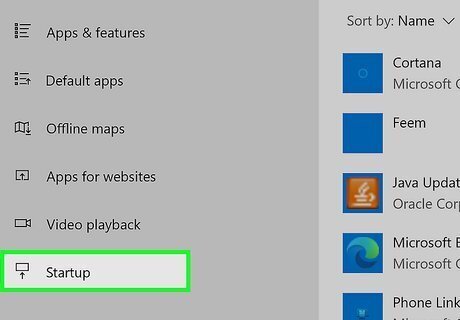
Click Startup. It's next to an icon of a rectangle above an arrow.
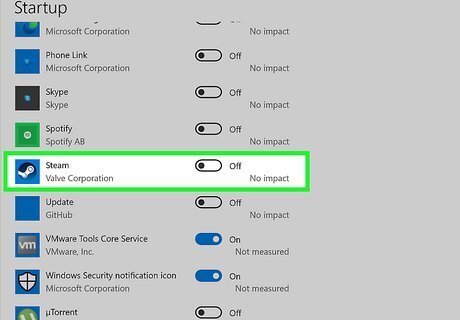
Click the toggle next to "Steam" to turn it off Windows Switch Off. If you already disabled Steam from launching on startup using any of the other methods, you won't find it in this list.
Using Task Scheduler (Windows)
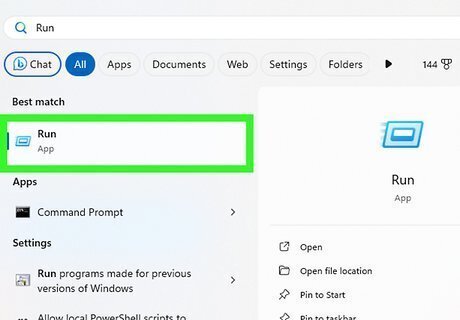
Open the Run menu. You can do this by pressing the Windows key + R. This method works for both Windows 10 and 11.
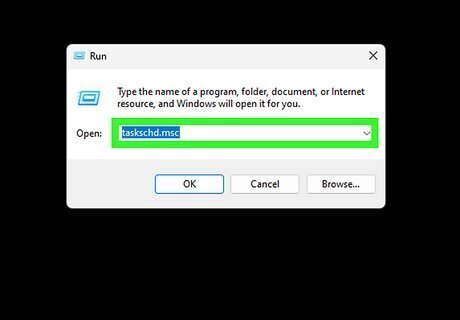
Type taskschd.msc and press ↵ Enter. This will open the Task Scheduler.
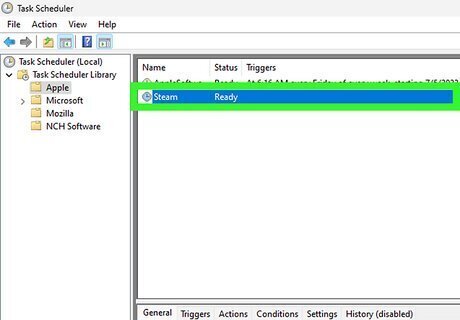
Locate the "Steam" task. Expand the Task Scheduler Library in the left panel and select the Steam task.
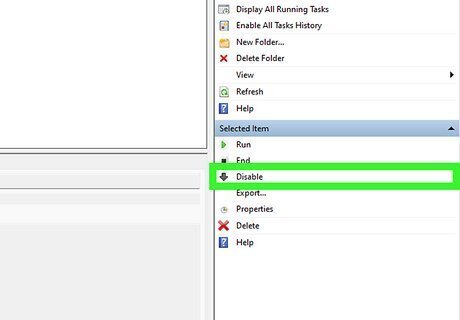
Right-click the task and click Disable. This will stop Steam from opening on startup.
Using Settings on Mac (macOS Ventura & Newer)
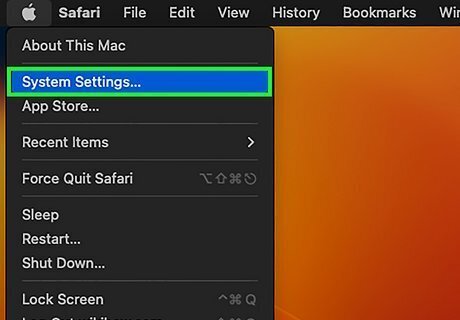
Open System Settings. Do this by clicking the Apple menu and selecting System Settings.
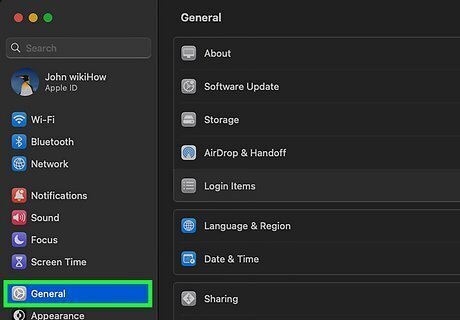
Click General. You'll see this in the menu on the left side of the window.
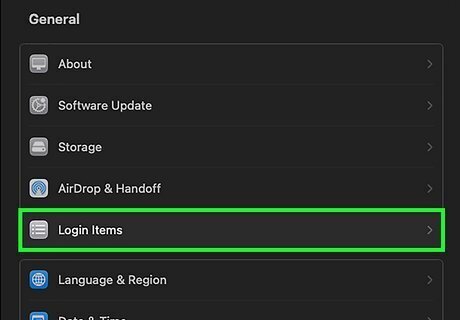
Click Login Items. It's next to a bullet-list icon on the right side of the window.
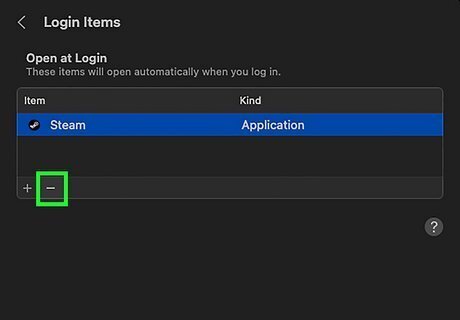
Click - next to Steam. Doing so will remove this app from the startup list.
Using Preferences on Mac (macOS Monterey & Older)
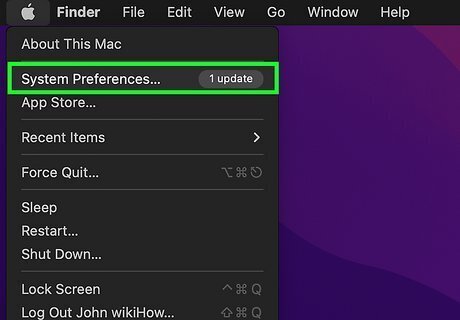
Open System Preferences. You can do this by clicking the Apple menu (it looks like an apple icon) and selecting System Preferences from the menu.
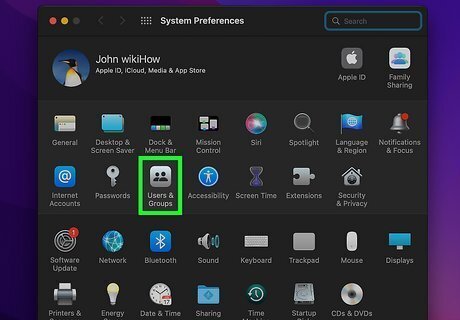
Click Users & Groups. It's in the first grouping of icons.
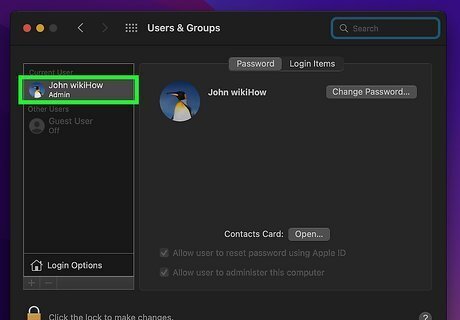
Click your username. You'll see a list of all the users on your Mac. Clicking your username will allow you to change the login items.
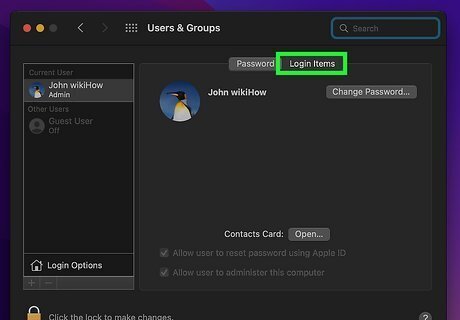
Click the Login Items tab. It's near the top of the menu.
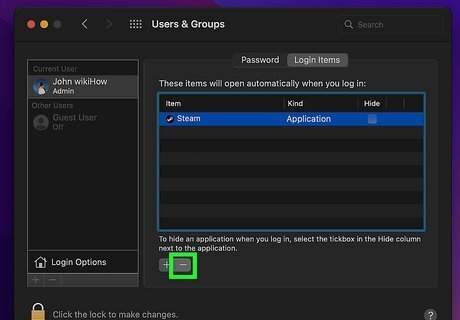
Click to select "Steam" and click -. The minus button is at the bottom of the "Login Items" window and will remove Steam from that list. This change only affects the username that you chose previously. Repeat this process for other profiles, but you will most likely need their password to continue.


Comments
0 comment