
views
- You can use PuTTY to connect to school servers, work servers, and web servers securely via SSH.
- PuTTY is available for Windows from https://www.chiark.greenend.org.uk/~sgtatham/putty/latest.html.
- If the server you're connecting to requires your public key, you can generate your public/private keypair in PuTTYgen.
Installing PuTTY

Go to https://www.chiark.greenend.org.uk/~sgtatham/putty/latest.html. PuTTY is a free tool for making secure shell (SSH) connections to a remote server. If you were asked to connect to a certain server via SSH (for your website, for work, school, or any other reason), PuTTY is the most straightforward way to connect on Windows.
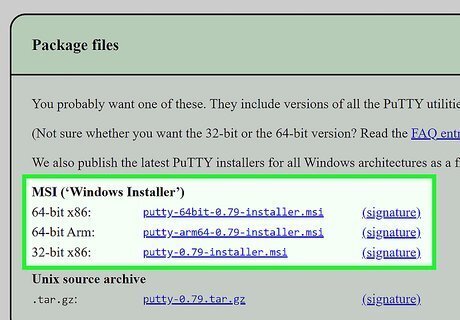
Download the "msi" file from the "Package Files" section. All the different files may seem confusing, but there’s no need to worry! In the "MSI (Windows Installer)" section, you'll see three download links—64-bit x86, 64-bit Arm, and 32-bit x86. First, you'll need to figure out which file to download by finding your computer's bit count. Open the Windows Search bar, type about, and then click About your PC. Look at the number next to "System type" in the right panel. If you see "64-bit operating system, x64-based processor," you need the 64-bit x86 version. Download the file called putty-64bit-0.78-installer.msi. If you see "64-bit operating system, ARM-based processor," you need the ARM version. Download putty-arm64-0.78-installer.msi. If you see 32-bit operating system, you need the 32-bit version. Download putty-0.78-installer.msi.
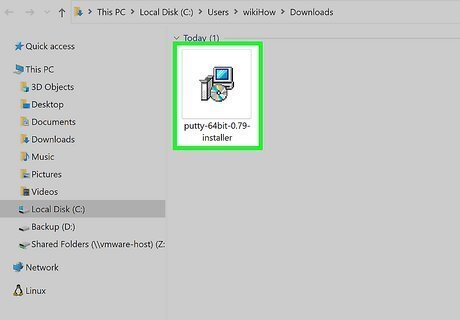
Run the PuTTY installer. Double-click the installer you downloaded (it'll be in your default Downloads folder), then follow the on-screen instructions to install PuTTY. Just choose the default settings and you'll be okay. PuTTY, PSFTP, and PuTTYgen will be added to your Start menu once the installation is complete.
Connecting to a Server
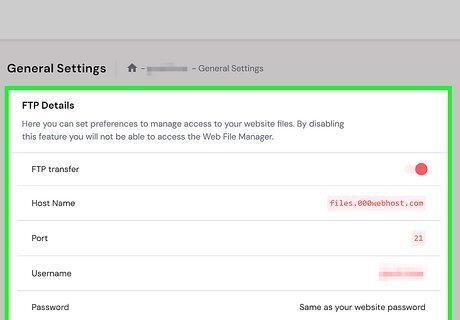
Gather your server information. Most people won't need much information to connect to a server with PuTTY. You'll typically need: The hostname or IP address you want to connect to. A hostname looks like a string of words, like students.harvard.edu or mywebsite.com. An IP address is usually 4 numbers connected together, like 10.0.01. The port you'll need to connect to. If your work, school, hosting provider, or other party hasn't provided you with a port, don't worry—this just means you'll use the default SSH port of 22. Your username and password for the server. If you're connecting to a server that has other requirements, such as using a certificate or private key to authenticate, you'll need those files as well. Most people won't need to do this, but if your host requires you to do so, you can use PuTTYgen to generate a key for your remote server.
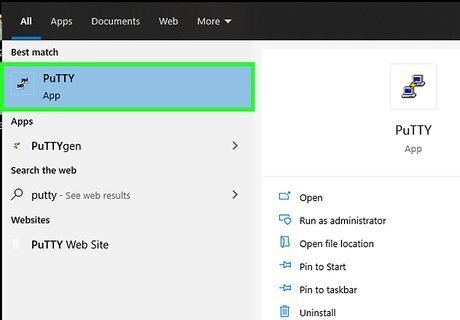
Open PuTTY for Windows. It'll be in the Start menu, but you can also type putty into the Windows Search bar to find it quickly. PuTTY will open to the "PuTTY Configuration" screen.
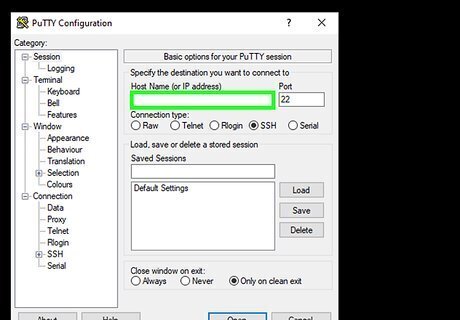
Fill out the connection fields on your PuTTY client. After you start up PuTTY, a dialogue box will pop up on your screen. Enter the hostname or IP address you want to connect to into the first field. SSH is selected by default, which sets the "Port" field to 22. If you need to SSH to a different port, enter that port into the "Port" field. You can also use PuTTY to telnet into remote servers or check ports, but because telnet isn't secure, it's not used much anymore. Type a name for your profile under "Saved Sessions" and click Save. This makes it so you can quickly select this host in the future. If your host requires you to use a private key or certificate, expand the SSH menu, then expand the Auth menu, and select Credentials. Click the Browse… button next to the authentication type your server uses (Private key file and/or Certificate) and select the key or certificate file.
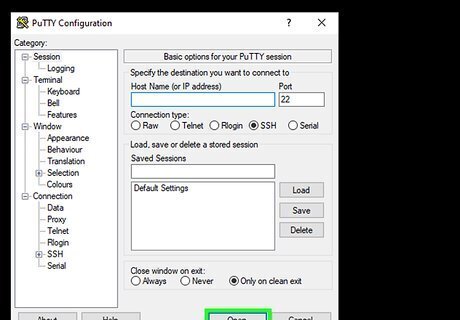
Click Open to connect to the server. Once the connection is successful, you'll be prompted to enter your username and password to log in. You can now run any Unix commands allowed by your system administrator. Some sysadmins tighten security by making you SSH into one server just to SSH into another. If you need to SSH into another server from the one you just logged into, use ssh -l username remotehostname. If you didn't save a profile, you'll be prompted to do so now. Click Yes or No when prompted.
Generating Keys
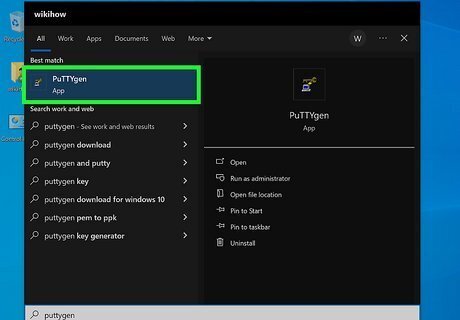
Open PuTTYgen for Windows. If you were instructed to create an SSH key pair before connecting to the server via SSH, you can do so easily using PuTTYgen. Type puttygen into the Windows search bar, then click PuTTYgen to launch the tool. Use this method if your system administrator or host asked you to provide them with your public key. Once you create your public key and give it to your sysadmin, they'll add it to a file that makes it possible for you to connect with PuTTY.
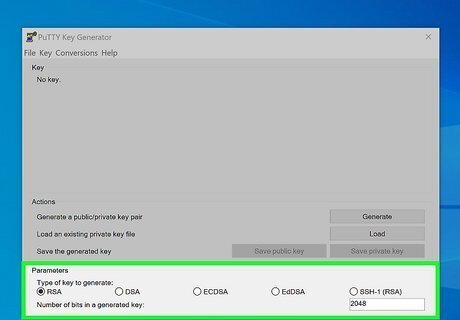
Choose a key type. You can create RSA, DSA, ECDSA, EdDSA, or SSH-1(RSA) keys. RSA is selected by default, as it's the most common type of key.
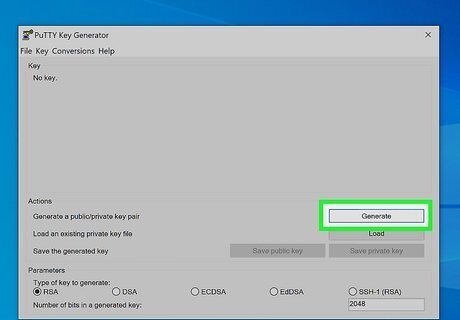
Click Generate. You'll see this button next to "Generate a public/private key pair."
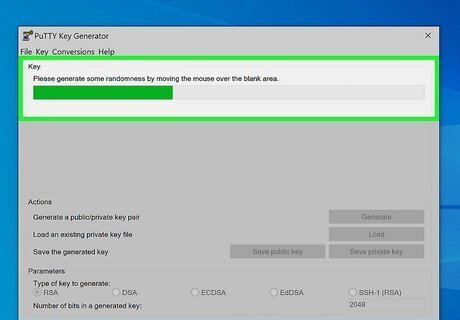
Move your mouse cursor over the bar. Keep moving the cursor until the progress bar turns completely green. When the bar is filled, your public key will appear.
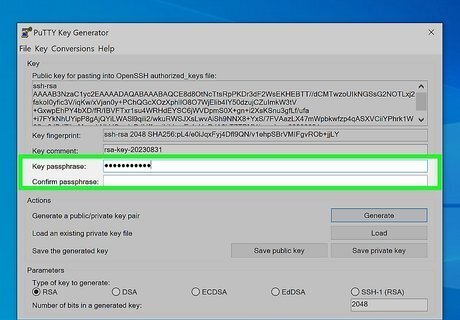
Create a key passphrase. Don't skip this step, as it's important for security. Enter and confirm a new passphrase to use when connecting to the remote server with your key.
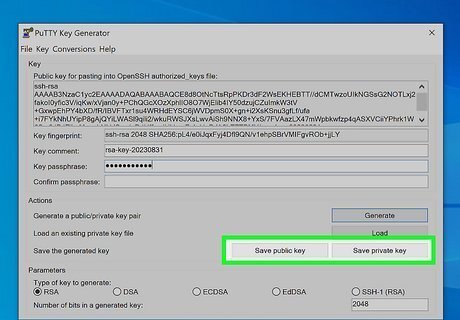
Save your public and private keys. Click Save public key, choose a location you'll remember, call the file something like publickey.pub, and click Save. Then, click Save private key, and save it to a location you'll remember. This time, keep the default file extension of .ppk so you'll remember that the file is your private key.
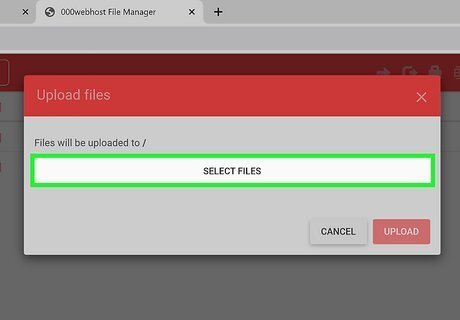
Upload your public key (or share with your sysadmin). The process to add your public key to the SSH server will be different on each server, but you'll usually have to upload it to a specific location using a web portal or FTP. You may need to copy it from the "Public key for pasting" field in PuTTYgen into an email so your sysadmin can add it. If you were instructed to add the key yourself, the default location for public keys is in your home directory at ~/.ssh/authorized_keys. If the file does not exist, you can create it in your home directory. If the file does exist and already contains a key, you can use a text editor like nano to paste your key on the line directly below the existing key.
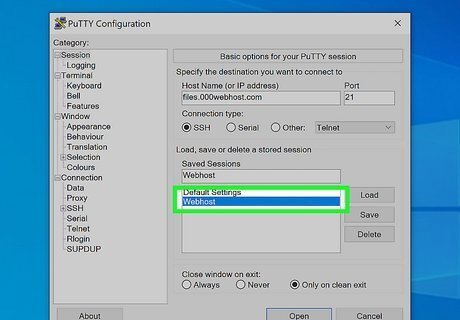
Open PuTTY and select your connection. Once your public key is in the right place, you'll need to associate your private key with the connection to the server. If you've already saved your server information, select that server now. If not, enter the hostname and login information for your server, name the connection, and click Save to create one.
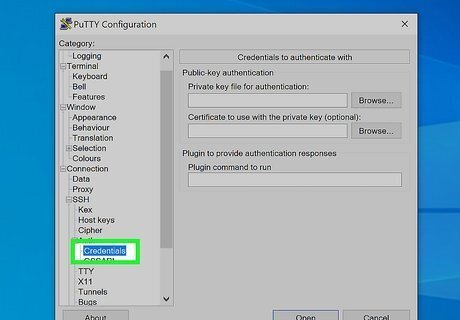
Go to SSH > Auth > Credentials. You can get here by expanding each of these menus in the "Category" section on the left side of PuTTY.
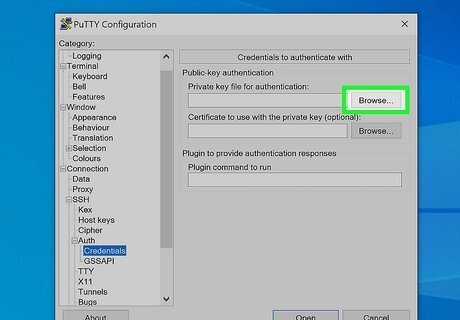
Click Browse… next to "Private key file" and select your key. Choose the private key file you generated (the one that ends with .ppk).
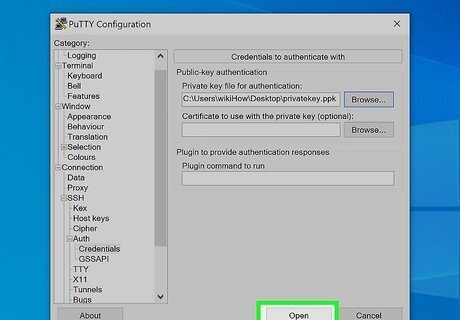
Click Open to connect. As long as your keys match, you'll be prompted to enter your passphrase and log in to the server via SSH.
Transferring Files with PSFTP
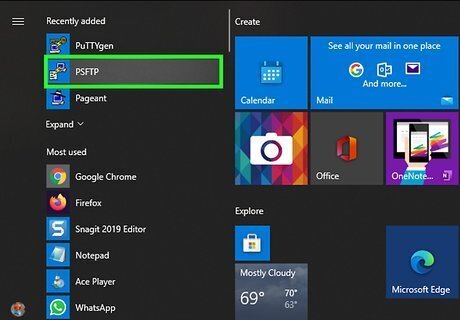
Open PSTFP for Windows. PuTTY comes with a secure FTP app that lets you transfer files between your computer and a remote server. You'll find PSFTP in the Start menu.
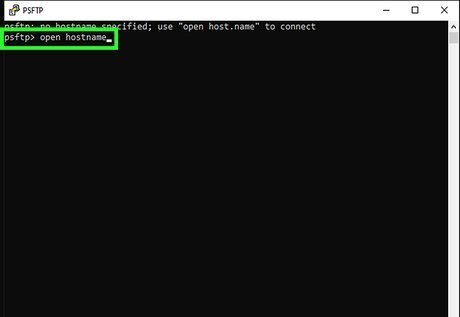
Type open hostname. Replace hostname with the host name or IP that you need to connect to. A host name follows the format students.harvard.edu, while an IP address looks like this: 10.0.01.

Press ↵ Enter. This initializes the connection to the server. If you are prompted to store a key in your cache, type y.

Log in to the server. Use the username and password you were assigned for this server. Once you're logged in, you'll see a prompt.
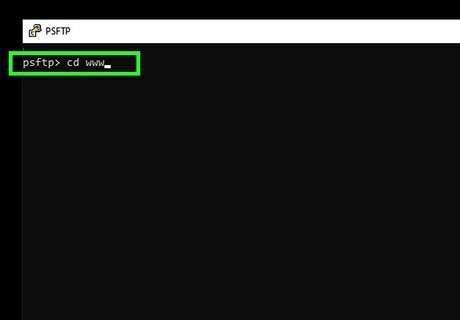
Navigate to the remote folder on which you want to upload or download a file. You'll use the cd command, which means "change directory," to do so. Type cd folderpath and press Enter. Replace folderpath with the path to the remote folder you need to access. For example, if you want to upload a new HTML file to a folder called www in your home directory, type cd www and press Enter. You can run the pwd command to view files in the remote folder. If the remote file is running a flavor of Unix, use ls to list the files in the folder.
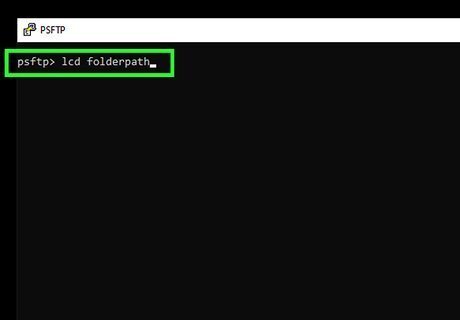
Go to the folder on your computer in which you want to save or upload a file. This time, you'll use the lcd command, which means "local change directory." Type lcd folderpath, replacing folderpath with the full path of the folder. To see a list of files in the current folder, type !dir and press Enter.
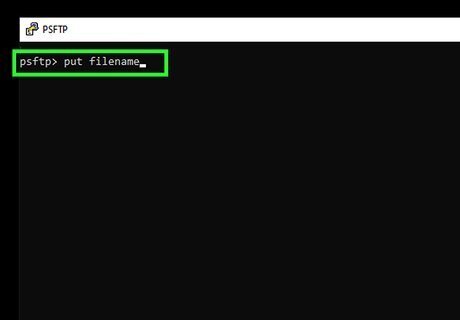
Upload or download a file. The command is a little different depending on what you want to do. When the transfer is complete, you'll return to the prompt. For example, if you want to upload a file that's in your Documents folder, type cd Documents or C:\Users\yourname\Documents. To upload the file to the remote server, type put filename (replacing filename with the file's real name) and press the Enter key. To download a file, type get filename (replace filename with the actual file name) and press Enter.


Comments
0 comment