views
Wrapping a Crystal Pendant

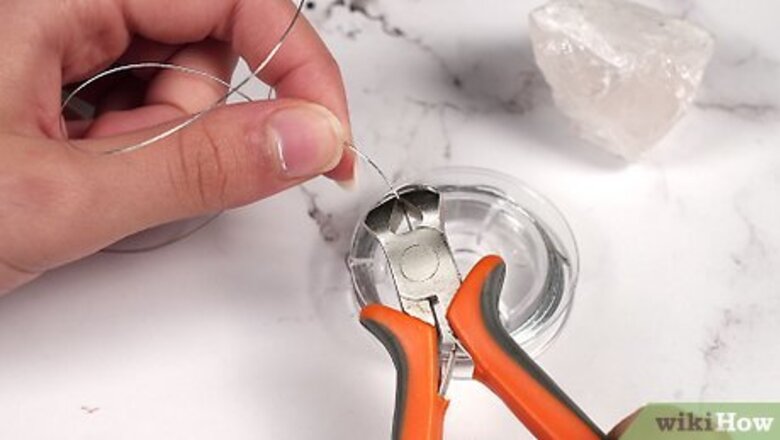
Cut a piece of 24-gauge wire about 1 foot (0.30 m) long. Measure out your wire, then use wire cutters to trim it to the right length. If you’re not sure how much you’ll need, cut an extra 4 to 6 inches (10 to 15 cm) to be safe. You can use silver or copper wire, both of which can be bought at a craft store or from an online retailer. If you’re planning on doing a design that involves a lot of twists, consider cutting off a longer piece of wire.

Wrap one end of the wire around round-nose pliers 3 times. Clasp the wire between round-nose pliers at one end, about 2 inches (5.1 cm) down the wire. Wind it around one side of the pliers 3 times to create a small ring. Don’t overlap the wire as you wrap it. Each time you wrap it around the pliers, lay the new wire next to the previous piece instead of on top of it.
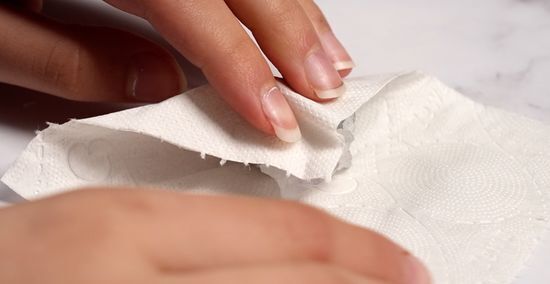
Cover your crystal with a small piece of tissue paper to protect the stone. Place the crystal in the center of a square of tissue paper so it doesn't get scratched from the wire. Then, wrap the sides of the paper around the stone so it’s completely covered. Use only enough tissue paper to cover the crystal in a single layer. If you have too much excess, it will difficult to work with later on.
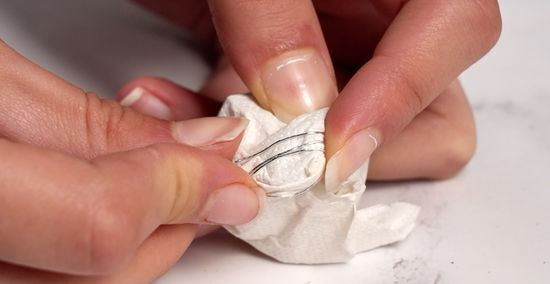
Lay the crystal between the 2 ends of the wire so the point rests in the ring. Set the tip or the smallest part of the crystal in the ring that you created, which will be the top of the pendant. Position the crystal how you want it to hang between the 2 ends of the wire. For example, if you want a specific side of the crystal to be facing down, like one of the pointed tips, lay the crystal so that end is facing away from the ring.

Wrap both ends of the wire around the crystal in the design of your choice. Twist the wire around the stone however you want, like by crisscrossing the ends back and forth to form an “X” shape on the stone or simply winding the wire around the center, for example. Wrap the wire at least 3 to 4 times around the crystal to make sure it's secure. No matter what design you pick, wrap the wire as tightly as possible so the crystal doesn’t fall out.Tip: Try different design options, like winding the wire in a spiral around the stone, just wrapping the tip with wire, twisting the wire into a shape like a heart or a word like "dream," or making swirls with the wire on the front of the crystal.

Wind both ends around the base of the ring. After you’ve wrapped the crystal, take both ends of the remaining wire and twist them tightly around the bottom of the small ring. Pull them taut as you wind them around to hold the ends in place. If you have a lot of wire leftover, use the wire cutters to snip off the extra. Use the pliers to tuck the wire around the ring if you’re struggling.
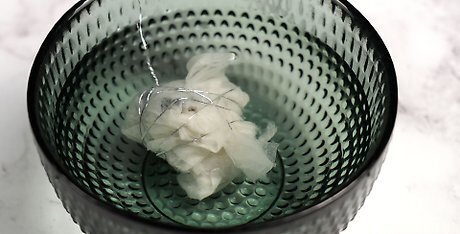
Dip the wrapped crystal in water. Fill a cup with water and dunk the entire crystal in it. Be sure to completely submerge the crystal so that all of the tissue paper gets saturated. Use any temperature of water to fill the cup. You can also run the crystal under the sink to get it wet.

Peel off the wet tissue paper with needle-nose pliers. Once the paper is wet, use a pair of needle-nose pliers to gently pull the tissue paper off of the crystal. Continue peeling it away piece by piece until all of the paper is removed. Be careful not to scratch the stone with the tip of the pliers while you work.
Making a Wire-Wrapped Ring

Cut a piece of 20-gauge wire that’s about 2 feet (0.61 m) long. Use wire cutters to trim off a piece that’s long enough to wrap around the crystal and to form the ring, typically at least 2 feet (0.61 m). Err on the side of caution and cut a longer piece if you aren’t sure how much you’ll need. You can use a different size wire if you prefer, but pick a size that’s no thicker than 18 gauge and no thinner than 22 gauge for the best results.

Wrap the wire at least twice around a mandrel at 1 size smaller than you want. Place wire at the mark on a mandrel, which is a wood or metal dowel with grooves for different ring sizes, that’s 1 size below the size ring you wear. This is because the ring can get slightly stretched out on the mandrel. For instance, if you wear a size 7, wrap the wire around the size 6 mark. Wind the piece of wire around the mandrel at least 2 times to form the band of the ring. Center the mandrel on the wire before wrapping it to keep the pieces on each side of the mandrel equal length. You can buy a mandrel from a hobby store, craft store, or online retailer. If you don’t have a mandrel, use a dowel that’s the same size you want the ring to be.

Twist the wires clockwise at the top of the ring to create a base for the crystal. Take the 2 ends of the wire at the center where they intersect on the mandrel. Use a pair of needle-nose pliers to begin wrapping the wire in a small circle at the top of the ring where your crystal will sit. Continue twisting the pieces together until you have a circle that’s slightly wider than the ring band and lies flat. It should take about 3 to 4 twists to create the circle. Don’t worry if your circle isn’t a perfect spiral. The crystal will cover it so it won’t be visible. Try to leave about 3 to 4 inches (7.6 to 10.2 cm) of wire at the ends after you’ve twisted the circle.Tip: If the circle is raised, lightly tap it with a hammer to flatten it out.
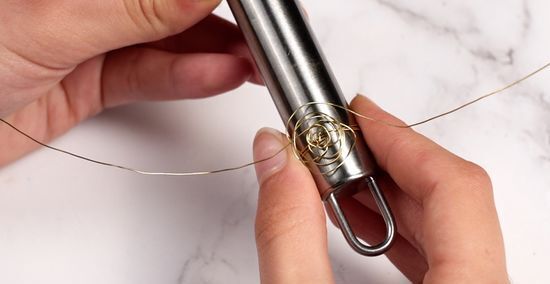
Remove the ring from the mandrel. Slide the ring off of the mandrel once you've wrapped the circle at the top. Be careful not to squish or bend the band of the ring while removing it. If the ring doesn't slide off easily, gently wiggle it back and forth as you pull it up the mandrel to loosen it.

Tuck the ends of the wire near the circle base around the band of the ring. Take each of the loose ends at the center and wrap them 1 to 2 times around the band to prevent the circle base from unraveling. Wind them tightly as close to the band as possible. Use the needle-nose pliers to help get the wire around the band if necessary.

Place the crystal on top of the circle base. Set the crystal in the position that you want it to be on the ring. For example, if you have a long piece of quartz, decide if you want it to lay so that it goes down the length of your finger or across the width of your finger. Align the crystal so that it completely covers the wire circle underneath unless you want the base to show.Tip: For a ring that's both fashionable and functional, choose a crystal that's no wider than the width of your finger and no longer than the bottom half of your finger. Stones that are this size or smaller are easier to wear and don't look too overpowering.

Wrap both ends of the wire tightly around the crystal. Take each loose end of the wire, starting at the center, and wind it tautly around the middle of the crystal once you have it positioned properly. Continue wrapping until you have about ⁄2 inch (1.3 cm) of wire left at each end. If the crystal moves or slips while you’re wrapping it, you can put a dab of craft glue on the base beneath it to hold it in place. You can just wrap the wire around the center of the crystal, add a design like a criss-cross, or twist the wire in different directions around the stone.
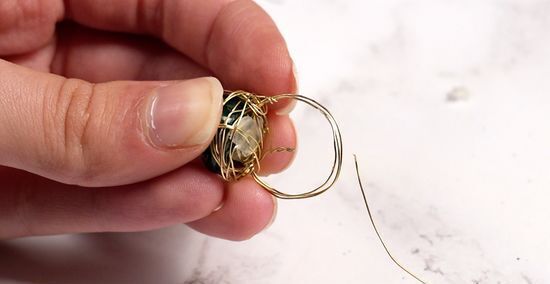
Wind the ends of the wire around the band of the ring. After securing the crystal onto the base, take the remaining wire at each end and wind it tightly around the band. This prevents the wire from coming undone around the crystal. Make it as taut as possible. If there’s any extra wire, snip it off with the wire cutters. You can use needle-nose pliers to help wrap the wire if you’re having trouble doing it with your fingers.
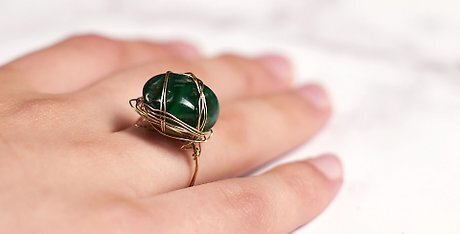
Size up the ring by placing it back on the mandrel and hammering the band. Because you originally made the ring a smaller size, you may need to enlarge it slightly to fit your finger. To do this, slide the band onto the mandrel. Then take a hammer and lightly tap the top side of the band to loosen the metal. As it becomes pliable, slide the ring down the mandrel until it's at the correct size groove. For instance, if you wear a size 8 but made your ring a size 7, hammer the band until it reaches the size 8 groove. Alternate hammering the band and sliding it down the mandrel.





Comments
0 comment