views
Using Windows 10
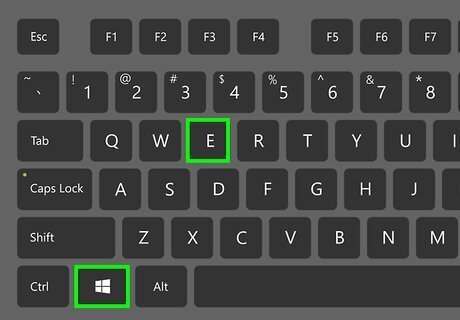
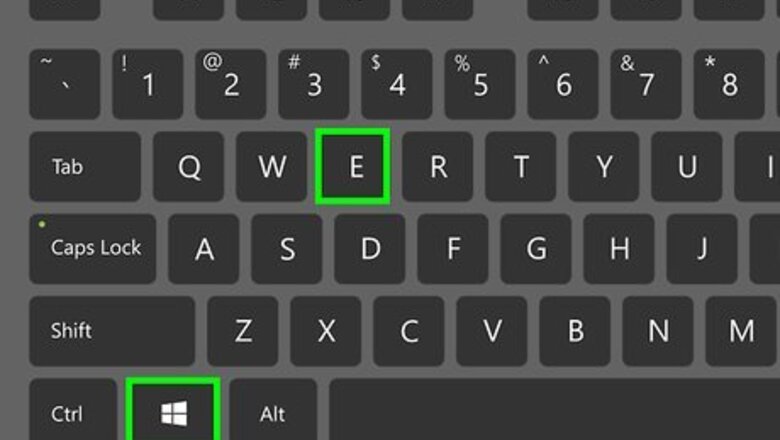
Press ⊞ Win+E to open File Explorer Windows File Explorer. File Explorer has an icon that resembles a folder with a blue clip. Click the File Explorer icon, or press E + Win to open File Explorer.

Click Network. It's the last item in the panel to the left. It has an icon that resembles a computer monitor next to a globe.

Enter the network address for the networked computer in the address bar. The address bar is at the top of File Explorer in the Network section. The network address for a computer is usually "\\computer name". You can also use the IP address of the computer you want to access. If you don't know the name of the computer you want to access, you can use the following steps to find it on the computer: Click the Start button. Click the Settings icon that resembles a gear. Click About. Note the name next to "Device name".
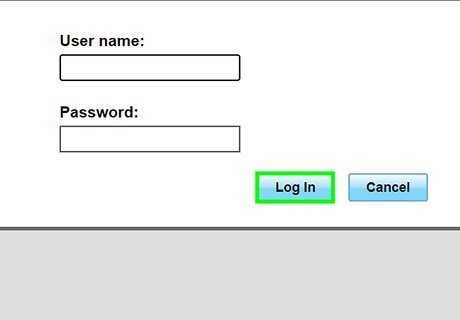
Enter the username and password and press ↵ Enter. For Windows computers, you need to enter the email address and password associated with the Microsoft account of the computer user. For Mac computers, you need to enter the username and password you use to log in to that computer.
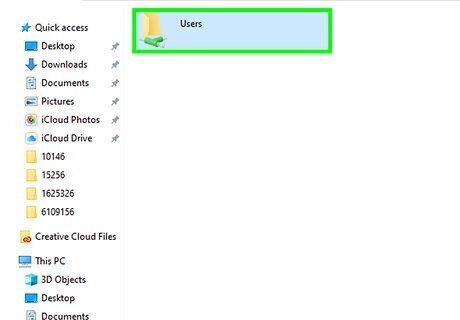
Click a folder. Files and folders can be shared over a network. Click a shared folder under Network to view the files within. If no folders or files are visible, ask the computer user to share a folder over the network. If you are unable to log-in, contact your network administrator.
Using MacOS
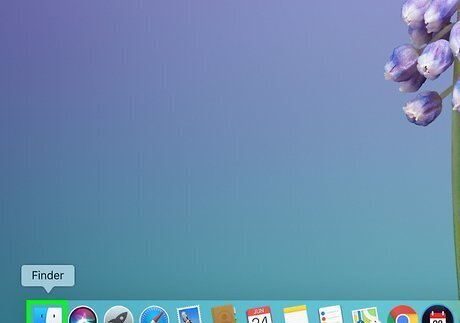
Open the Finder Mac Finder. The Finder has an icon that resembles a blue and white smiley face. Click the Finder icon in the Dock to open the Finder.
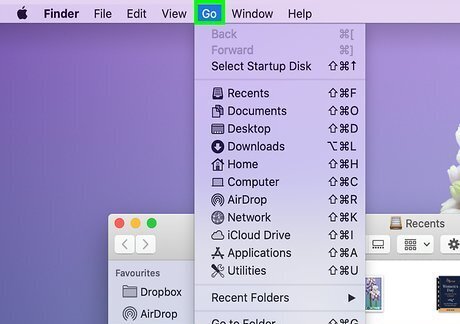
Click Go…. It's in the menu bar at the top of the screen. This displays the "Go" menu.
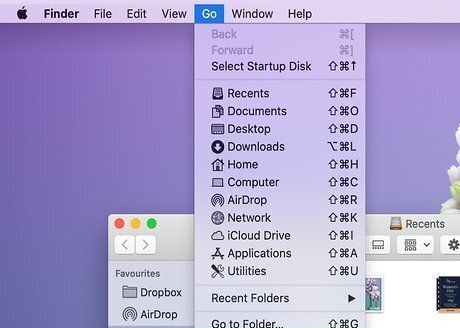
Click Connect to Server…. It's at the bottom of the "Go" menu.
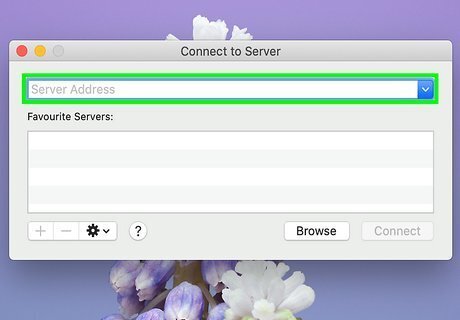
Enter the computer name under "Server Address". It's the first bar at the top of the "Connect to Server" window. You can enter the "smb://computer name" or you can just enter the computer name.
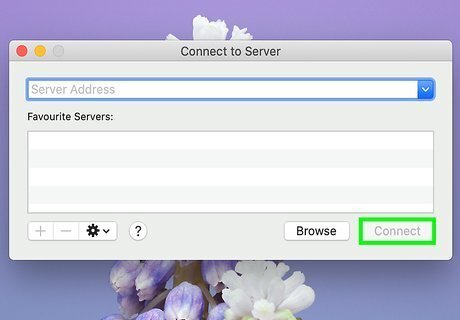
Click Connect. It's the blue button in the lower-right corner of the "Connect to Server" window.

Enter the username and password and press ↵ Enter. For Windows computers, you need to enter the email address and password associated with the Microsoft account of the computer user. For Mac computers, you need to enter the username and password you use to log in to that computer.
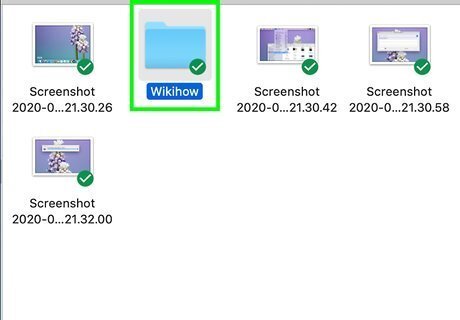
Select a folder and click Ok. This displays the contents of the folder in the Finder. Click any file in the folder to view it. If you are unable to view shared files or folders on the network, ask the Mac user to share folders over the network. If you are unable to log in, contact an administrator.
Sharing Files on a Network Using Windows 10
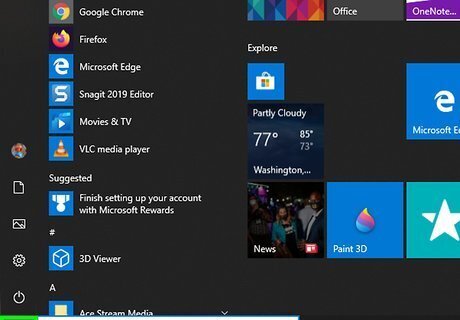
Click the Windows Start menu Windows Start. This displays the Start menu. By default, the Windows Start menu is in the taskbar in the lower-left corner.
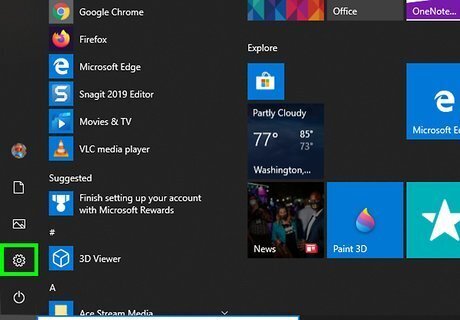
Click the Settings icon Windows Settings. It's the icon that resembles a gear. It's to the left in the Windows Start menu.
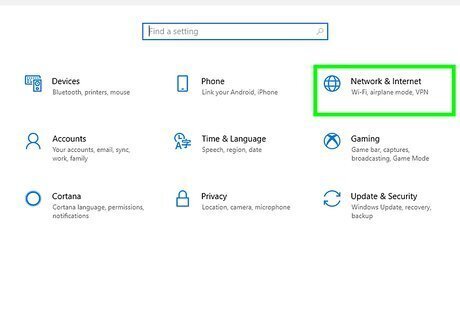
Click Network & Internet. It's next to an icon that resembles a globe in the Settings menu.
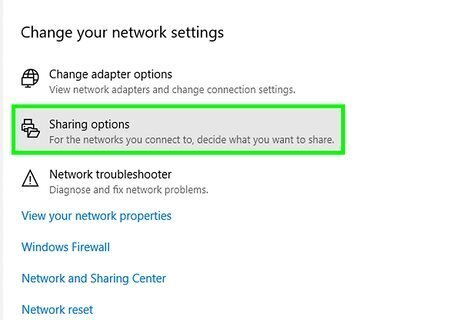
Click Sharing options. It's next to an icon that resembles a file cabinet. It's near the top of the Status menu in Settings. If you do not see this option, click Status in the panel to the left.
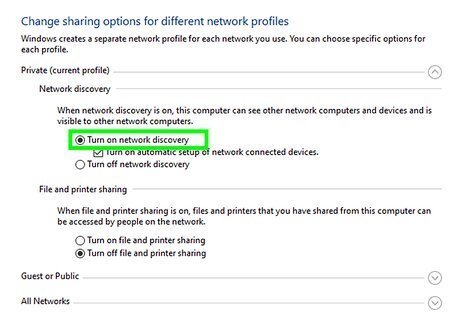
Turn Network Discovery on. To turn on Network Discovery, click the radio button next to "Turn on network discovery".
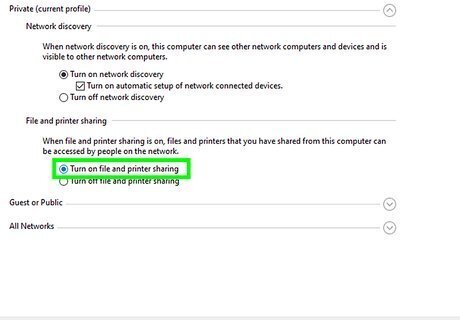
Turn on File and Printer Sharing. To turn on File and Printer Sharing, click the radio button next to "Turn on file and printer sharing".
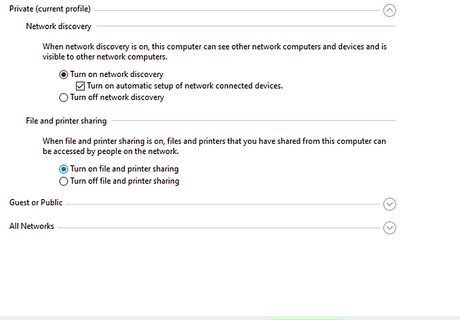
Click Save changes. It's in the lower-right corner of the Advanced Sharing Settings window. This saves your changes.
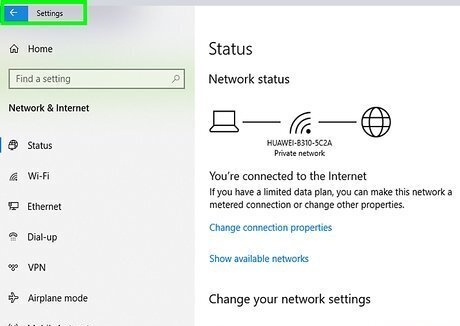
Click the Settings icon. It's the tab that resembles a gear in the taskbar. You should still have the Network Status menu open.
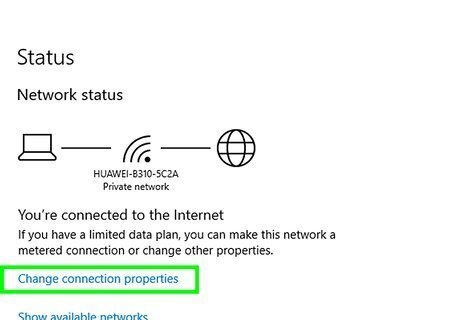
Click Change connection properties. It's near the top of the Status menu in Settings.
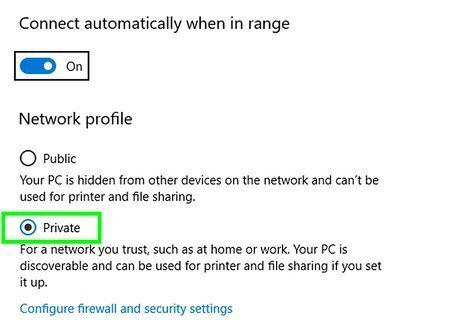
Ensure your Network Profile is set to "Private". Click the radio button next to "Private" below "Network Profile" to ensure your Network profile is set to "Private".
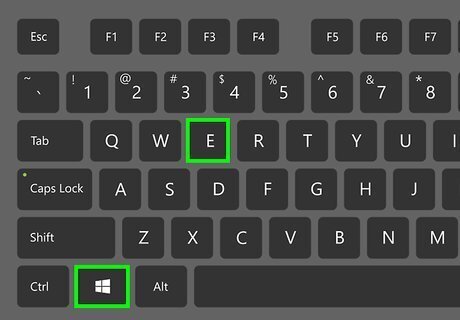
Press ⊞ Win+E to open File Explorer Windows File Explorer. File Explorer has an icon that resembles a folder with a blue clip. Click the File Explorer icon, or press E + Win to open File Explorer.
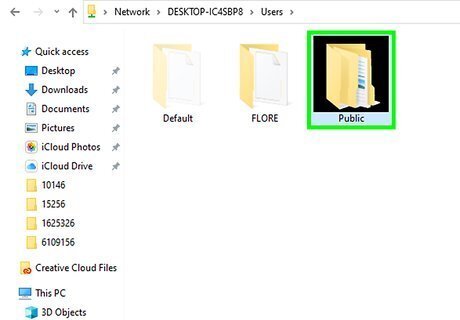
Right-click a folder you want to share. Use File Explorer to navigate to a folder you want to share. Right-click the folder to display a pop-up menu.
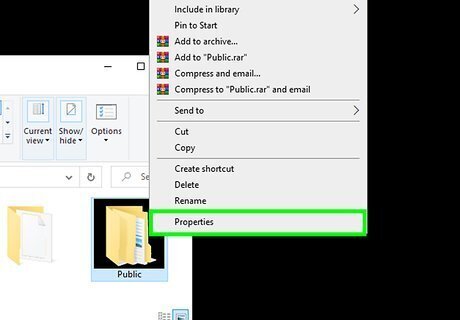
Click Properties. It's at the bottom of the menu that pops up when you right-click a folder.
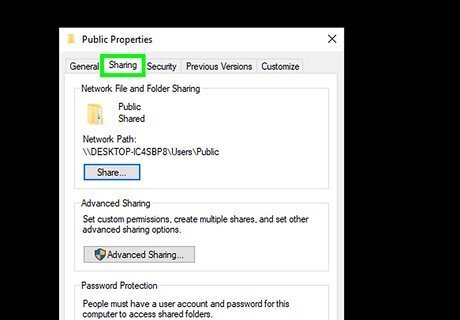
Click Sharing. It's the second tab at the top of the Properties menu.
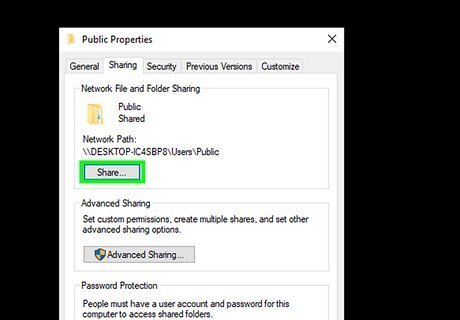
Click Share. It's the first button under the sharing tab near the top.
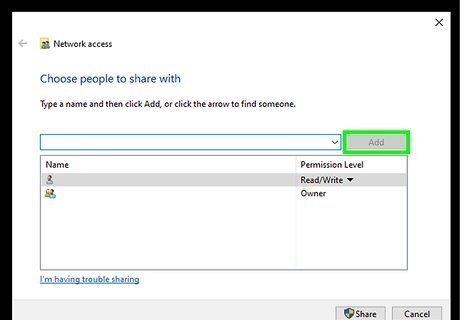
Select who you want to share the folder with and click Add. Use the drop-down menu at the top of the share menu to select who you want to share the folder with. You can share with a specific user, an administrator, or everyone. Click add after you select a user you want to share.
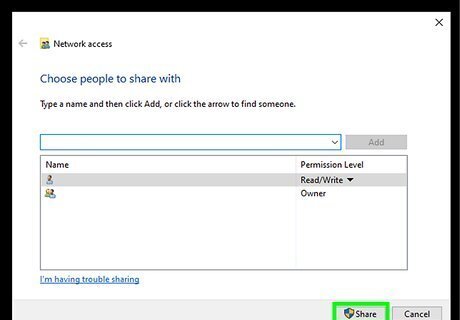
Click Share. This shares the folder over the network.
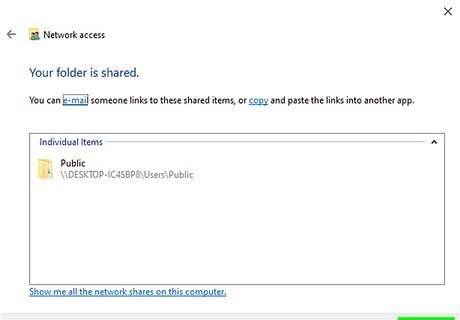
Click Done. This closes the window.
Sharing a Folder Over a Network on Mac
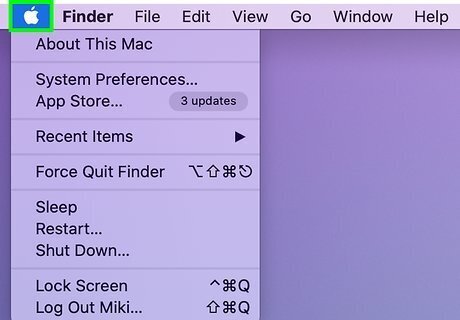
Click the Apple icon [[Image:|techicon|x30px|alt=]]. It's in the upper-left corner in the menu bar at the top of the screen. This displays the Apple menu.
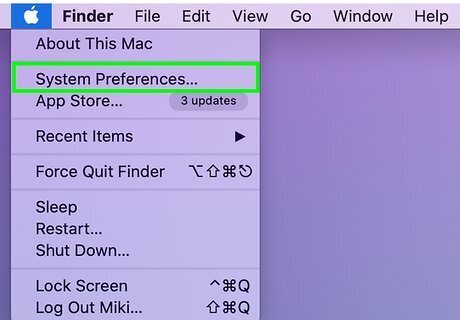
Click System Preferences…. It's the second option from the top of the Apple Menu. This opens the System Preferences menu.
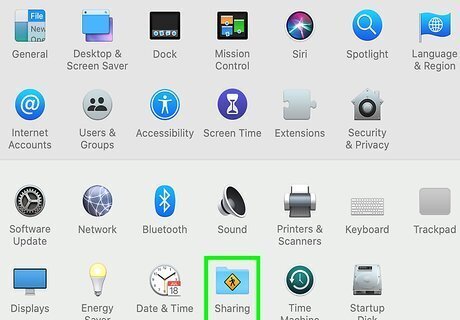
Click Sharing. It has an icon that resembles a blue folder with a yellow sign on the front. This opens the Sharing menu.
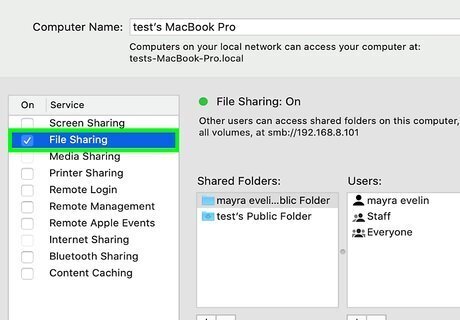
Click the checkmark icon next to "File Sharing". This displays the File Sharing menu.
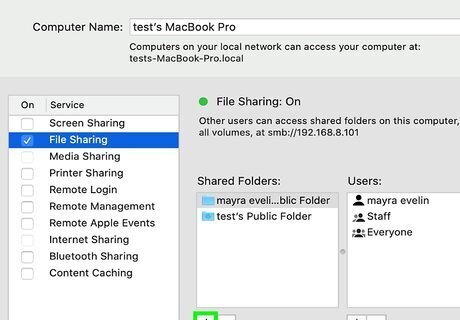
Click + below "Shared Folders". This opens a Finder window you can use to select an add folders you want to share.
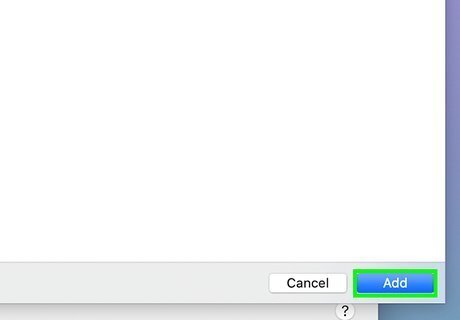
Select a folder and click Add. Use the Finder window to navigate to a folder you want to share over the network. Click the folder to select it and click Add in the lower-right corner. This adds the folder to the shared network.


Comments
0 comment