views
Starting Your Sketch
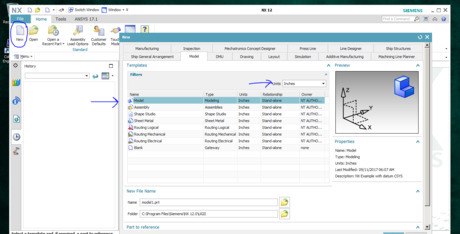
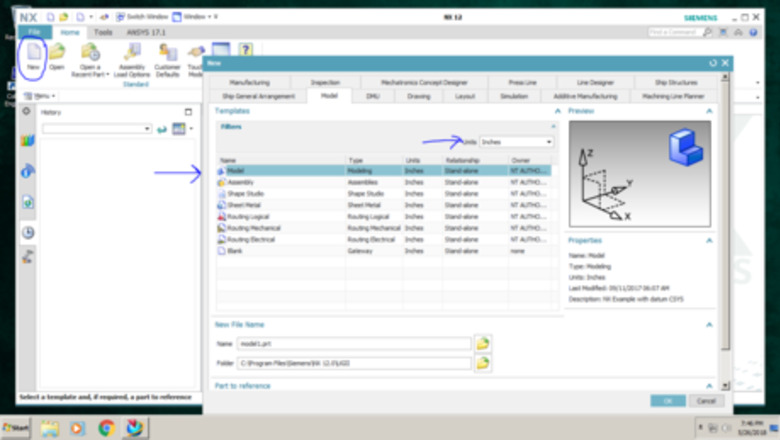
Create a new document in NX. When in the NX home screen, select "New" in the top left corner of the page. Once selected, a screen will appear. Select "Model" and select your desired unit of measurement. If you are following along with this example, select inches.
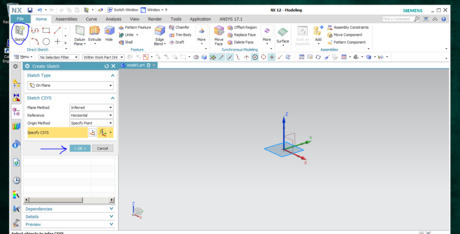
Start your sketch. Select "Sketch" in the top left corner of the page. The "Create Sketch" screen will appear. Do not change anything about it. For this example, just select "OK" and it will start your sketch on the standard XY plane. If you would like to work in a different plane, just select a different one in the "Select Plane" drop down menu.
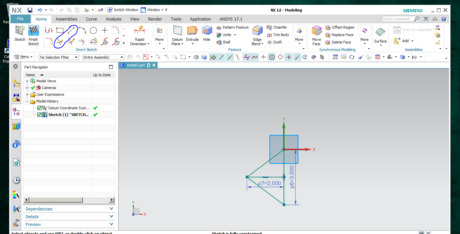
Use the line tool to form the initial shape. This example will involve drawing a triangle that you will mirror to form a diamond shape. You can mirror almost any shape, so don't be afraid to use your own creation for this example. If you are following along with this sketch, use the line tool to draw a line down from the origin that is three inches long with an angle of 270. Locate the center point of the line and draw one perpendicular to it that is two inches long at an angle of 180. Connect the lines with two diagonal lines to form the triangle.
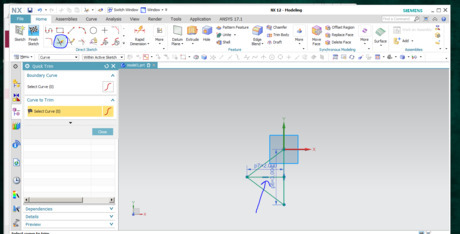
Use the quick trim tool to erase the two inch perpendicular line. Locate the quick trim tool under the rectangle tool on the tool bar. A menu will appear when you select it. Select the "Curve to Trim" option in the menu. Select the center line of the triangle. Click on "OK" to erase the line.
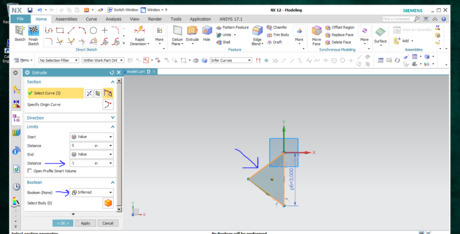
Extrude the triangle one inch. You are extruding the triangle for the purpose of making a plane on the side of it so that you can mirror on to it to form the diamond. Select "Extrude" and a screen will appear. Make sure the triangle is selected. Once selected, the lines of it will change to orange. Set the distance of the extrude to one inch, leave the Boolean as "Inferred" and select "OK."
Using the Mirror Feature
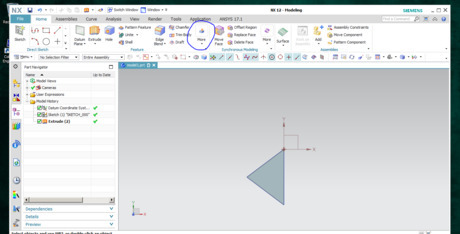
Locate the "Mirror Feature" button. In the Feature menu on the Home screen, select the "More" button. Select the button titled "Mirror Feature" in the "More" drop down menu.
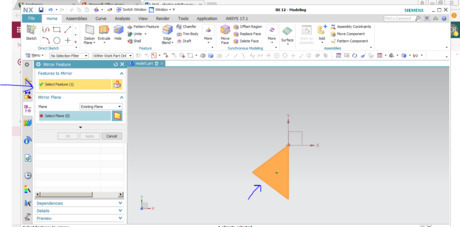
Select the feature. On the Mirror Feature menu, make sure you have "Select Feature" highlighted. Once you do, scroll over to the shape you are mirroring, wait for it to be highlighted red, and click on it. The shape you selected should turn orange once it is selected.
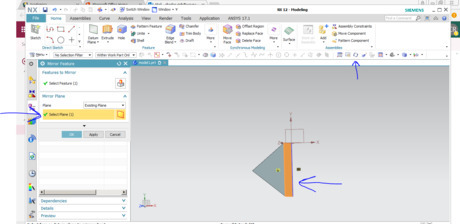
Select the plane to mirror on to. Keep plane as existing plane in the Mirror Feature menu for this example. If you want a new plane, simply select new plane, and a drop down menu will appear with different plane choices. Have "Select Plane" highlighted and use the rotate tool to rotate the triangle slightly to the left so you can see the right side of it. Hover over the side of the triangle and it will highlight red again. Once it is highlighted, click on it. The will appear orange again.

Select "OK" to finish the mirror. Once selected, the shape you created will mirror over to the plane you selected. In this example, the triangle on the left mirrored itself to the right to form a diamond. Using this feature takes less time than drawing and extruding a whole other triangle. When creating symmetric shapes with more complex structures, it also ensures that the lines and angles are completely symmetric and that there are no mistakes in that regard. Keep in mind that you can mirror in different directions just by selecting a different side of the triangle as the plane. Using different planes will created different shapes for you to work with.
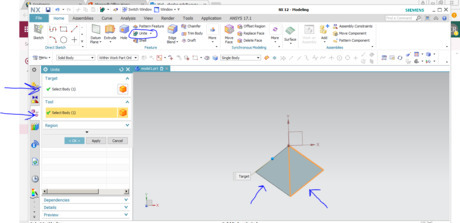
Unite the two triangles to form the diamond. Locate the unite button under the "Pattern Feature" button in the Feature menu. Select it. Make sure "Select Body" is highlighted and select one side of the diamond. Highlight the next "Select Body" and select the other side of the diamond. Once both are selected, click "OK" and your diamond is complete.
Using the Pattern Feature
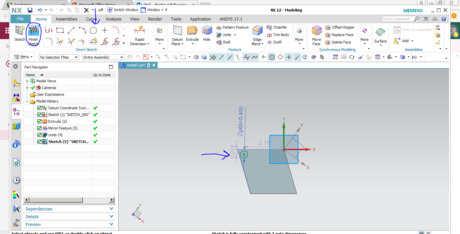
Draw the object that needs to be patterned. For this example, you will be using a circle in the corner of your diamond and pattern it evenly across the diamond. Once again, select "Sketch" and this time select the face of the diamond to be the plane. The plane will appear orange. Click "OK." Select the circle tool located two to the right of the line tool. Once selected, place a circle with a diameter of 0.4 inches in the left most corner of the diamond shape. Click "Finish Sketch" in the top left corner of the screen.
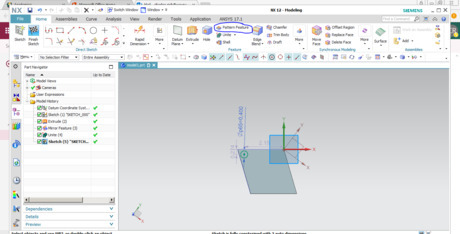
Locate the "Pattern Feature" button. On the Feature menu, find the "Pattern Feature" button directly above the "Unite" tool.
Select the Feature that you want to pattern. In this example, you will be selecting the circle. Just like with the mirror feature, you can pattern almost any shape. Make sure "Select Feature" is highlighted. If the circle is not already selected for you, click on it. Once again, it will appear orange.
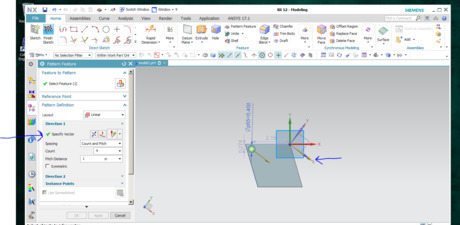
Specify the vector for the pattern. First, make sure the layout stays in linear. Highlight "Specify Vector" and select the diagonal X axis.
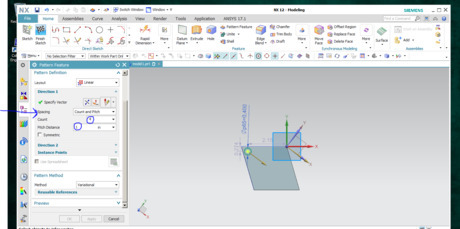
Change the count and pitch of the pattern feature. Keep the spacing option as "Count and Pitch." Using the count option you can select how many of your shape you want patterned. For this example, you want four holes, so change the number next to count to four. Using the pitch option you can select how far apart you want each shape to be in the pattern. For this example, set the pitch to one inch. In your own creation, you can choose a second direction for the pattern by selecting "Direction 2" and following the above steps for that direction.
Finish using the pattern feature. Select "OK" to finish the pattern. In the example, the four circles will be evenly spaced across the diamond. The pattern feature is useful for multiplying shapes and making them evenly spaced without having to go in and make multiple shapes and measure out the distance between them.









Comments
0 comment