views
Choosing the Right Tool
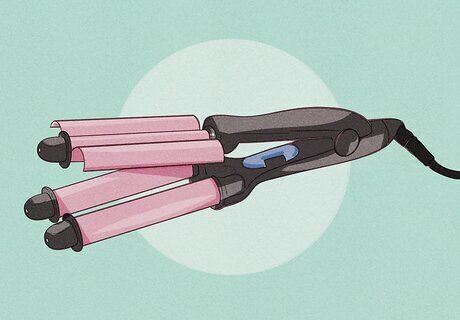
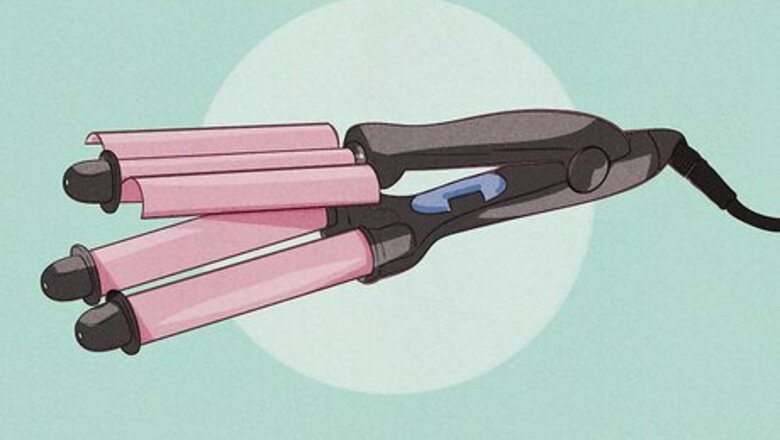
Select the right barrel size. The size of the barrels on your waver will determine the type of style you can create with it. The first part of choosing the right tool is figuring out the look you're going for and then selecting a barrel size best suited for the results you want. Do you want to create loose, beachy waves? Do you want to achieve a more natural look? Medium/large barrels that measure from 1 to 2 inches (2.5 to 5.1 cm) are best for creating loose, free-flowing waves. Do you want to go for a retro, Old Hollywood look with tighter finger waves? Or maybe you want to create an all over crimped looked? Smaller barrels that measure ⁄8 to ⁄2 inch (1.0 to 1.3 cm) or less in size are your best bet for getting that vintage look.
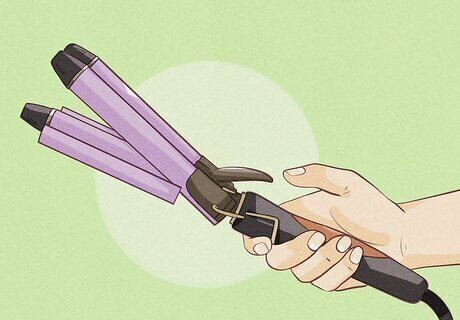
Choose the right barrel material. Heat styling tools like triple barrel wavers come in a variety of materials. Choosing the right one for your hair is key to getting the look you want without damaging your locks. Heat tools made from ceramic are best for fine to medium hair. Look for tools that are 100% ceramic rather than those with a ceramic coating, which can chip over time. Titanium tools provide intense heat and are best for styling coarse hair. Tourmaline tools can help reduce static and frizz.Tourmaline is usually layered on top of ceramic or titanium, so choose the base material according to your hair type.
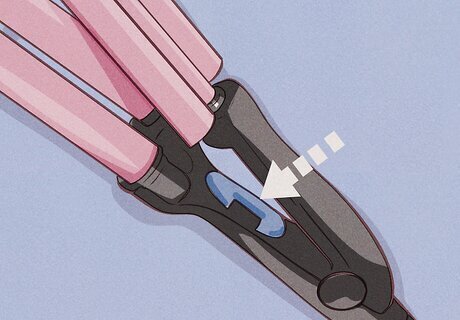
Look for multiple heat settings. Some styling tools offer only one heat setting, which can lead to damage if it's too hot for your hair. Look for a tool with a range of temperatures or a high, medium, and low setting. Low temperatures or settings should be used for fine, thin hair. Medium to high temperatures or settings are necessary to style thick or coarse hair.
Prepping your Hair
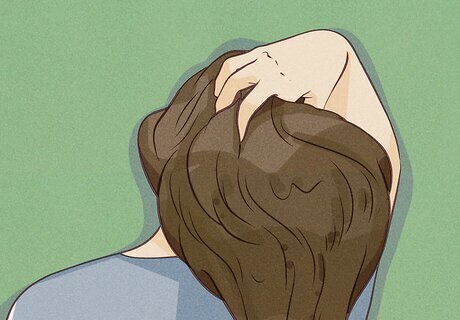
Prep your hair before you style it. Taking the time to prep and protect your hair will lead to better styling results now and healthier hair later.

Wash your hair the night before, if possible. Try washing your hair the day or night before you style it instead of washing it the same day. You don't need freshly washed hair to achieve a wavy style as hair with some product on it is actually easier to work with. If you wash your hair the day or night before, let it air dry if possible. By eliminating the need for a blow dryer you'll cut back on the amount of heat your hair is exposed to, which will keep it healthier overall.
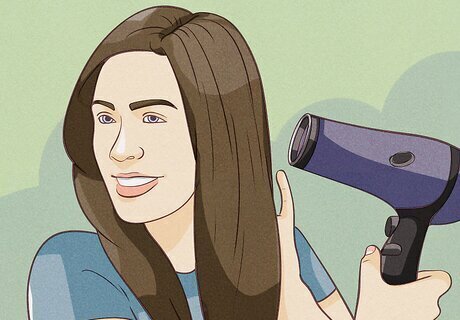
Start with dry hair. Wet hair is weak hair. Trying to style wet hair can lead to breakage and damage. Regardless of whether you air dry or blow dry, make sure your hair is totally dry before you use your triple barrel waver.
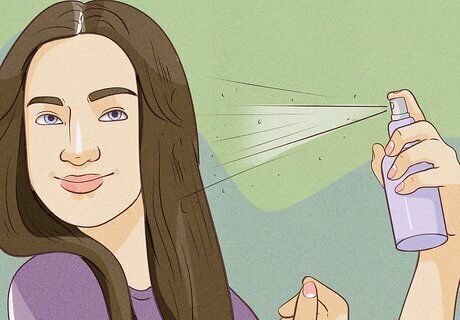
Add heat protection. There are a variety of serums, sprays, and creams out there designed to protect your hair from the harsh effects of heat styling tools. Apply one before you use your triple barrel waver. Look for a heat protecting product with a silicone base, which creates a protective coating around the hair shaft and helps prevent damage.
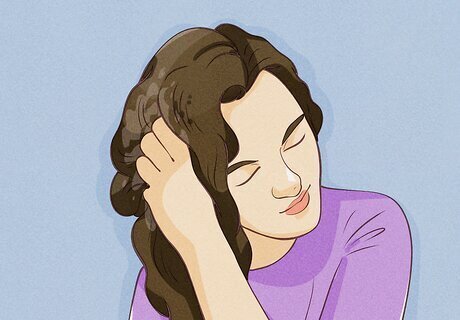
Use a curl enhancer. Curl enhancing products are designed to help your hair hold curls and waves. Applying a curl enhancing product before you start styling it will help keep your look intact longer.
Styling your Hair
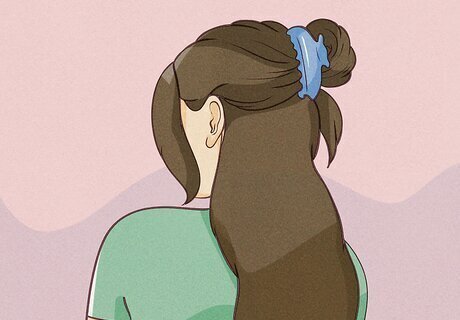
Section off your hair. It's easiest to add waves to your hair one section at a time, moving from one side of the head to the other. Pull the top half of your hair up and secure it with a large clip or ponytail holder. Grab a 1 inch (2.5 cm) section of hair on one side of your head and move the rest of your hair out of the way. Securing the hair you aren't currently styling with a large clip will help keep the hair you're working on separate from the rest.
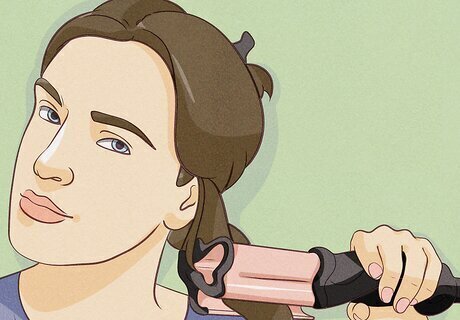
Make some waves! With the hot part of the barrel on the bottom, clamp the triple barrel waver down at the top of the 1 inch (2.5 cm) section you're working on. If you're trying to create a looser, beachy looking wave, start further away from the roots of your hair. If you're trying to create vintage waves, start as close to the roots as you comfortably can. Hold the tool horizontally as you clamp and curl the hair. With some tools, you may have to press something to open the clamp.
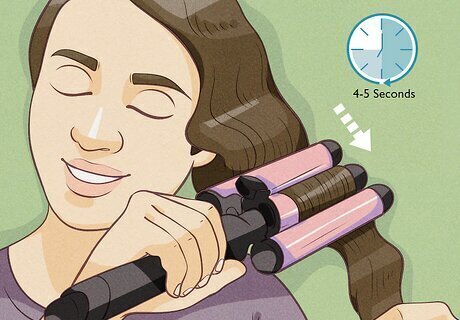
Hold the waver down for 4-5 seconds. Create the first wave by clamping the waver down at your starting point and holding for a few seconds. Don't hold the waver in one place too long; if you're working with the right heat setting for your hair, 4 to 5 seconds should do. Continue moving down the 1 inch (2.5 cm) section of hair. The trick to making one long continuous wave is to line up the first barrel of the waver with the last indent you made in your hair.
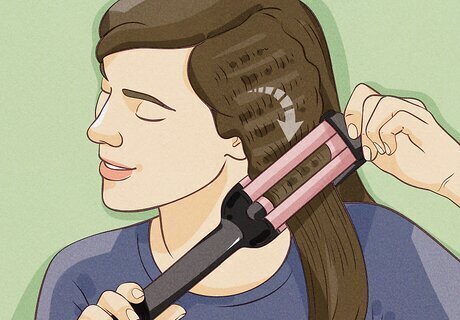
Move around and then up. Working from one side of your head to the other, continue to section out 1 inch (2.5 cm) portions of hair. Repeat until the bottom half of your hair is finished and then move onto the top section. Pull the styled hair over your shoulder and out of the way. Don't use a ponytail holder to tie hair back the hair you've already styled or you'll be left with a crimp or indent in your hair. After you've finished the bottom section, un-clip the top half of your hair and continue in the same way as before.
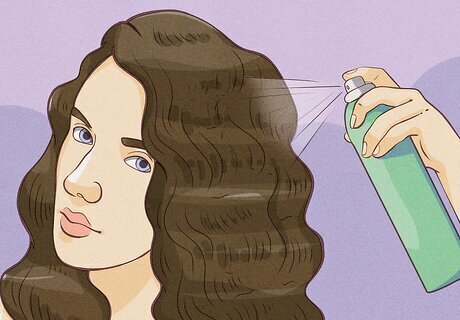
Finish the look. Once you've styled all of your hair, lightly spray it with hairspray to set the look in place. For a more natural look, run your fingers through the waves to loosen them, or turn your head upside down and shake to separate the waves. For additional texture, spray a light mist of sea salt spray on your hair and rough the waves up a bit with your hands. If you're going for a tight, retro wave look, leave the waves alone and simply set the look with a misting of hairspray.



Comments
0 comment