
views
Tying a Scarf into a Racer Back Vest
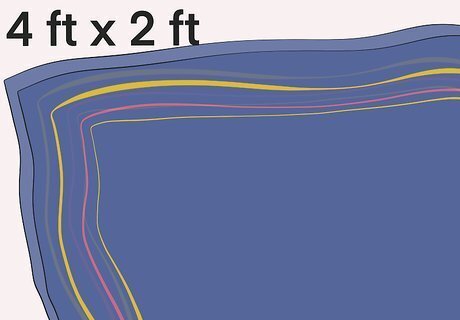
Unfold a rectangular scarf and hold both ends in your hands. Choose a scarf that's at least 4 feet (48 in) long and 2 feet (61 cm) wide. Open the scarf so it's stretched horizontally in front of you and hold both of the scarf's top corners. You can use a scarf in any color or fabric. Keep in mind that softer fabrics, such as cashmere or silk, will create a looser, flowing vest. If you'd like a stiffer vest that holds its shape, use a cotton or wool scarf.
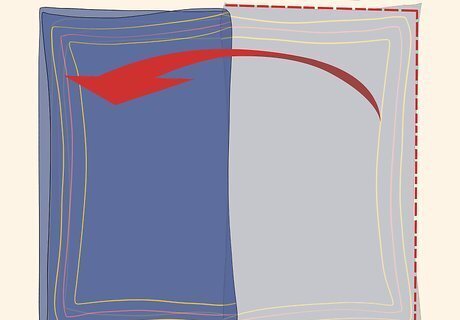
Fold the scarf in half crosswise. Bring the scarf corners together so the scarf is folded in half. Then, move 1 of your hands so both hands are now holding the top corners of the folded scarf. This should be similar to folding a beach towel. Try to line up the corners perfectly so your vest will drape evenly.
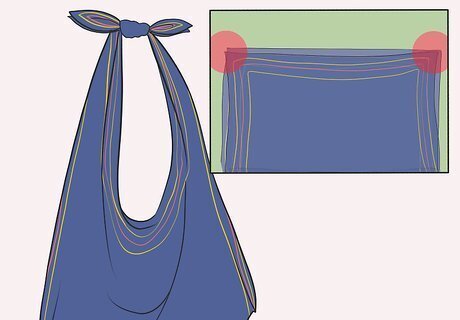
Tie the top corners of the folded scarf into a small knot. Bring the top corners together while keeping the scarf folded. Make a knot using the corners and then tie another knot to make a small double knot. Pull tightly so the knot won't come undone. Keep your knot small so the vest is comfortable to wear. The knot should be near the end of the corners so the armholes are large enough to slide your arms into.
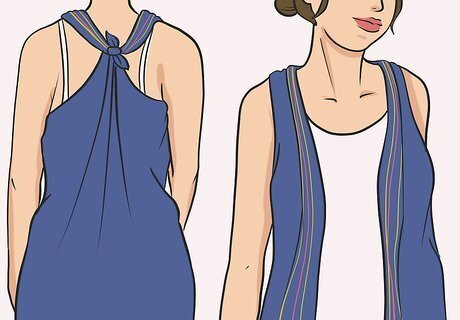
Put your arms through the holes to slide the vest on. Open the scarf once you've tied the knot and slide each arm through 1 of the holes. Pull the scarf on so the knot you tied is near the back of your neck.Variation: If you don't want a flowy look, try tucking the bottom of the scarf into your pants or skirt. The front of the scarf should drape down loosely like a vest.
Making a Belted Halter Vest

Drape a rectangular scarf around your neck. Take a rectangular scarf in any color or style and place the center of it around the back of your neck. The sides of the scarf should fall down your front. The longer the scarf is, the longer your belted vest will be. For a cropped vest style, choose a short scarf that won't hang down very long.
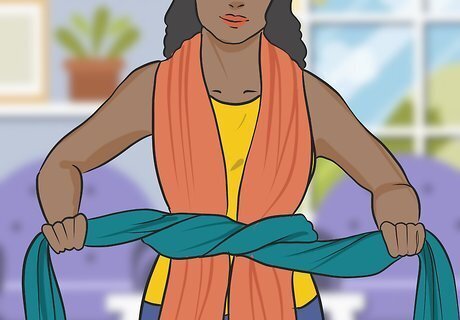
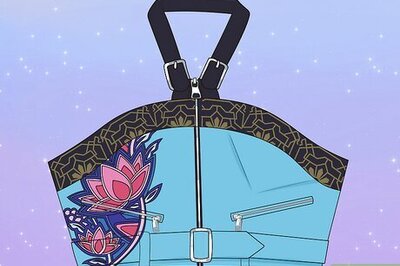
Wrap a belt around your waist and buckle it tightly. You can any type of belt you like. For example, try a skinny leather belt or a wide belt with a decorative buckle, depending on the look you're going for.Variation: If you don't want the structure of a belt, wrap another scarf around your waist and tie it in place.
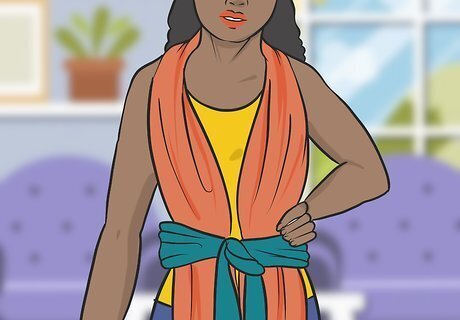
Untuck some of the scarf around your torso to make the shape of a vest. Once you've secured the scarf with a belt, gently pull some of the scarf near your chest and waist so it covers your torso like a vest. If you used a scarf like a belt, you could slide its knot to your side instead of leaving it in the center.
Sewing a Scarf into a Vest
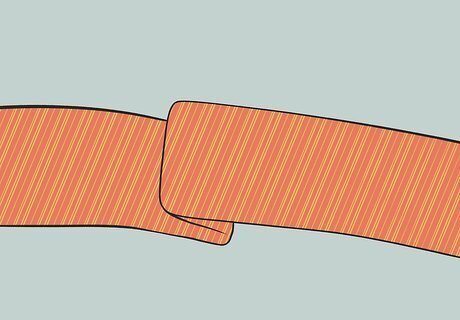
Cut the buckle end off of a belt and lay the belt flat. If you're using a belt with a D-ring at the end, cut the end of the belt and slide off the rings. Then, lay the belt flat on your work surface. If the end of the belt is fraying badly, you can hem it. You won't need to keep the buckle or rings for your scarf.
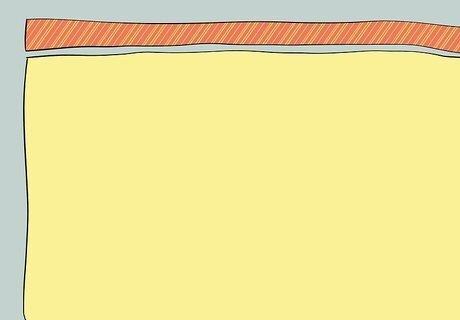
Lay the scarf parallel and center the belt. Spread a rectangular scarf flat so 1 long side of it runs along the length of the belt. Move the belt so the middle of the belt lines up with the middle of the scarf. Keep in mind that the scarf and belt probably won't be the same length, so the scarf will be longer on the ends. For example, if your scarf measures 52 inches (130 cm) long and the belt measures 40 inches (100 cm) long, line them up so the scarf extends the belt by 6 inches (15 cm) on both ends. Use any size or style rectangular scarf you like. Keep in mind that a wider scarf will give you looser armholes than a narrower scarf.
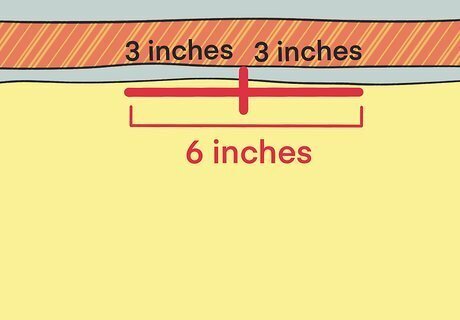
Measure the center and mark 6 inches (15 cm) across the scarf and belt. Lay a measuring tape or yardstick across the length of the scarf and belt. Find the center of the scarf and belt and mark it lightly with chalk. Then, measure and mark 3 inches (7.6 cm) in both directions for a total of 6 inches (15 cm). This will become the back of the neck for your vest, so if you'd like it narrower, simply measure around 4 inches (10 cm) across instead of 6 inches (15 cm).
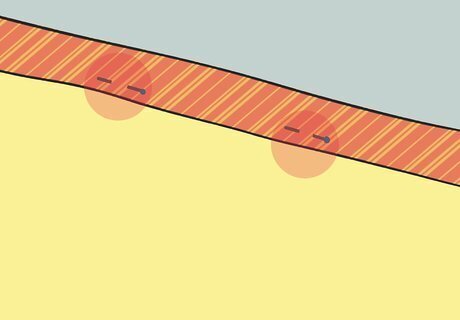
Pin the middle of the belt to the scarf and sew it together. Take sewing pins and use them to secure the center 6 inches (15 cm) of the belt to the center 6 inches (15 cm) of the scarf. Then, take the materials over to your sewing machine and turn them over. Stitch the wrong side of the fabric to the belt.Variation: If you don't want to use a belt, fold 1 of the long sides of the scarf over 1 to 2 inches (2.5 to 5.1 cm). Then, sew along the fold to create a collar for your vest. If your scarf has a pattern on both sides, it won't matter which side you sew to the belt. You can take the pins out once you've stitched the belt in place.
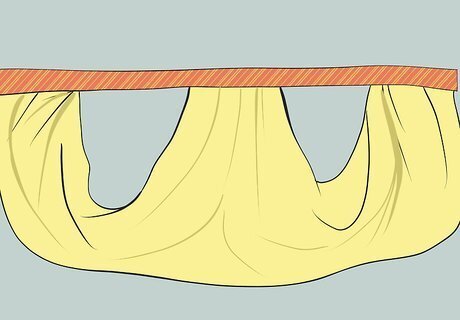
Pin both of the scarf ends to the belt to create armholes. Lay the materials flat again and decide how long you'd like to make your armholes. Then, bring 1 end of a scarf to the end of the belt and pin it in place. Remember to leave the gap for the armhole and repeat this for the other side to make the opposite armhole. For example, you might leave a 9 in (23 cm) gap from the vest's neck to the end of the belt.
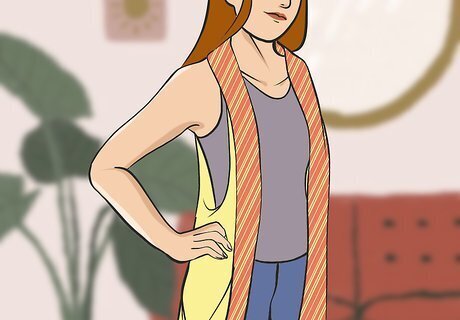
Sew the ends of the scarf to the belt. Use the sewing machine to sew the ends of the belt to the ends of the scarf while leaving the armhole gaps. The scarf should now be connected to the belt in 3 places to create your vest. Consider stitching on fringe, bows, or flowers, to personalize your vest.






Comments
0 comment