views
Riding Safely
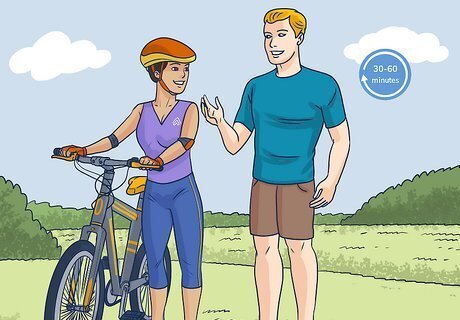
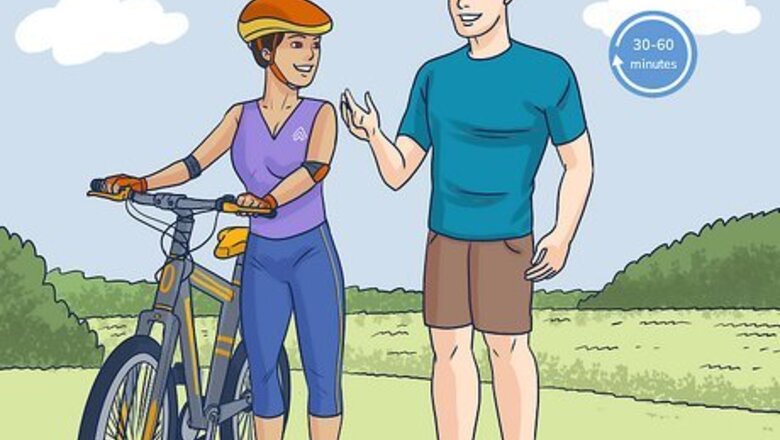
Plan to teach the rider in several 30-60 minute sessions. Though some people may learn to ride a bike in one session, this may not be the case for everyone. The ideal session length depends on the student and their abilities, but aim for 30-60 minute sessions. It’s best to end the session after some progress has been made. Don’t wait until the rider is tired or frustrated, or they may become discouraged.
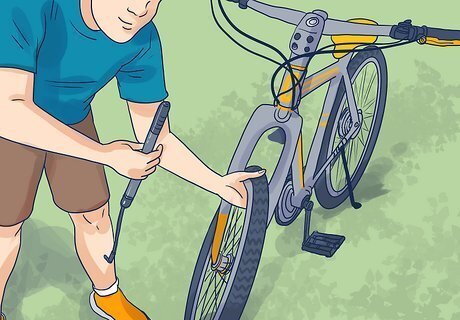
Ensure the bike works properly. Check for wear in the tires and fill them with air, if necessary. The saddle and the handlebars should be secure, and you should oil the bike chain. Make sure both brake levers should work properly and that there are no cracks in the frame.
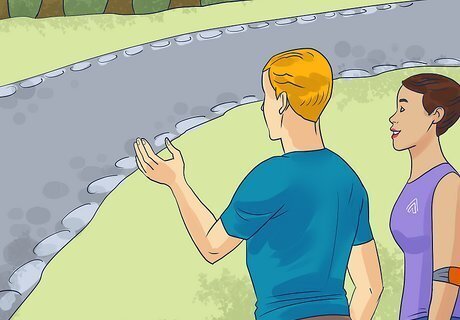
Choose a grassy or paved area with a slight slope. Short grass can provide a soft landing place in case of a fall. Long grass, however, will provide too much friction and make pedaling the bike more difficult. If the rider prefers, you can begin on a paved surface instead. Make sure the area you choose has a slight slope so riders can practice gliding. If possible, choose a path with gentle turns as well.
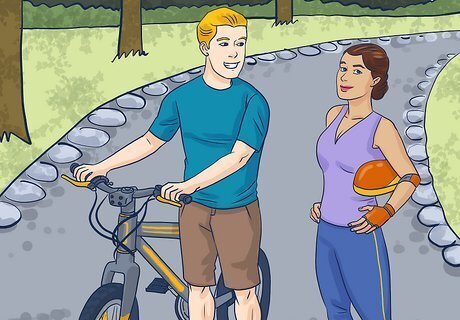
Pick a spot with minimal traffic. Don’t choose a busy Saturday morning at a popular park to teach someone to ride a bike. Other pedestrians and cyclists will be clogging up the paths and may intimidate the rider. Instead, choose a time when not many people are out, like a Tuesday afternoon, or find a secluded location. Ensure there is enough light to see adequately.
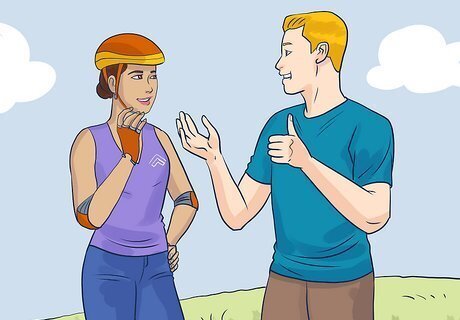
Outfit the rider with appropriate clothing and safety gear. Have the rider tightly tie their shoelaces and cuff their pant legs so they don’t get caught in the chain. Make sure the rider is wearing a bike helmet as well. They can also wear gloves and elbow or knee pads, if they’d like.
Finding Balance
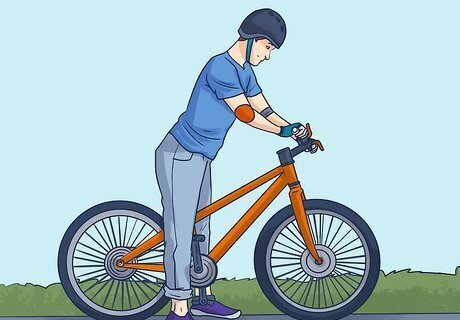
Adjust the bike seat so the rider can put their feet on the ground. A bike must be the correct size for the rider, or they will have difficulties learning how to ride. Tell the rider to sit on the bike and put their feet on the ground. You can lower the seat, if necessary. If the seat is as low as it can go and their feet still don’t touch the ground, they need a smaller bike. The rider should also be able to comfortably reach the handlebars and brake levers.
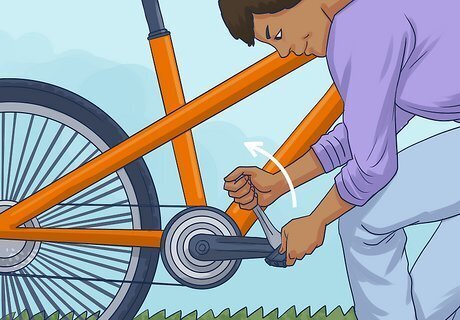
Remove the pedals from the bike so the rider can learn to balance. Though this may seem counterintuitive, removing the pedals will help the rider find their balance by gliding. Use a wrench to remove the pedals on either side of the bike. Put the pedals and hardware in a safe spot where they won’t get lost.
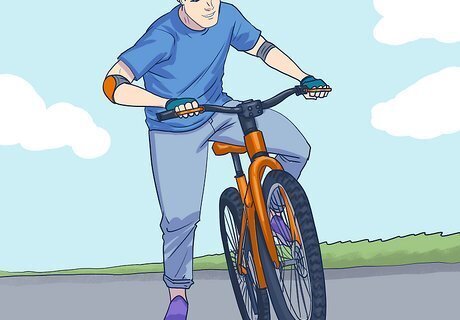
Instruct the rider to practice getting on and off the bike. To help the rider feel comfortable on the bike, they’ll need to practice getting on and off of it. Tell the rider to apply the brakes when getting on and off the bike to minimize rolling or wobbling. To get on the bike, the rider should lean the bike toward them and swing their leg over the saddle. To get off the bike, the rider should lean the bike to one side and swing their opposite leg over the saddle. Tell the rider to practice this 10 times, or until they feel comfortable.
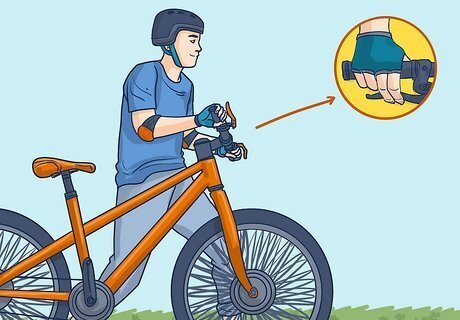
Have the rider push the bike while walking beside it and practice braking. A rider who is comfortable using the brakes will have more confidence when learning to ride. Have the rider push their bike as they walk alongside it and practice using the brakes. Tell the rider to apply even pressure to both brake levers. Once they feel comfortable using the brakes, they can move on to gliding.
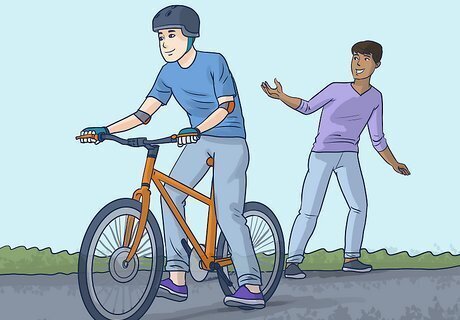
Tell the rider to practice gliding on the bike. The rider should sit on the bike with their feet on the ground. Instruct the rider to push the bike using their feet and practice gliding. As they scoot along, they’ll learn what it feels like and what it takes to balance on 2 wheels. They can roll down a slight slope to help them gain momentum and balance. Have the rider keep practicing until they can push off and glide along without putting their feet down to correct their balance.
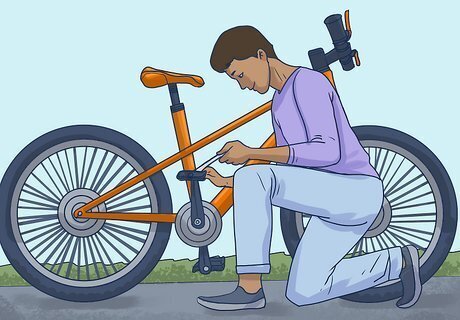
Replace the pedals and adjust the seat, if necessary. Now that the rider has familiarized themselves with the bike and gotten used to gliding, they are ready to pedal. Use a wrench to replace the bike pedals. Ensure they are secure and that the rider can comfortably reach them while sitting on the bike. Adjust the height of the saddle using an Allen wrench, if necessary.
Pedaling the Bike
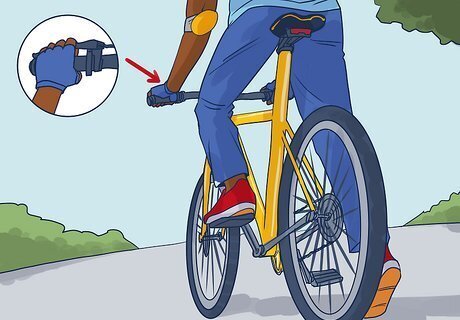
Set the pedal for their dominant foot at the 2 o’clock position. When the rider is ready to start pedaling, have them sit on the bike and apply the brakes. Instruct them to set the pedal for their dominant foot at the 2 o’clock position by placing their foot underneath the pedal and pushing it upwards. Their other foot should remain firmly on the ground for balance.
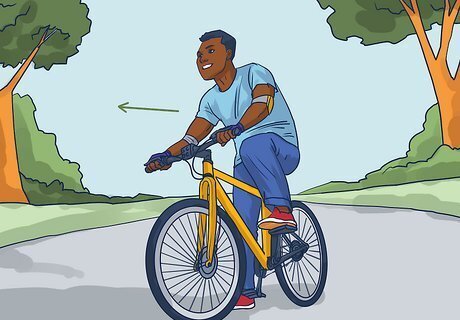
Instruct the rider to release the brake and push down on the pedal. They should push down on the pedal in the 2 o’clock position with their dominant foot. They’ll then need to bring their non-dominant foot off the ground and onto the other pedal while looking straight ahead, rather than down. The rider should continue pushing down with their feet to pedal the bicycle.
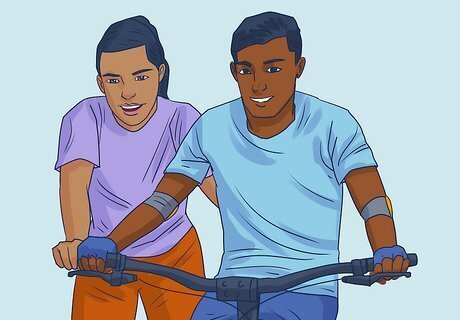
Hold the handlebars and saddle, if necessary. Until the rider gets the hang of things, you can put one hand on the handlebars and one hand on the saddle. Don’t let the rider lean on you too much! They should be learning to balance the bike by themselves. Don’t forget to explain that the faster they move the pedals, the easier it is to balance.
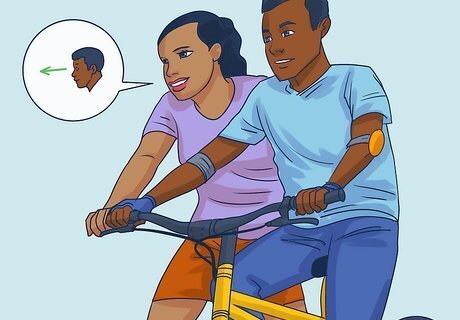
Remind the rider to sit up and look ahead of them. Though riders may be tempted to look at their feet, they should focus on an object ahead, instead. Tell the rider to look straight ahead so they can see any bumps, turns, or traffic on the path ahead. They should also sit up as straight as they can, rather than hunching over the handlebars.
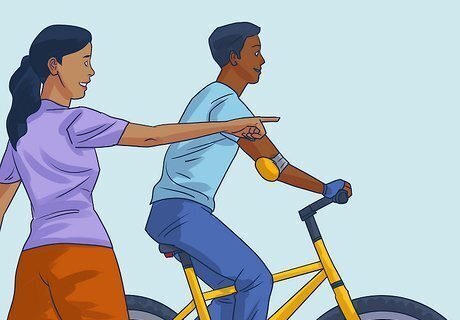
Let the rider cycle unaided once they feel comfortable. When the rider can balance the bike and move the pedals, you can let go of the handlebars and saddle. The rider can try cycling unaided in short stretches, using the brakes and putting their feet down when they feel scared or unstable. Have them keep practicing until they feel confident riding in a straight line and stopping the bike with the brakes.
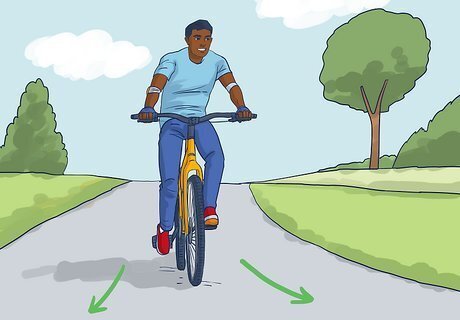
Have the rider practice turning in both directions. After learning to ride in a straight line, the rider can practice making left and right turns. Tell the rider to slow down when making turns. It may take some time for them to figure out the right balance of leaning and steering, so encourage them to keep trying if they have difficulties. Remind them to look straight ahead and use the brakes when necessary.






Comments
0 comment