
Downloading the Components
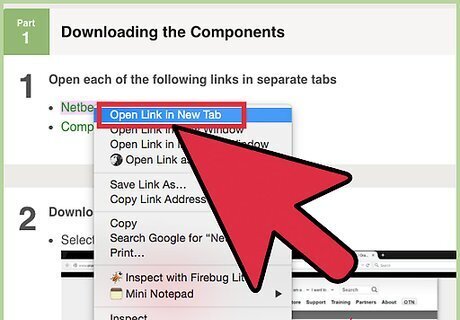
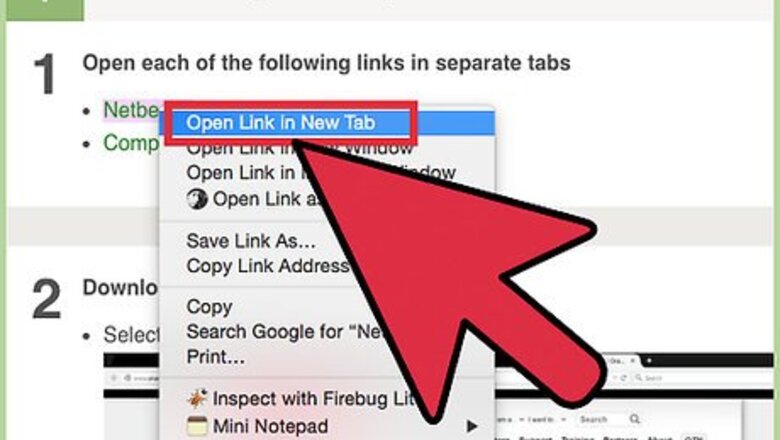
Open each of the following links in separate tabs. Netbeans Compiler and Debugger
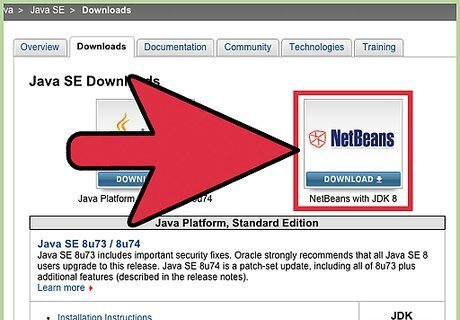
Download Netbeans Select the Graphic on the right Accept the user agreement, and then select the correct software from the list. Choose either the file ending in i586 for a 32-bit system or the file ending in x64 for a 64-bit system. Save to your Desktop.
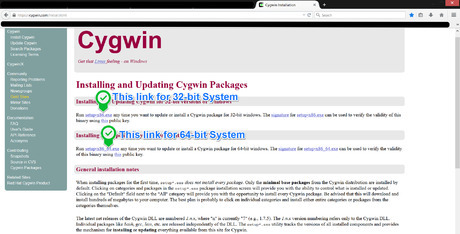
Download Compiler and Debugger Select the Correct File for your System and Save it to your desktop
Installing Cygwin Compiler and Debugger
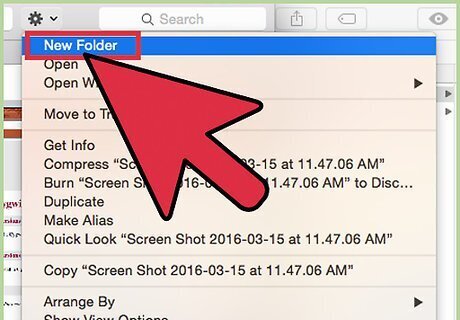
Create a Folder on the Desktop and name it Cygwin
Open the Cygwin Installer Click the "Next" button on the window that comes up
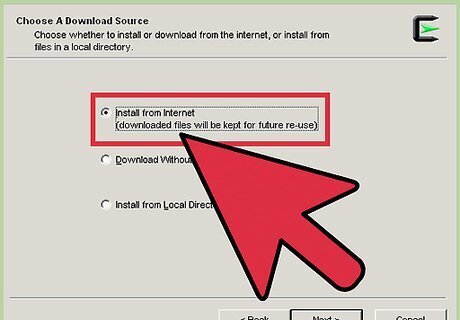
Click Install from Internet, Click Next, then Click Next on the Second window Make sure on the Third Window that the path is setup to the desktop folder
Select a Download Site and click Next Really does not matter what site is chosen, however download speed may be affected
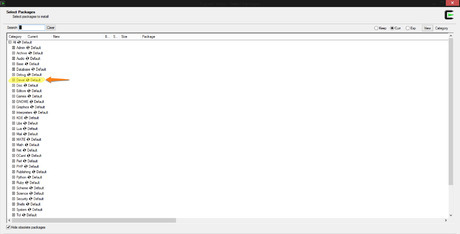
Install Compiler and Debugger On the Window that pops-up select the '+' next to Devel Find the files called gcc-core, gcc-g++, gdb: GNU Debugger, and 'make', and click the 'Skip' button to the left ONCE. Click Next It will install the parts and then ask if you want shortcuts, you do not need these

Create the Cygwin Path Open your control panel and select "System and Security", then select "System" Click Advanced System Settings Near the bottom of the new window there will be a button called "Environmental Variables", select it In the window that pops up scroll down to Path, select it and click Edit At the end of the highlighted text (DON'T DELETE IT) add, with no spaces at all, ";cygwin-directory\bin"
Installing Netbeans
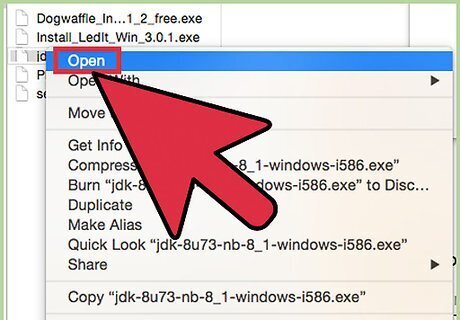
Open the Netbeans Installer Allow program to run, if asked for permission, and wait for installer to configure
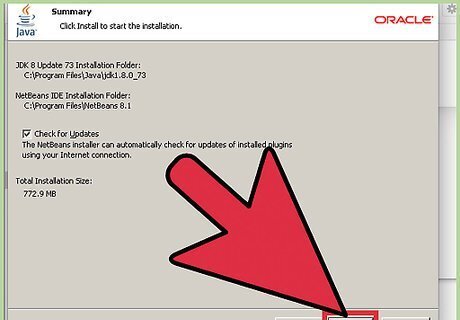
When the installer Opens Click Next Agree to the user agreement and select Next Allow the installer to save and install the files on the next two windows to the default locations Click Install You can choose whether to send usage data or not
Running the Program
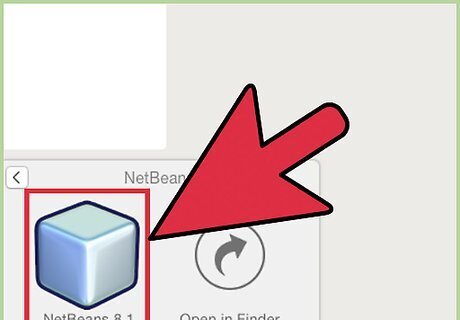
Open Netbeans
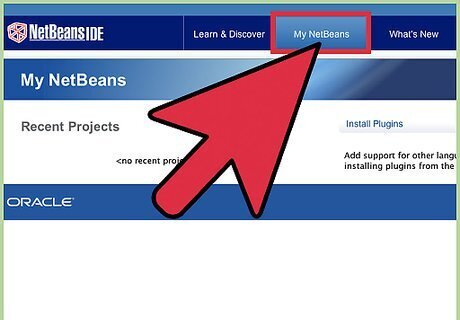
Click the "My Netbeans" tab
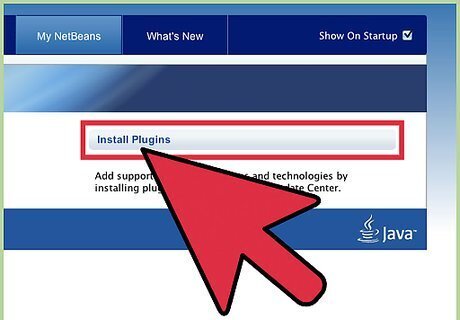
Click Install Plugins In the search bar type C/C++ Select the result that has the same name and click it Click Install
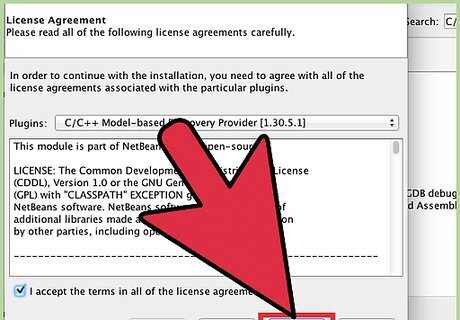
Click Next in the new window Accept the User Agreement and Click Install
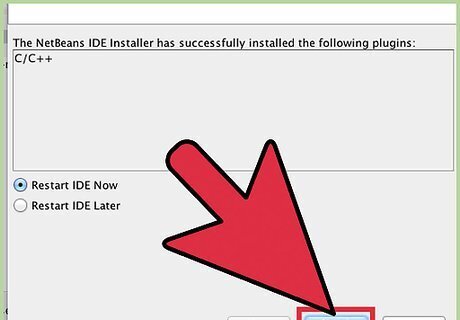
Exit the Plugin Window
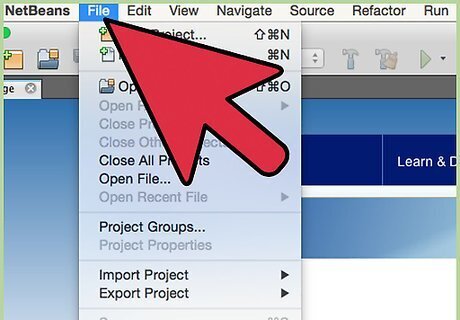
Click File in the top left corner
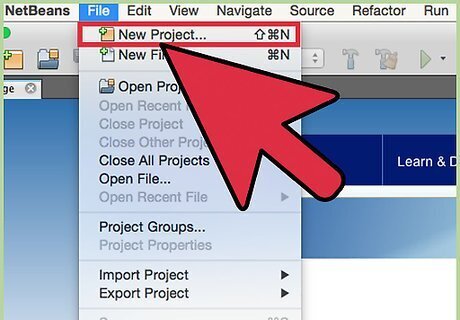
Click New Project
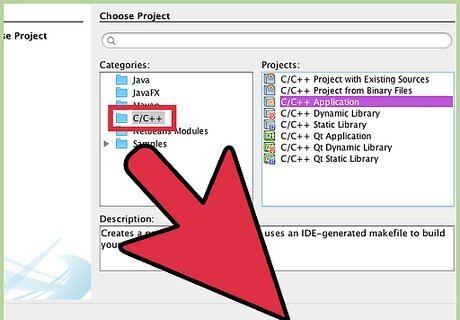
Select C/C++ in the new window Select C++ Application on the right side Select Next
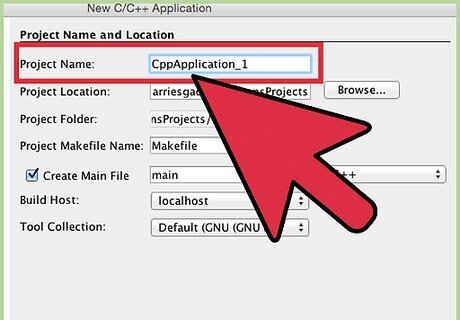
Name the Project whatever you'd like, and make sure that the tool collection field has Cygwin in it Click Finish
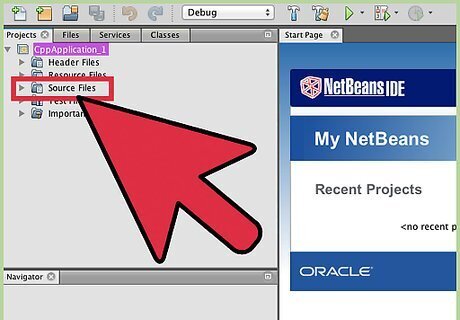
Double-Click the Project on the left-side of the screen Click the '+' next to Source Files
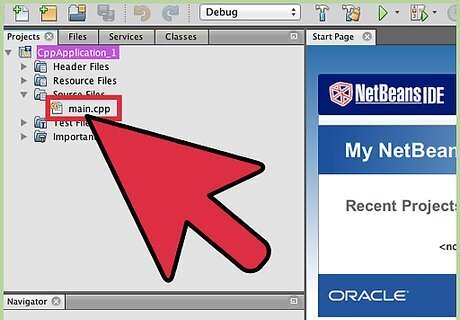
Double-Click main.cpp
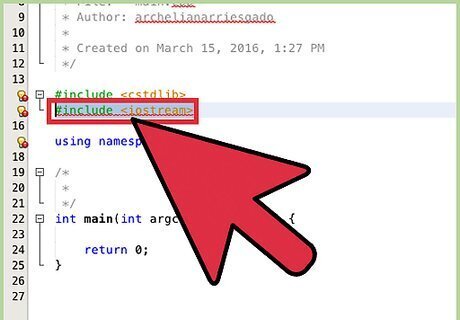
Insert the phrase (No quotes) "#include
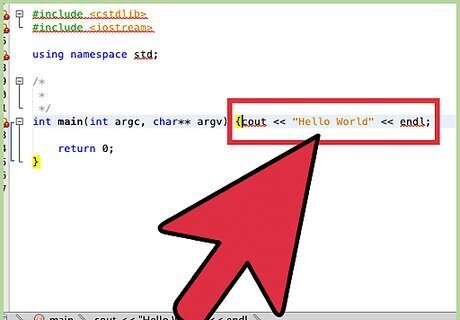
Insert any code inside the curly brackets of the main function For example insert (no quotes) "cout << "Hello World" << endl;"
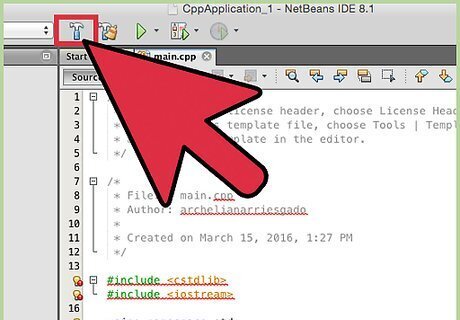
Click the hammer icon at the top to build the solution If done correctly at the bottom in green, a message will appear that reads "Build Successful"
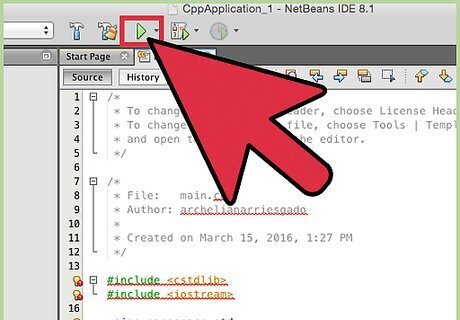
Run the code by clicking the play button At the bottom your output should be there, followed by a message that reads "Run Successful" with total runtime of your program


Comments
0 comment