
- Go to the "Edit" menu in your Photos app and select the crop button to change an image's size by cropping it.
- Open your image in Image Size (or a similar app) and change the image dimensions to resize it.
- Open your image in Compress Photos & Pictures (or a similar app) and compress your image to make the file size smaller.
Cropping
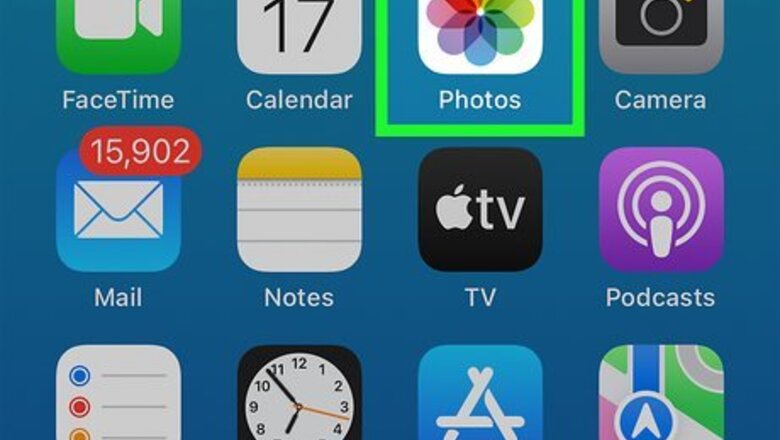
Open the Photos app. While the iPhone Photos app can't make an image's resolution larger or smaller, you can resize the images by cropping them to a different size.
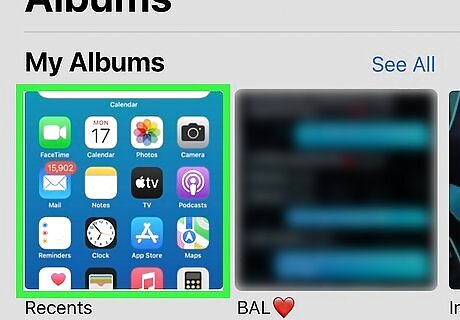
Open the album that has the photo you'd like to edit.
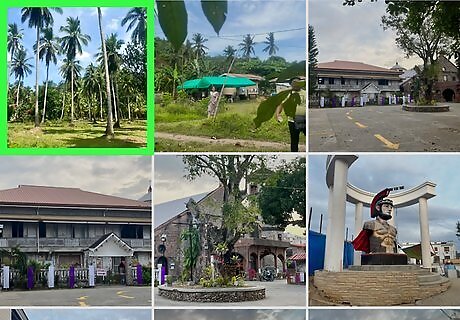
Tap the photo you want to crop.
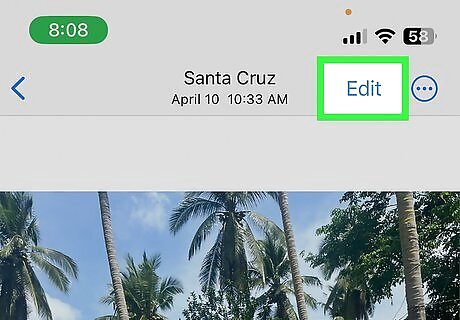
Select the blue Edit text in the upper-right hand corner.
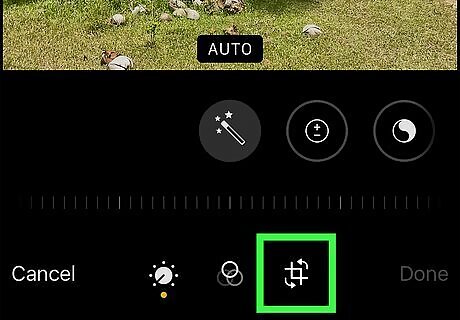
Tap the crop button at the bottom of the screen. It's the third icon, all the way on the right.
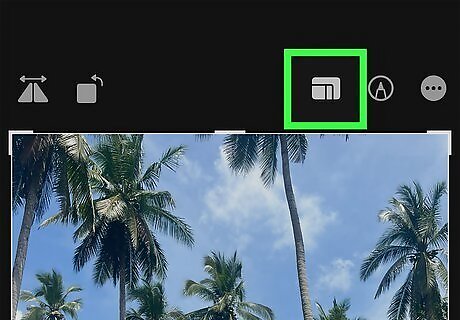
Tap the icon in the upper right corner that looks like a series of boxes. This is the aspect ratio button.
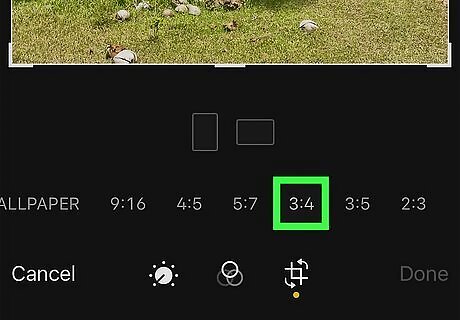
Select a ratio, if desired. Near the bottom of the screen, there are a number of cropping ratios you can use. These are especially helpful if you're looking for a specific aspect ratio for posting on Instagram or Twitter. If none of the aspect ratios work for you, you can stick with Freeform.
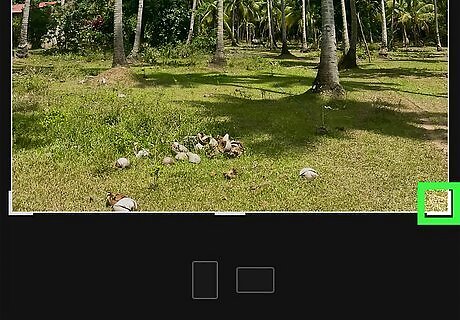
Drag the corners of the bounding box to change your image size. Note that this is cropping the image, not making the entire image larger or smaller. Whatever is outside the bounding box will be removed from the image.
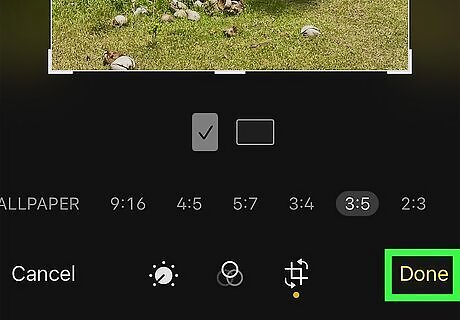
Click the yellow Done text when finished. This is found in the bottom-right corner of the screen. The original image will be overwritten when you crop it via the Photos app. If you don't want to lose the original, make a copy of the image first.
Resizing
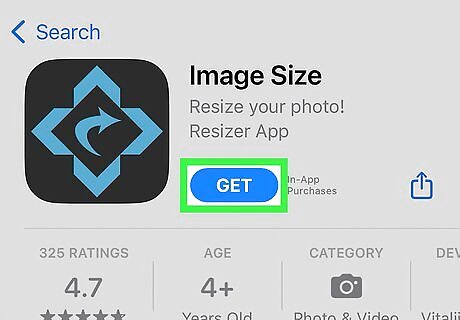
Install Image Size on your iPhone. Image Size is a free app that allows you to resize images directly on your iPhone. You can install it free from the App Store. There are many apps that let you change image dimensions, but Image Size is one of the simplest to use and is also free. You can select any app you'd like, but the method may vary if you don't use Image Size.
Open Image Size. When you first open the app, your phone will ask if you want to allow the app to track your activity. You can tap either option, as it will not impede your ability to use the app if you allow tracking or not.
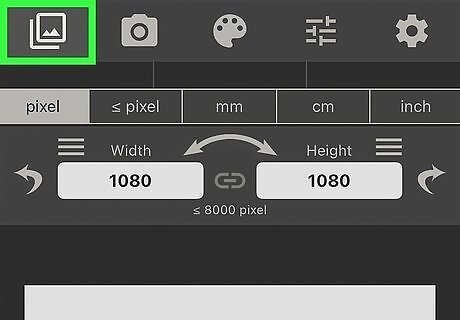
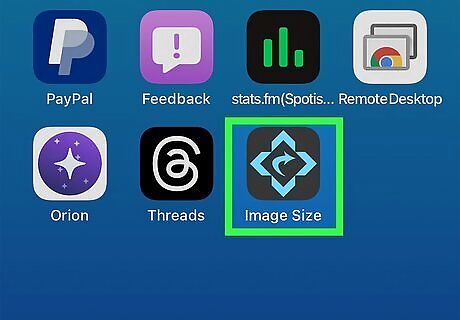
Tap the icon in the upper left-hand corner. It looks like a stack of two photos. This is the button that will allow you to open a photo you've already taken in the app. The first time you tap this button, your phone will ask if the app can have access to your photos. You must allow photo access to use this app, so select Allow Access to All Photos.
Open your desired photo. Tap the photo you want to open and click Choose in the bottom right corner.
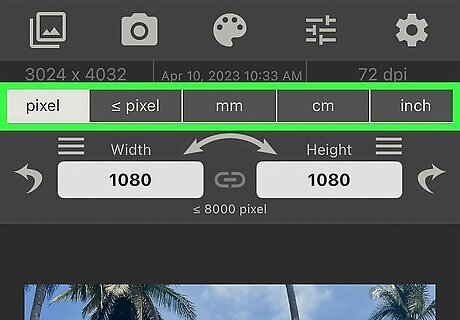
Select your unit of measurement. Near the top of the screen you will see a row of icons that read pixel, ≤ pixel, mm, cm, and inch. To change what measurement you use, simply tap that word. If you're trying to just make an image smaller, you can leave it on the default option of pixel.
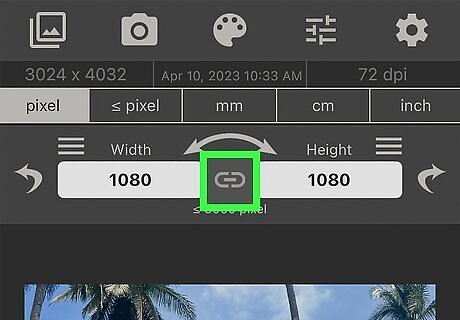
Tap the chain icon. Beneath the units of measurement are two white boxes that say numbers in them. Between these boxes is a chain icon. By tapping this icon you ensure the aspect ratio of your picture stays correct.

Resize your image. In the white boxes, you can type new dimensions for the image. Since you clicked the chain icon, you can change the number in either field and the image will resize at the same aspect ratio. Tap one of the white boxes and type a new number for the size. If you make the number bigger the image will get larger, and if you make the number smaller the image will get smaller. Tap the Done button when you've finished changing your image size. The image won't change size on your screen, but the resolution of the image is getting larger or smaller as you change the numbers in the boxes. If you don't know what size to make your image but you're simply looking to make it smaller, try halving the measurements to make the image half as big as the original.
Save your image. Once you're happy with the size of your image, click the save button in the bottom left corner. The image will be saved automatically to your camera roll.
Compressing
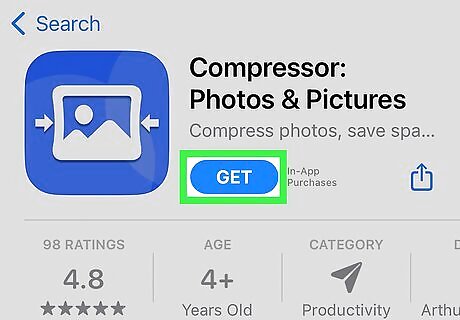
Install Compress Photos & Pictures on your iPhone. This is a free app that allows you to compress photos, which is different from resizing them as it makes the image file size smaller without changing the resolution. You can install it from the App Store. Making an image smaller by lowering the resolution will also, in turn, make the image file size smaller. There are many apps that let you compress images, but Compress Photos & Pictures is one of the simplest to use and is also free. You can select any app you'd like, but the method may vary if you don't use Image Size.
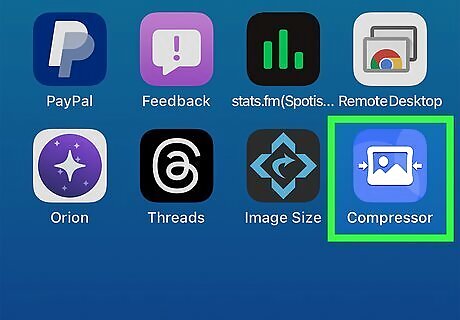
Open Compress Photos & Pictures. When you first open the app, your phone will ask if the app can have access to your photos. You must allow photo access to use this app, so select Allow Access to All Photos. After allowing photo access, your phone will ask if you want to allow the app to track your activity. You can tap either option, as it will not impede your ability to use the app if you allow tracking or not.
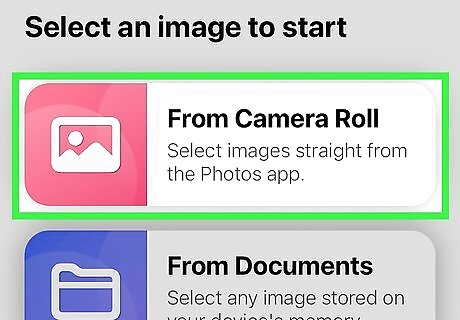
Tap the blue Select Photos to Compress button. This will pull up your camera roll.
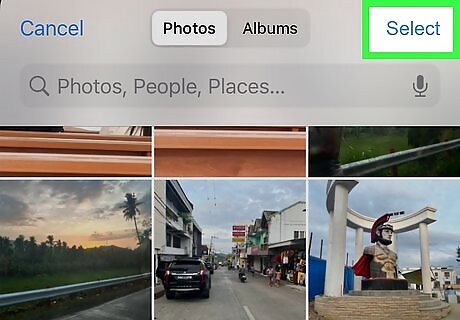
Tap the blue Select text in the upper right-hand corner.
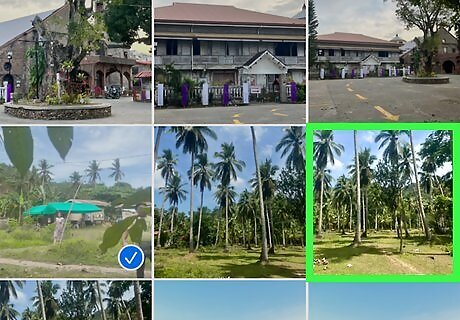
Select the photos you want to compress. The current file size of each image is shown beneath it in a small white font.

Tap the blue Next text in the upper right-hand corner.
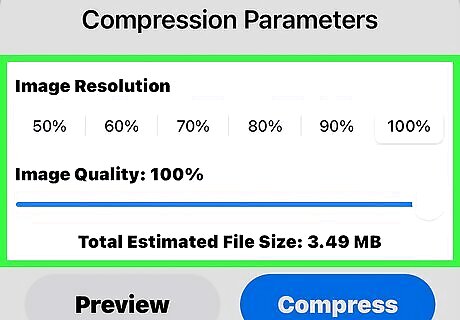
Select your compression settings. You can alter your compression settings here to change the image file size. The photo quality slider will reduce the image's file size by making the image slightly worse quality. You can still maintain your photo's original resolution and lower the file size by reducing the photo's quality. The photo dimensions slider will reduce the image's resolution to make the file size smaller. While you can make the file size smaller without changing the resolution, making the image's dimensions smaller will reduce the image's file size.
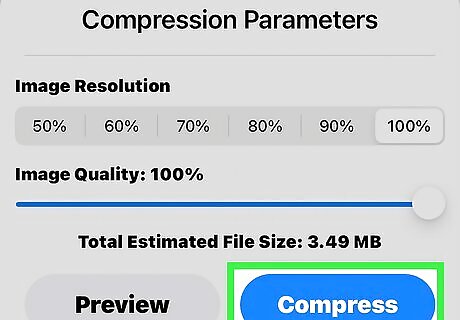
Tap Compress. The app will begin the compression process after finishing playing an ad.
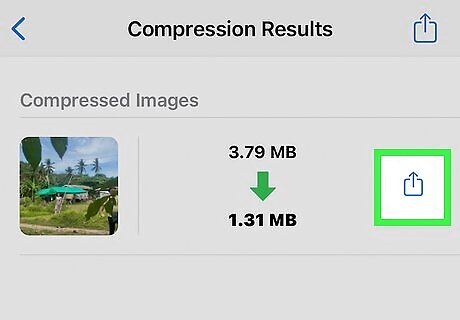
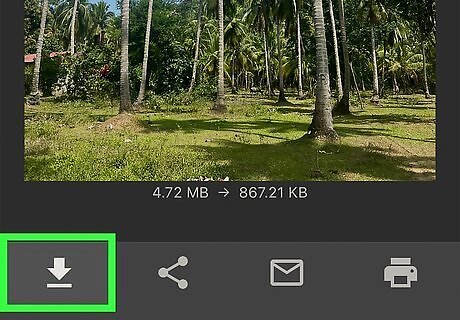
Save the original, or delete it. Once the app has compressed the photo, it will show you the old file size and the new file size. You can either keep the original or delete it by tapping the corresponding button.
Resizing with Canva
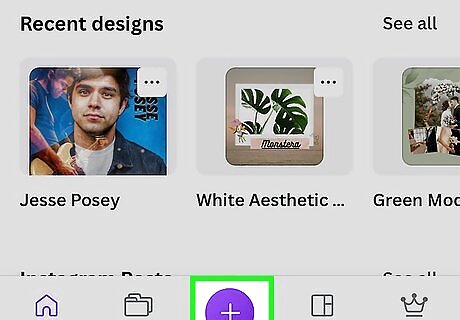
Click the purple + on the Canva home screen to create a new project. Canva is a popular graphic design website and app that is mainly used to make things like posters, social media sites, or even websites. However, you can also use Canva to resize images in the iPhone app. You must have Canva Pro to resize your images via Canva. You can try it for 14 days free, then you must pay $14.99 per month or $119.99 per year.
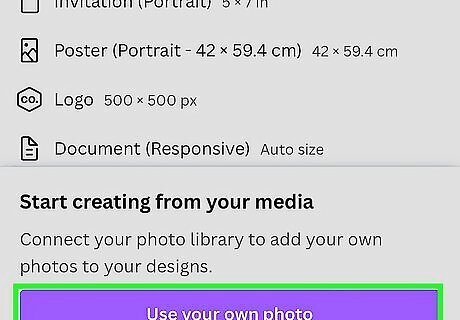
Click Use your own photo at the bottom of the screen. If this is your first time clicking this button, your phone will ask if you want to allow Canva to access your photos. Select Allow Access to All Photos. If you've already selected this option in the past, you will instead just be presented with a list of your photos at the bottom of the screen.
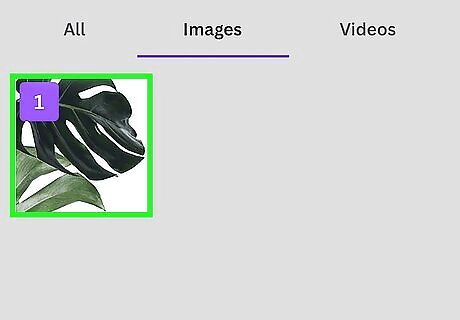
Select your photo. Canva will display your last few photos on the screen, but if you can't find the one you want tap the first option on the list (which looks like an upload icon), select Photo Library, and tap the desired image.
Tap Done to open the image in Canva. You can opt to open the image pre-compressed (a smaller file size) by tapping Actual Size at the bottom of the screen and changing it to small, medium, or large. The file size will be displayed next to each option. If you simply want to compress your image, you can skip the following steps about cropping and resizing.
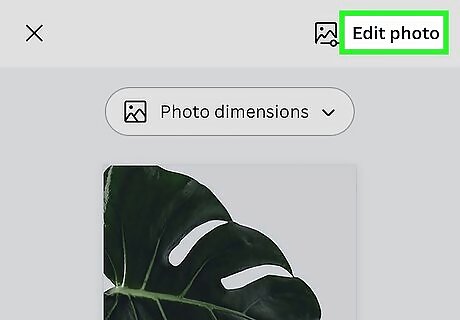
Tap Edit photo in the upper-right to crop your photo. If you'd like to crop your image (make it smaller while also removing parts of the image) you can do so by editing the image.
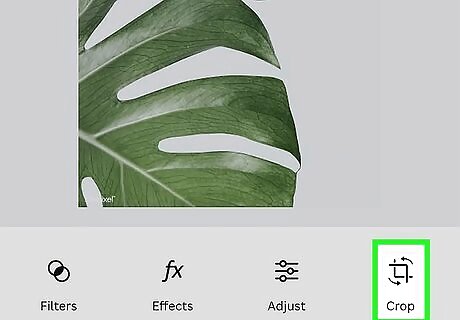
Tap Crop in the bottom-right corner. A bounding box will surround your image and you will be presented with some aspect ratios to choose from if you desire.
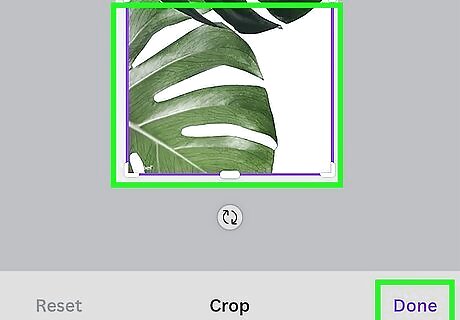
Drag the bounding box to change the image crop. Anything outside of the bounding box will be removed. If you'd like to apply an aspect ratio, tap it at the bottom of the screen, and the bounding box will be constrained to that ratio. Press Done when complete.
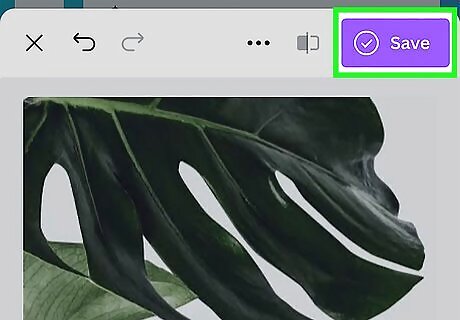
Tap Save in the upper-right when complete. Once you're happy with your image's crop, save it. If you only want to crop and/or compress your image, you can skip the following steps about resizing.
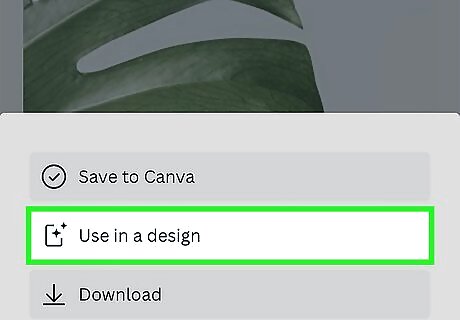
Select Use in a design. This will open your image as a Canva project.
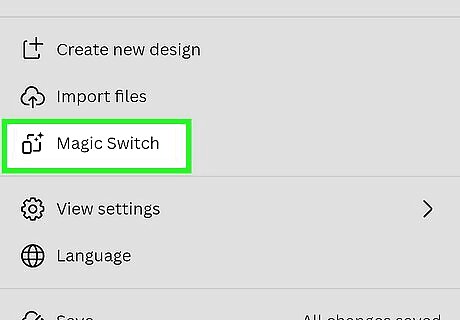
Tap the magic switch button in the top bar. It looks like two rectangles, and it's between the three-dot icon and the download icon.
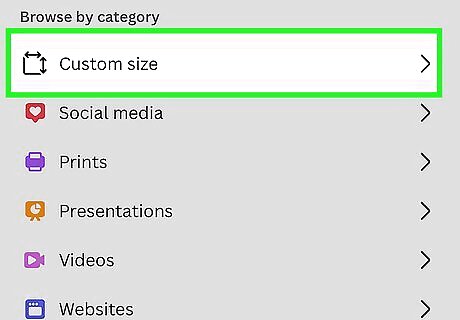
Select Custom size. This gives you the option to resize the canvas, which will also resize the image.
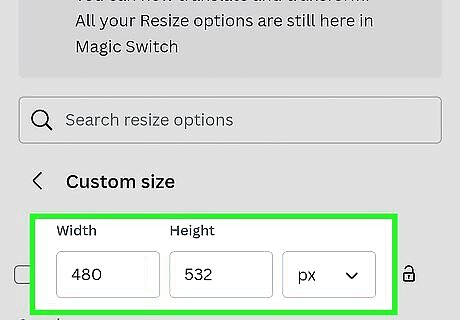
Type in the new width and height. You can tap the lock icon to maintain the aspect ratio.
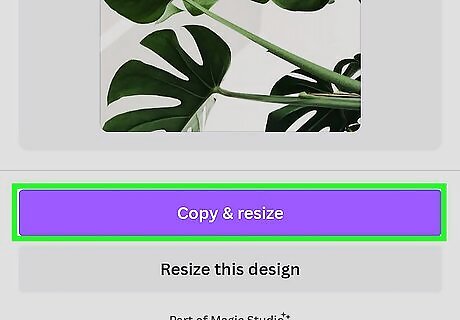
Tap Continue > Copy & resize. This will make it so you can easily go back to the old image with the previous size in case you're not happy with the image after it's been resized.
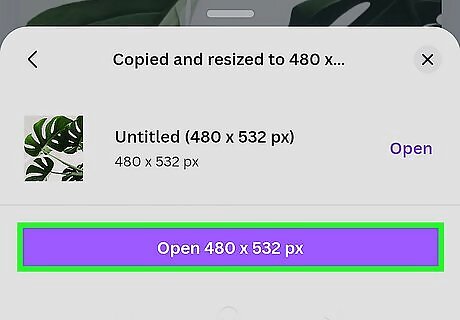
Tap Open at the bottom of the screen. The button will also list your image's new dimensions.
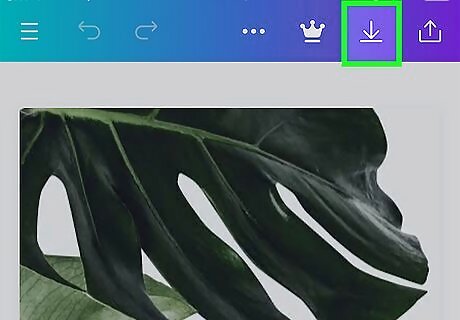
Tap the download button in the top-right. It looks like a down arrow with a line at the bottom.
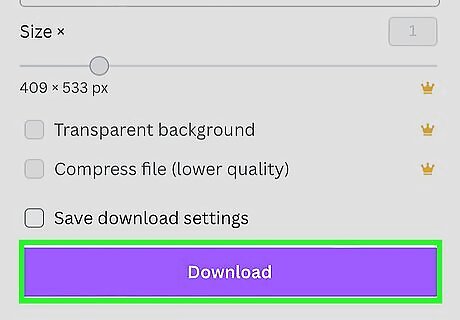
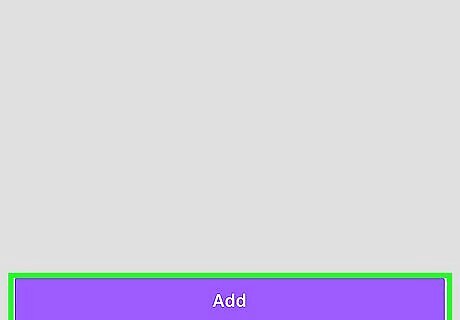
Tap Save Image. This will save the newly resized image to your Camera Roll.


Comments
0 comment