views
X
Research source
First, you’ll need to check for leaks. Then, check the refrigerant pressure and test your system. Finally, you can add your refrigerant and finish the recharge. If you have a hybrid or electric car, don’t try to recharge the air conditioner yourself, as it can result in a lethal electric charge.
Repairing Leaks
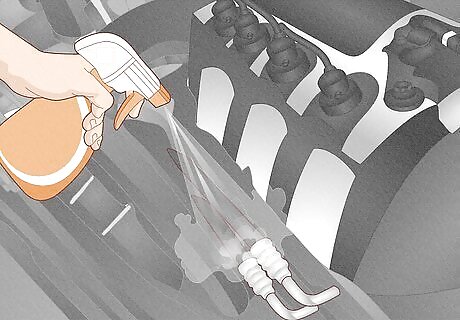
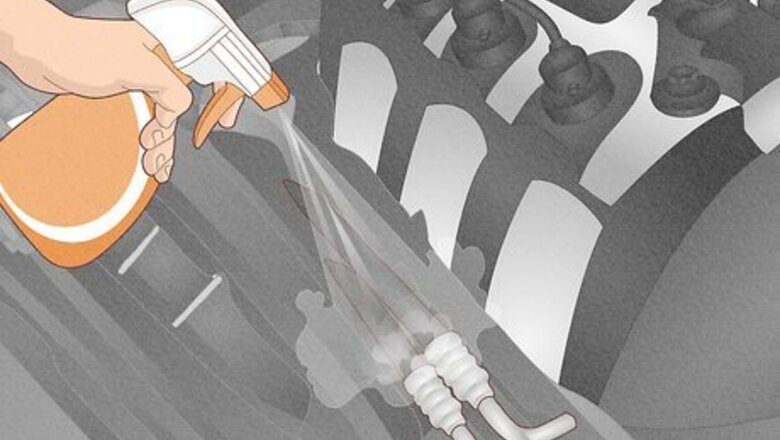
Spray soapy water onto the air conditioner components to locate leaks. You can use dish soap and tap water. Make sure the whole system is coated so that you won't miss a leak. If there are leaks, you'll see bubbles forming around the leak. Spray bottles are sold at most department stores and online. You can also buy a leak detector kit from your local automotive store or online. Follow the directions for that kit.
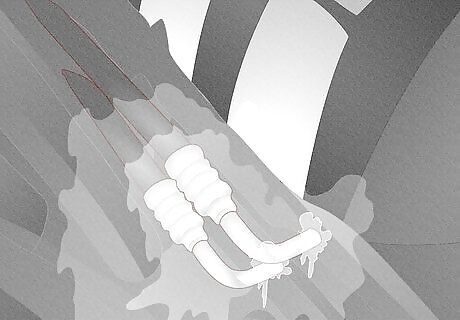
Watch for bubbles to appear, which indicate a leak. The leak will interact with the soapy water to create foam. If you see just a few bubbles or they take a while to appear, then your leak is probably small. If you see a lot of foaming, then you probably have a big leak. Big leaks will require a professional repair.
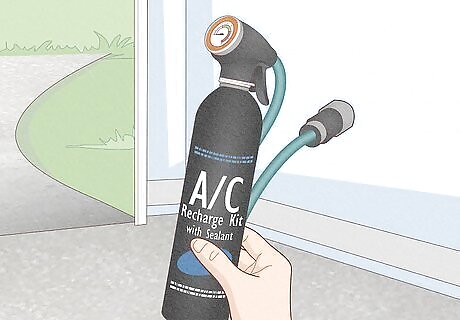
Use a recharge kit with a sealant to repair small leaks. You can spend more than $1,000 trying to find and repair a small leak, so it’s often better to use a product that contains a sealant. This will help your system hold its recharge longer, as the refrigerant won’t leak out as quickly. Look for a product that says its sealant is a conditioner, which won’t clog your pipes. A sealant that has a goo texture can cause a clog.

Have big leaks fixed by a professional technician. You should not try to fix them yourself, as you could damage the whole system. Not only that, you may leak dangerous chemicals from the car onto the ground. Recharging a system with a big leak is a waste of time and money. It’s best to get a professional to fix it.
Checking the Pressure

Put on your eye protection and gloves. Refrigerant is very dangerous and can result in injuries. It can cause frostbite if it hits your skin. If you get it in your eyes, it can blind you. Follow all instructions on the label, including additional recommended protective gear.
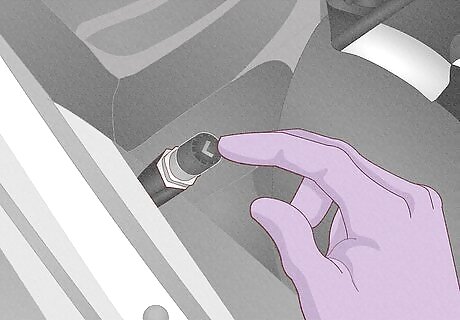
Find the low-pressure line port, which will have thicker tubing. There are two ports on your air conditioner. You will add the refrigerant to the low-pressure line port, not the high-pressure line port. The low-pressure line has larger tubing than the high-pressure line, making it easy to distinguish between the 2. Sometimes they are labeled with “H” for high and “L” for low. In some vehicles, the low-pressure line port will be lower than the high port, but this is not always the case. Most kits have a hookup that only fits onto the low-pressure port, making it easier to choose the right port.
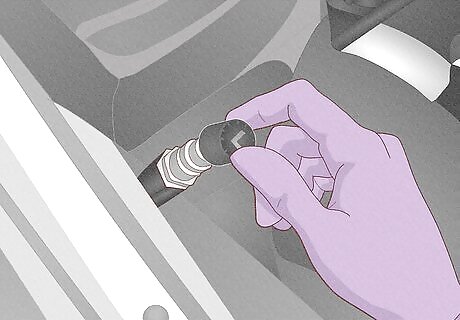
Remove the port cap by unscrewing it. The cap is the little plastic cover that seals the valve. Once it’s off, make sure you put it somewhere safe so that you don’t lose it.
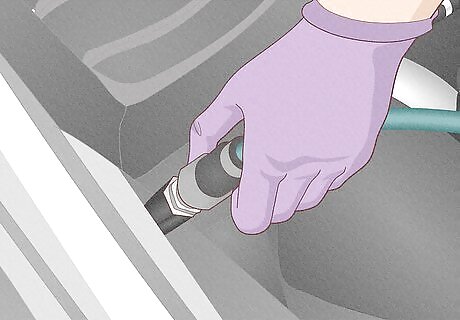
Hook the pressure gauge hose to the port. Simply click the gauge connector over the open port. You can wiggle it gently to make sure it’s attached. If it’s loose or comes off, try to attach it again. It’s best to select a recharge kit that comes with a pressure gauge. This allows you to easily add more refrigerant without overcharging your air conditioner.
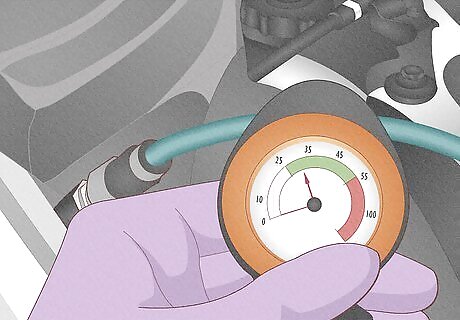
Check the reading on the pressure gauge. The gauge will provide a reading in psi. It should have colored zones to indicate if it’s in a safe range. Green means good, but your levels could still be lower than necessary to cool your car if it’s low in the green zone. Your ideal pressure will be determined once you test the outdoor temperature. You’ll do this when you test your system later in the recharge process.
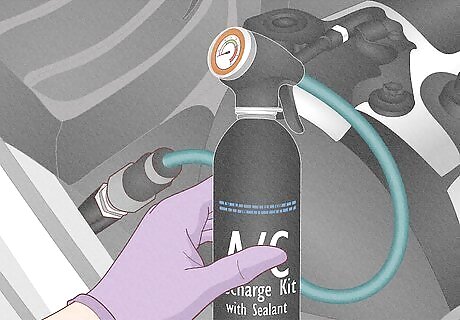
Proceed with the recharge if the pressure gauge reading is above 0. A reading of 0 means that there is no refrigerant left in your air conditioner, which will require a repair by a professional technician. Otherwise, you can charge the system yourself using your charging kit.
Testing Your System
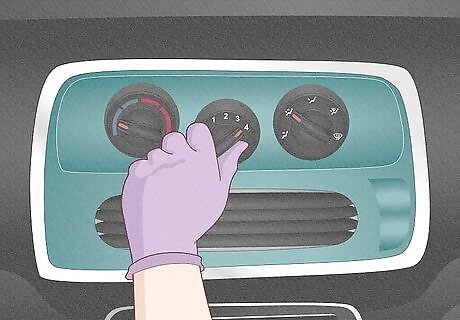
Crank your engine and turn the AC on high cool, high fan. This allows you to check to make sure your parts are working. It’s okay if your air conditioner is blowing warm or hot air at this time. Your hood should still be up.
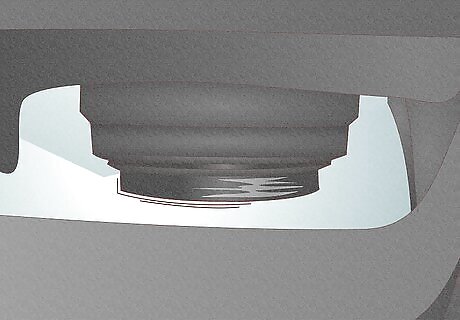
Make sure the compressor clutch is spinning. The compressor clutch looks like a circle. It may spin fast or slow, depending on how well your system is working, as well as how much refrigerant is present in the system. If it’s not spinning, then you can add half a can of refrigerant and check it again. If it’s still not spinning, then you’ll need to take your car in to a professional technician.
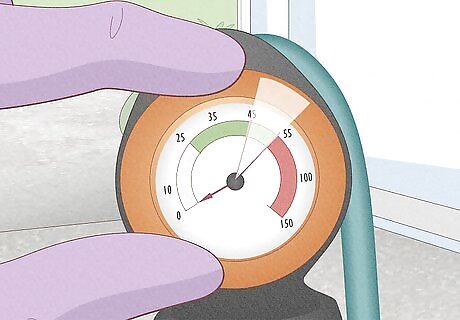
Set the refrigerant temperature gauge to the ambient temperature. The gauge will tell you what your refrigerant pressure should be after you complete your recharge. This is your recommended pressure level. As you recharge the air conditioner, you can monitor the pressure on your pressure gauge. It’s okay to round up or down to the nearest 5 degrees.
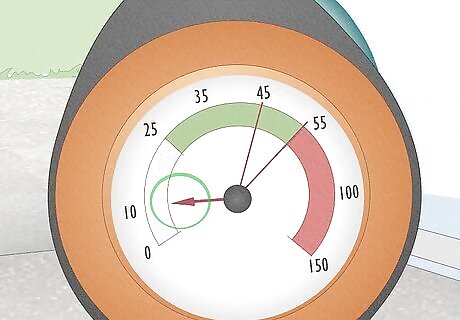
Check the pressure gauge to make sure it’s in the white or green zones. The current pressure level should be below the recommended level you just determined, based on the temperature gauge reading that you took. If it’s above the recommended level or in the red zone, you need to take your car to a technician because something else is wrong. Do not add more refrigerant if the levels aren’t low. This could damage your car.
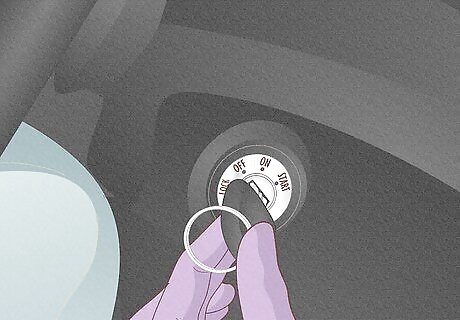
Turn off the vehicle before adding refrigerant. After you finish testing your system, it’s best to turn off your system, unless the directions on your charging kit say otherwise. Always follow the directions on your charging kit to ensure that you get the best possible results.
Adding Refrigerant
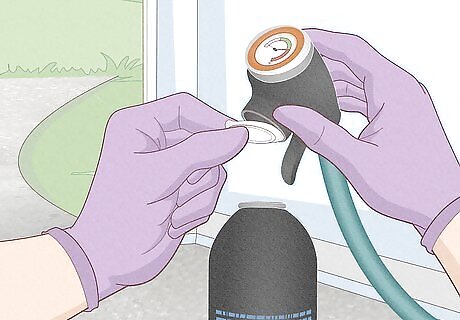
Unscrew the trigger from the can to remove the inner cap. The inner cap is what keeps the refrigerant trigger from piercing the can before you’re ready to use it. You should see where the can screws into the trigger, as it will have a typical joint. Discard the inner cap.
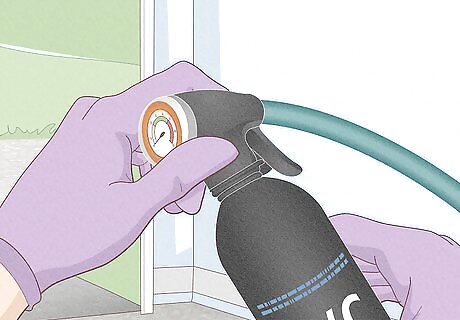
Screw the top back on, which will pierce the top of the can. There will be a metal pin inside the trigger. As you screw the can back on, press hard so that the metal pin pierces the top of the can. You should hear the pressure release inside the can. It will now be ready for use. If the trigger pin doesn’t pierce the can, then you won’t be able to use the product. In the rare event this happens, you can try removing the trigger and pressing down harder as you replace it again.
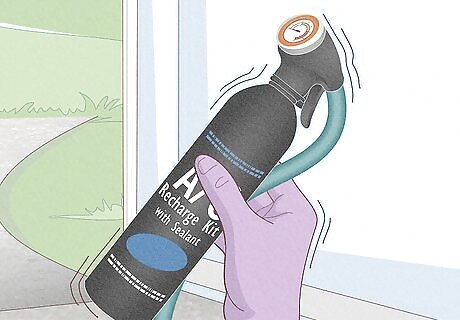
Shake the can to mix the contents. Vigorously shake it up and down. This will ensure that all of the additives are blended so that you get an even application as you recharge the air conditioner. If the ingredients aren’t mixed well, you can experience some clogging as you use the product.
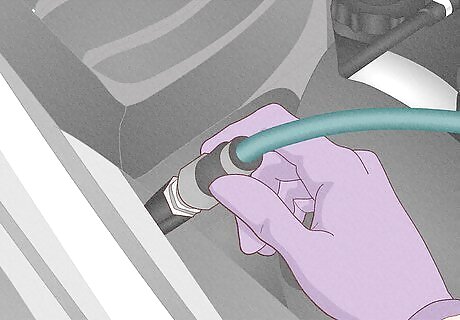
Connect the refrigerant to the low-pressure line port. You may need to pull back on the edge of the connector to make it fit around the port. Push down until the kit attaches to the port. You can wiggle it gently to make sure it’s fully attached. If it feels loose or comes off, try again.
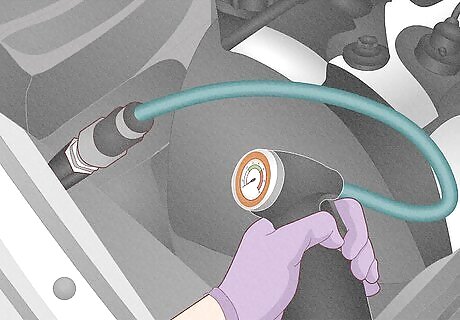
Squeeze the trigger on your refrigerant. This will release the refrigerant into your air conditioner. Maintain a firm grip as you hold the can. If your can has a knob instead of a trigger, you should turn the knob until the refrigerant releases into the hose. You should hear it.
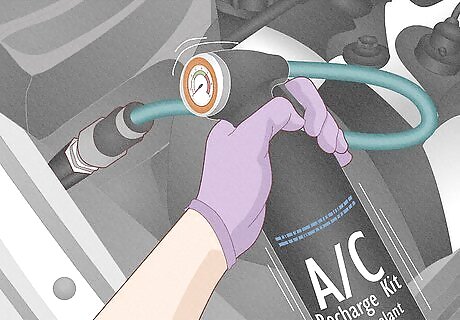
Move the can back and forth to keep the contents even. This should be a gentle motion so that the ingredients stay mixed. Don’t move it too aggressively, however, as you might accidentally pull it free.
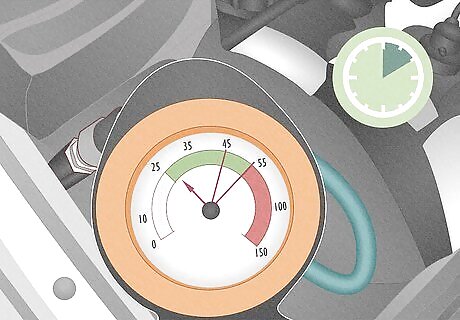
Check the pressure after 10 seconds of charging. Let go of the trigger and look at the pressure gauge. It’s important that you not put too much refrigerant into your air conditioner. If your can has a knob instead of a trigger, then you should turn the knob to close the valve after 10 seconds. You’ll probably need to add refrigerant a few times to reach the desired pressure. Take your time, though, so you don’t overcharge the system. Overcharging makes your system run ineffectively and can damage it.
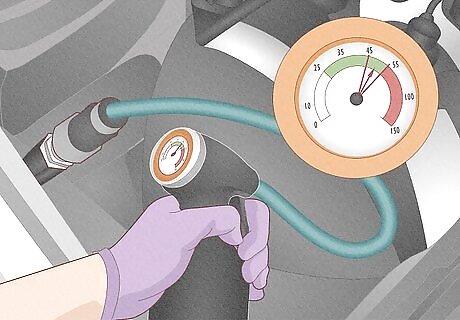
Repeat until your pressure gauge reaches the correct reading. Squeeze the trigger for 10 seconds at a time. Gently move the can back and forth as you charge the air conditioner. Remember to check the pressure often.
Finishing the Recharge
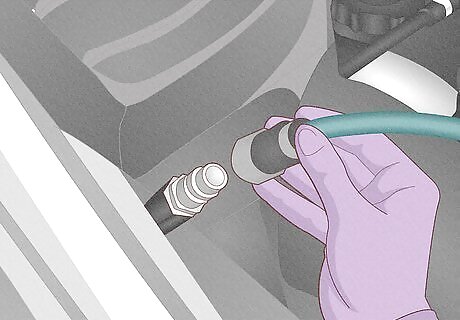
Detach the refrigerant connector from the port. You may need to pull up on the collar around the connector to break the seal. Then, remove the connector and place your charging kit in a safe location. If your can has a knob instead of a trigger, turn the knob, closing it tightly, before you detach the connector. For example, you might store it in a cool spot in your garage that is away from heat sources.
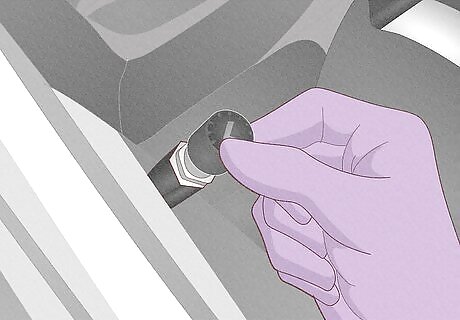
Replace the port cap on your air conditioner. Screw the cap back onto the left pressure line port. This will prevent debris from getting into your pipes. This is the cap you removed at the beginning and put in a safe place.
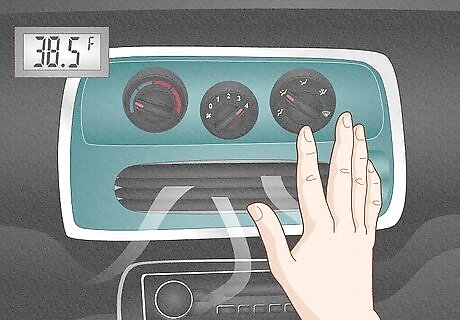
Test your air conditioner to make sure the air is cold. It should feel cold on your skin. You can check the exact temperature using your temperature gauge. It should be blowing between 38 to 45 °F (3 to 7 °C). If it’s still not cold, you’ll need to take your car in to get checked by a professional.


Comments
0 comment