views
Steps
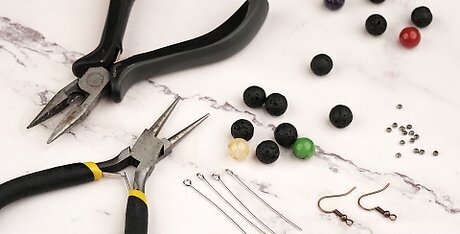
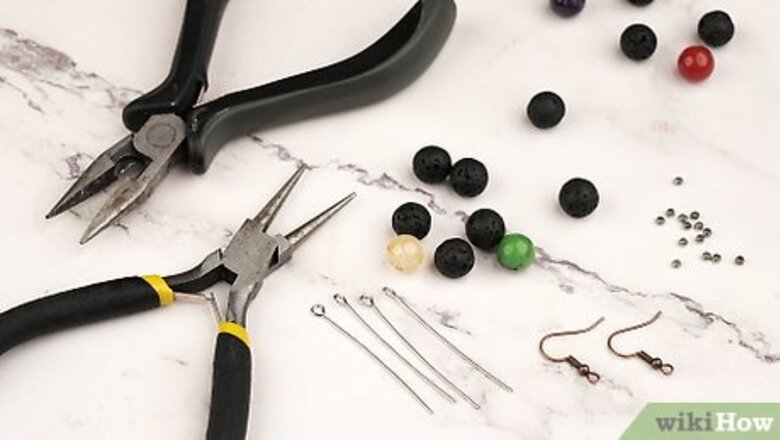
Select your beads and gather the earring hooks, head pins, needle nose and chain nose pliers. These tools and materials are all essential. See the picture for further detail.
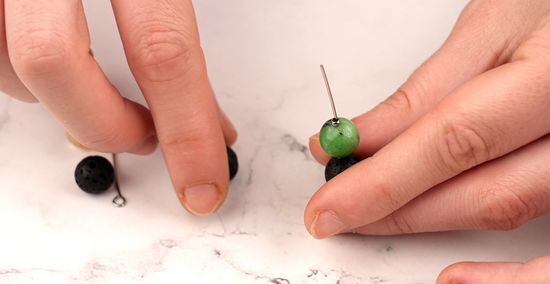
Arrange the beads the way you would like them, placing the bead you would like at the bottom on first and so on.
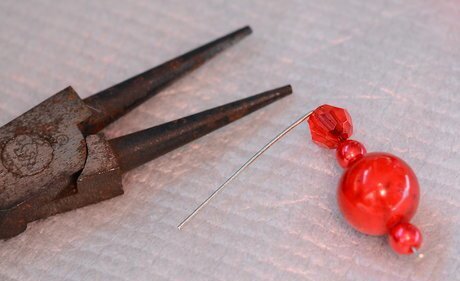
With your pliers, bend the excess head pin over 90 degrees on both earrings.
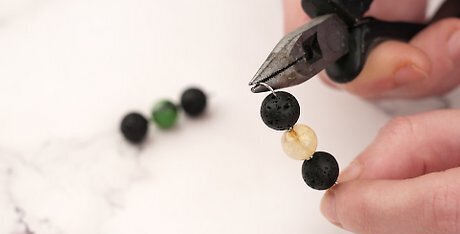
With the steel cutting pliers, cut off the pin until it is only 1 centimeter (0.4 in) long. Alternatively, attempt the "Jump Ring" Technique below.
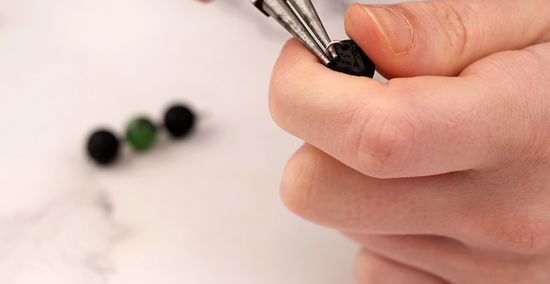
Get your earring hook and with the chain nose pliers, bend the head pin around in a circle. Notice in the picture that the pins are not bent all the way around.
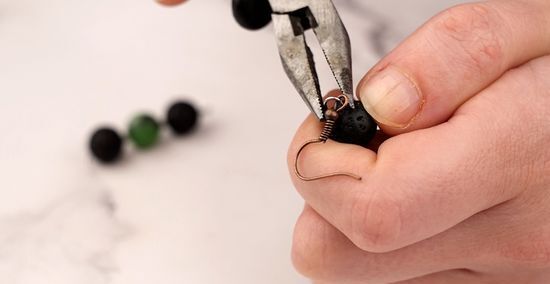
Slide the hook onto the half bent pin and then bend the pin all the way around so there is no way the hook can slip off and earring fall apart.
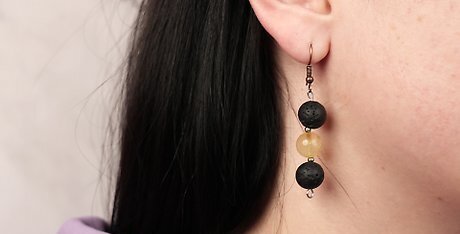
Slip the earrings into the holes of your ears (you must have pierced ears to wear these earrings) and show them off!
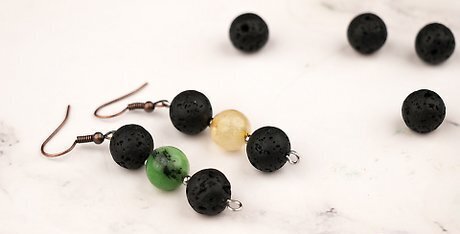
Finished.
Alternative "Jump Ring" Technique
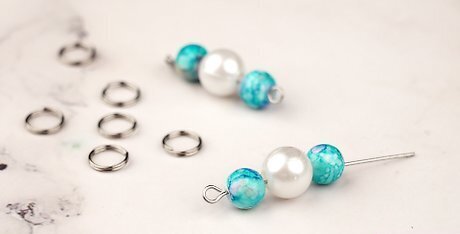
Follow instructions 1 to 3 as above, but skip step 4 above by not cutting the pin yet.
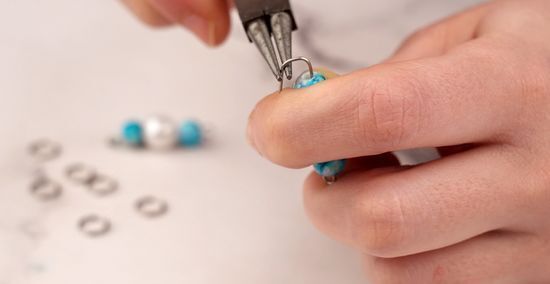
Bend the head pin all the way around, then wrap it several times around the pin where it just comes out of the bead. Cut the excess and tuck the end in so that it does not stick out. This creates a closed, secure loop.
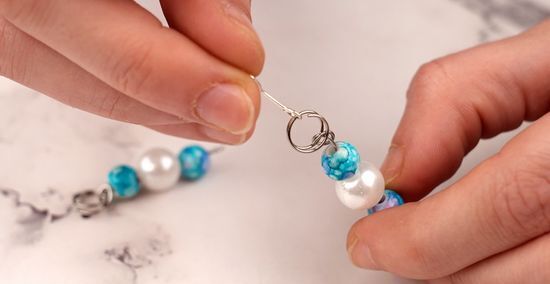
Open a "jump ring" (basically a circle of wire that's not entirely closed) and slide on the head pin with beads and the earring hook. Close the jump ring securely.

When opening a jump ring, do not pull the ends apart directly away from each other (such that they are still in the same plane); this weakens the ring. Instead, slide one end past the other (perpendicular to the plane of the ring) to open, and slide back in the same manner to close.


Comments
0 comment