views
Decorating with Pumpkins
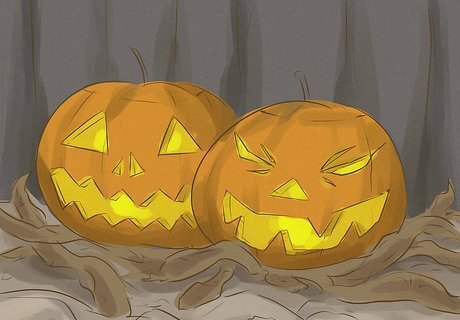
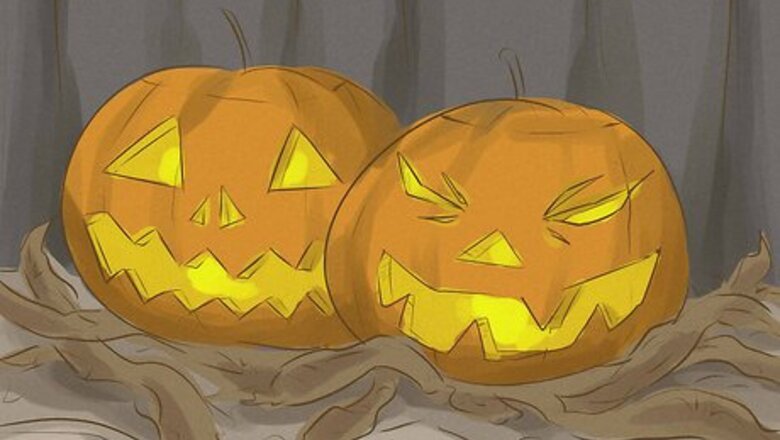
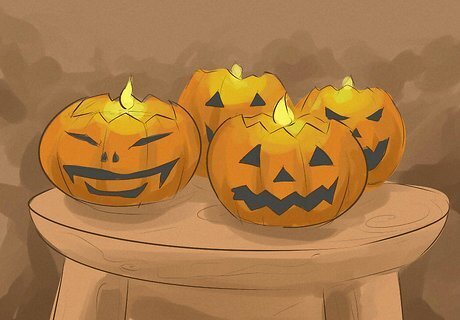
Make a Jack O'Lantern. No Halloween would be complete without the iconic Jack O'Lantern in its various forms. The classic Jack O’Lantern is made by carving a pumpkin and placing a candle inside it, but here are some other ideas: Carve a disco ball pumpkin. This is a carved pumpkin with a twist and it throws light out from all over its many holes. It's a load of fun to make and people won't be able to resist making comments about it. You can make Jack O’Lanterns out of various fruits and veggies, including oranges, pomegranates, and peppers.
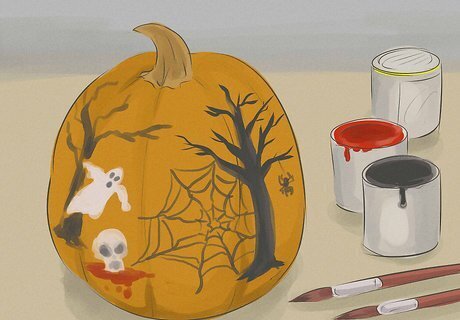
Decorate a pumpkin. If you don't want to go through the mess and stress of carving a pumpkin, there are many ways to decorate a pumpkin without carving it: Paint or spray paint a pumpkin a single color. You might leave it one color (silver and gold are popular), or draw designs on the pumpkin with a sharpie after it’s been painted. Use a stencil to help you draw or paint a face or other designs on your pumpkin. Use stickers or other surface embellishments to decorate a pumpkin. If you want to use something more natural, consider covering a pumpkin in lovely autumn leaves. Dress your pumpkin up like a person. Use your pumpkin as the head of a mummy or zombie in your yard, put a wig on it, or add other embellishments that make it look more human (or monstrous, as the case may be). Peel your pumpkin. Draw a design on your pumpkin and then use a knife to only cut deep enough to pierce the skin. You want to expose the pumpkin’s flesh without cutting the flesh. Draw an outline with your knife and then dig the knife beneath the pumpkin’s skin as you pull the skin back.
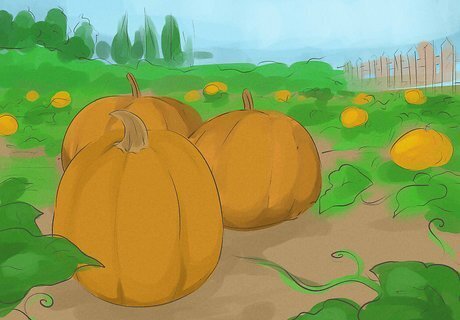
Grow a pumpkin patch. This one is a long-term project and will only work if you have access to a yard, but it’s sure rewarding. Choose a large spot that will give the pumpkins ample space to grow and that will be easily seen by trick-or-treaters. Make sure the spot will get lots of sun, and that the soil can get ample drainage, especially after heavy rain. You’ll need to find out when to plant pumpkins in your region. Pumpkin seeds generally need to be planted in late spring or early summer if you want to harvest them in the fall. There are different types of pumpkins to choose from: pie pumpkins for eating, decorative pumpkins for carving, and mini pumpkins.
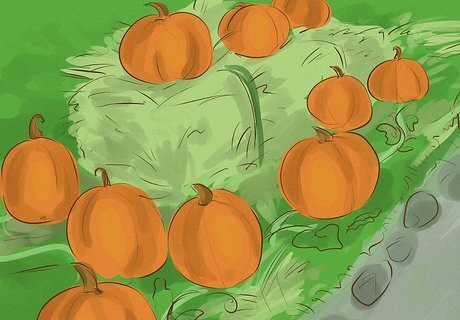
Make a fake pumpkin patch. If you aren’t into growing pumpkins, just buy a bunch of pumpkins and arrange them in a way that mimics a pumpkin patch. Don’t forget to add vines and greenery to make it look more authentic. You can even make a neat yard design with pumpkins, for example, having them line your path. In this case you could connect them with vines so that they look kind of like a pumpkin fence.
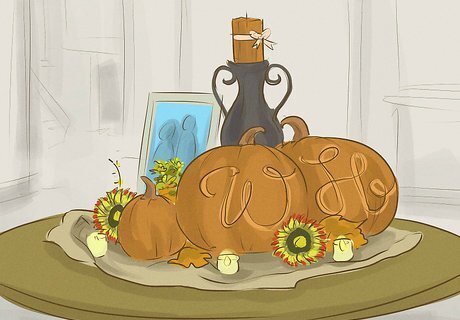
Make pumpkin tabletop decorations. There are quite a few ways that the pumpkin can grace your Halloween party or dinner table: Make a still life arrangement using miniature pumpkins of various shapes and sizes. Pile them up beautifully, with a few fall leaves here and there. Decorate a pumpkin with netting and ribbon, and then place it in the middle of your table as a centerpiece.
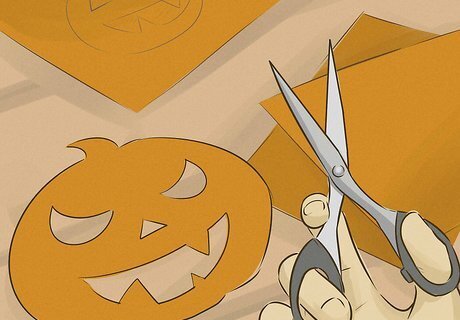
Make paper pumpkin cut-outs. Use construction paper or different types of card stock to make pumpkin-shaped cut-outs for decorating your home. You can make big cut-outs to fix to your walls, or smaller ones for bunting, banners, and mobiles. To make pumpkin bunting or garland, glue a row of paper cut-outs to yarn or a long strip of paper, and hang them up around your home. If you’re worried about the cut-outs falling off the yarn, poke holes in the top of them and run the yarn through instead of glueing them.
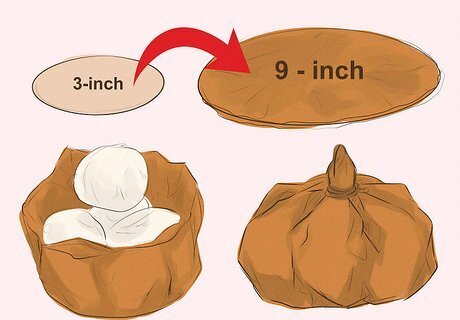
Make pumpkin favors. These cardboard decorations can be placed along benches, on shelves or they can be strung along like bunting for a ceiling decoration: Cut out a 3-inch circle from a piece of orange cardboard (one for each favor/guest). This will form the base of your pumpkin. Cut out a 9-inch circle from orange crepe paper or tissue paper. This will form your pumpkin. You need one for each base that you cut. Place the cardboard circle into the center of the crepe paper circle. If you want to, you can fasten it in the center so that it doesn’t move around while you finish making the favor. Gather the edges of the crepe paper/tissue and pull them up so that it looks like a bag. Stuff the “bag” tightly with cotton balls, shaping it as you go so that the bag is in the shape of a pumpkin. Tie a knot at the top of it. Twist the paper at the top so that it looks like a stem. Add some glue to the “stem” so that it won’t unravel, then cover the stem with green paper. Use a black felt pen or stickers to add a face to your pumpkin, and you’re done!
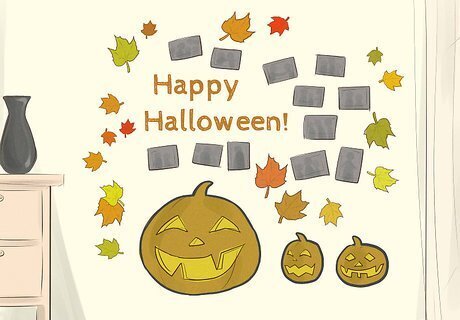
Make a pumpkin collage. A pumpkin collage can be an interesting piece of artwork for decorating a wall. Start with a cardboard cut-out of a pumpkin, and then fill it in with items of your choosing. You might fill the collage with autumn leaves, photos of previous Halloweens, or images from your favorite scary movies.
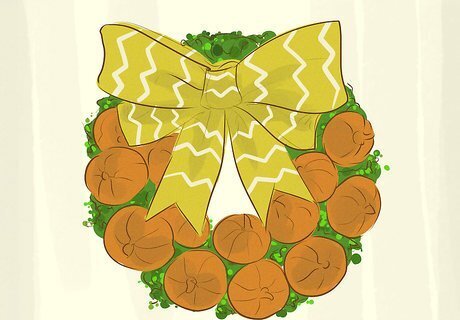
Make a pumpkin wreath. A simple wreath can be made using a wire wreath form and miniature pumpkins as follows: Place the miniature pumpkins in a circle to see how many you'll use to make a wreath. You may need around 14 to 20 pumpkins, depending on their size. Drill a horizontal hole through each miniature pumpkin. Keep the holes as close to the bottom of the pumpkins as you can, as this will keep them hidden from view when the wreath is hanging. String 20-gauge wire through the first pumpkin's holes. Place this pumpkin against the wire wreath form and twist the wire inside the pumpkin holes around the wire wreath form to keep in place. Repeat for each pumpkin until all are attached to the wreath form. Tuck dry moss into the gaps between the pumpkins. Keep this in place with more wiring. Tie a large bow at the top of the wreath, leaving long tie lengths hanging below the wreath. Cut the ends diagonally to prevent fraying. Hang a wire hook at the top of the wreath and hang the wreath in position on your front door.
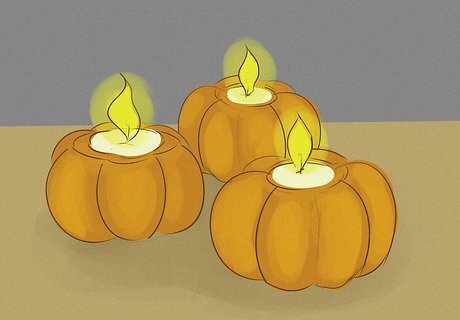
Make mini-pumpkin candle holders. Pick out some mini-pumpkins at your local grocer or pumpkin patch. Cut off the tops and scoop out enough flesh to make room for a votive candle or tea light. Push the candle or tea light into the emptied mini-pumpkin and you’re done. Place the candle holder wherever you'd normally use a candle, using common sense to keep it away from flammable items.
Make pumpkin-shaped candles. Purchase wax, wicks, and pumpkin moulds from your local craft shop. Place the wick in the mould, melt the wax down, and pour it into the mould too. Once the wax cools, remove it from the mould and you’ve got a pumpkin candle. You can add colors and/or scents to the wax to the candles as well.
Decorating with Witches
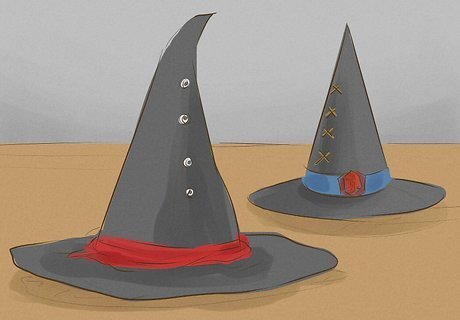
Make a witch hat decoration. You can do this using paper, felt, or if you’re comfortable sewing, you can use fabric. You’ll need a quarter-circle for the top and a circle with a hole in the middle for the brim. If you’re short on time, you can buy plain black ready-made witch hats from the dollar store or anywhere else that sells Halloween costumes, and then decorate those. Once you have your hat, decorate it with artificial gems, glitter, stickers, felt pieces, ribbon, sequins, or whatever else tickles your fancy. You can even make a witch-hat collage by pasting various items onto a paper witch hat or a piece of cardboard that has been cut into the shape of a witch’s hat. You can use the decorated hat as a centerpiece on your table or on other surfaces around your house. You can also hang the hat from the ceiling — just make sure it’s low enough that people can see your decorations, but out of the way so that no one will accidentally bonk into it and knock it down.
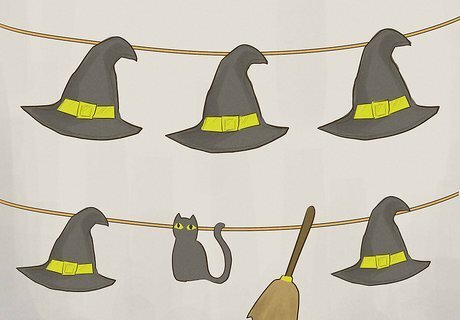
Get creative with your witch hats. Use decorated witch hats or paper cut-outs of witch hats in varying sizes around your house. You can use small witch hats for bunting or garland, for instance, alternating the hats with cut-outs of black cats, brooms, and candy corn. You could even make a witch hat in a candy corn theme by sewing or pasting together fabric that has orange at the base, yellow in the middle, and white at the tip.
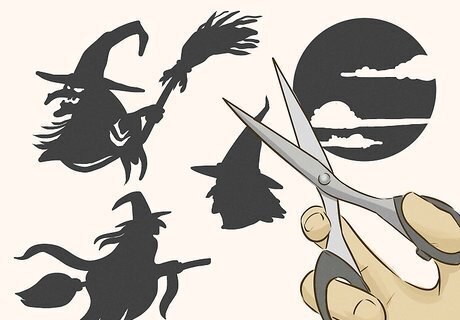
Make paper witch decorations. There are lots of ways to turn the silhouette of a witch into decorations, including witch garlands, streamers, collages, cards, signs, and cut-outs. Witch silhouettes are especially effective decorations when placed against a window or white surface. With the witch come some other traditional symbols that can be added into your artwork, including the black cat, the moon, and the broomstick.
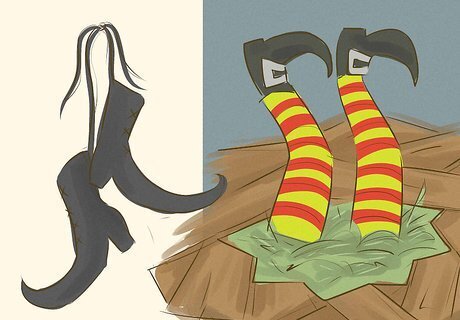
Make witch legs. Stuff a pair of stripy stockings with whatever you’ve got handy — batting or polyester filling will work nicely. If you’ll be putting the legs outside, avoid filling them with paper products or anything else that is easily damaged by water. Draw and cut out witchy-looking boots on a fabric of your choosing (black is recommended). Draw each boot on 2 pieces of fabric (or 1 piece folded in half), and make it extra large as it will shrink when sewn and stuffed. Cut, sew, and stuff the boots, and attach them to the ends of the stockings. Put some wire in the legs to make them bendy, then stick them in a prop cauldron to make it look like the witch fell in her own brew. You can also have the legs coming out from under a flower pot or anywhere else for that matter. If you’re a film buff you could make it look like your house fell on a witch (like in The Wizard of Oz) by stuffing a pair of black and white striped stockings and putting sparkly red shoes on them, then fastening them to the ground near the foundation of your house.
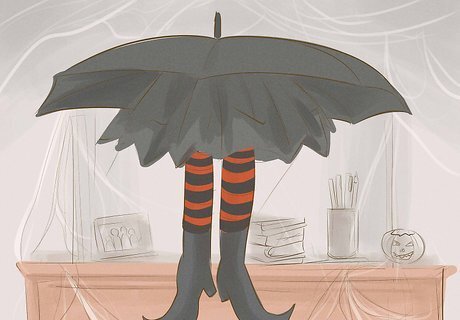
Make dangling witch legs. Follow the instructions for making witches legs — stuffing tights and sewing witchy boots on to the ends of them. Once that’s done, make the witch a skirt: Cut 20-inch-long strips of black tulle or another crunchy fabric that will mimic a fluffy crinoline. Cut the handle off a cheap umbrella (be careful that you don’t hurt yourself doing this), then tuck and tie the legs and crinoline up into the spokes of the umbrella. The crinoline should hide all of the metal in the umbrella so that it just looks like a large skirt with a witch’s legs sticking out. Fasten it to your ceiling (you can cut a hole int the top of the umbrella and pull the stockings through to use as a hanging device) and Voila!
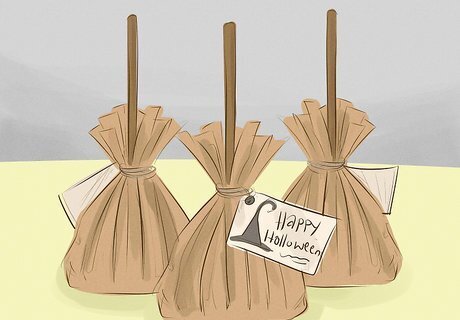
Make lollipop witch brooms. You’ll need lollipops (big round or oval ones work best), a brown felt pen, tissue paper (the fancy stuff you wrap presents with, not kleenex), scissors, twine, and name tags (optional). Use the brown felt pen to color in the lollipop sticks brown. You can also use black or dark brown if you think this would look better. Cut a bunch of squares in your tissue paper, all of the same size. Four inches by four inches is recommended. Gently put the lollipop stick through the middle of the tissue square and then pull the tissue down until it rests on top of the lollipop. Pull the tissue around the lollipop candy, and then scrunch the rest of the tissue up before tying it with twine to hold it in place. You may need to trim the edges of the tissue so that the broom can stand upright. These can double as place settings at the dinner table as well as party favors. If you want to use them as place settings, tie a name tag around the section of the broom that’s tied with twine.
Decorating with Ghosts
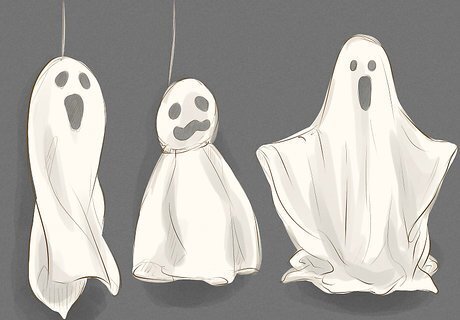
Make fabric ghosts. White fabric scraps of all sorts can be easily transformed into ghosts. You don’t even need to sew them: you can just cut out squares of fabric and drape or tie them into your desired shapes. One popular method is to scrunch up newspaper into your desired ghosty shape, drape a piece of felt or fabric overtop of it, tie the fabric with twine to form the ghost’s “head”, and then draw a ghosty face on it. Use white fabric scraps to make ghost cut-outs to turn into pictures or bunting. You can also sew little white scraps of fabric into finger puppets, or stick them on to empty toilet rolls to make ghosts.
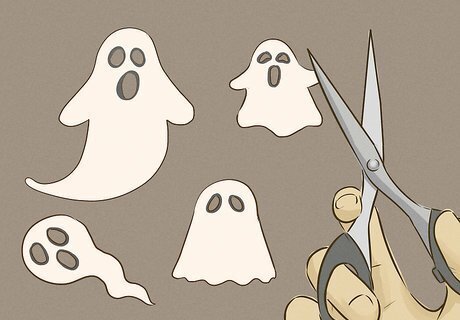
Make paper cut-out ghosts. Use card stock, construction paper, or simple white printer paper and transform it into ghosts of all sorts, including ghost pictures or cut-outs, ghost collages, and ghost bunting or garlands. You can also cut out a large ghost shape from cardboard and use it as the base for a collage.
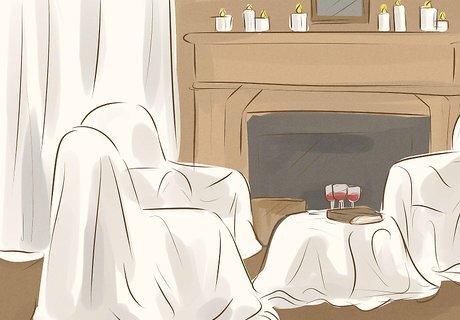
Make use of your bedsheets. Drape white or off-white bedsheets over objects around your house to give the impression of ghosts. You can also make your room look like a room in an old haunted mansion by covering nearly all of your furniture in sheets and then putting spiderwebs in the corners. You might even add a skull and/or a crystal ball to a table, and play some creepy Halloween sounds in the room.
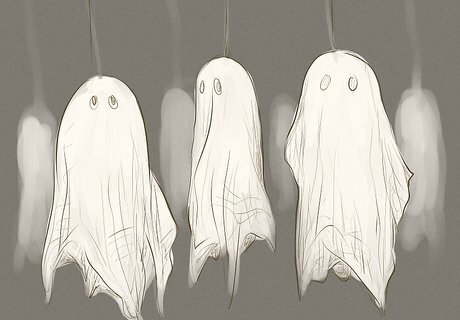
Make a ghost out of cheesecloth and fabric stiffener. This is just one of the many ways in which you can transform household objects into ghost decorations. Start by creating a frame for your ghost’s shape. Stack two cups vertically end to end (with the rims facing out), and place a small balloon on top. Lay down some newspaper or a plastic bag beneath this to catch any liquid that follows from the cloth as it dries. Cut 8 inches of cheesecloth. If the ends are ragged, all the better, as this will make your ghost look more creepy and old. Off-white and beige cheesecloths are good choices. Soak the cheesecloth in fabric stiffener. Use a bowl for this. Make sure the cheesecloth is well coated before you take it out. Remove the cheesecloth from the bowl of fabric stiffener and immediately place it over the balloon-cup frame. It should take roughly 10 minutes to dry. Once the cloth is dry, pop the balloon by poking a pin through the cheesecloth. This will leave you with a hardened ghost shape. Now you can decorate your ghost in any way you want. When you’re happy with it, pull some fishing line, thread, or twine through the top of the ghost and hang it up.

Make a ghost out of a styrofoam head, a wire hanger, and some fabric. You can give the ghost broader shoulders by adding additional wire and extra fabric to the hanger. Bend the hook of the hanger so that it’s straight, then gently push the styrofoam head down onto it. Now it’ll look like a head sitting on top of shoulders. Drape white fabric over the head and hanger, and then adjust the fabric until you’re happy with how it looks, cutting it to make it look more ragged, or bulking it up in places to make it look more like a person’s figure. If you want you can add long wire arms to the hanger and then put stuff white latex gloves at the ends of the “arms” to make it look more like a person. Once you’re happy with how it looks, hang it up by tying fishing line around its neck and fastening it to your ceiling or anywhere else you like. You can find styrofoam heads at most Halloween supply shops, but also some beauty supply and craft shops.
Decorating with Spiders
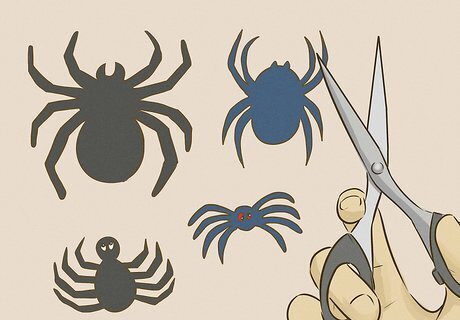
Make spider-shaped paper cut-outs. Draw spider shapes on construction paper or card stock and cut them out, then fix them to your walls or to string to make bunting or garland. You can also use the spider shape as the basis for a collage. Paper spiders can be stuck all over the wall, among fake webs, and in bushes. Be careful about putting the paper spiders outside, as they might get wrecked if it rains. Use cardboard for larger spiders that can be hung from ceilings or greater heights to dangle in people's faces. You might cut up garbage bags and glue them onto these so that they’re shiny black spiders.
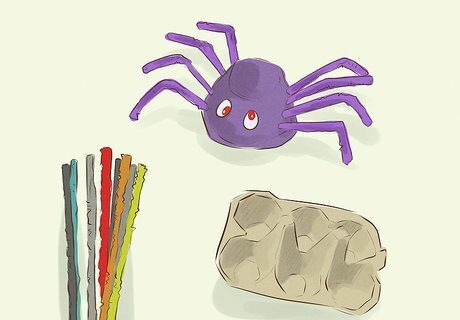
Make a spider from repurposed items. As an example, you could make a spider from an egg carton and pipe cleaners: Cut out an egg carton piece to form the spider’s body. Paint in the color you want the spider to be — black, neon, purple with red spots, etc. You might even use a glow-in-the-dark or black-light paint. Pierce four holes down one side and another four down the other side of the egg carton piece, then slip pipe cleaners into the holes each side to form eight legs. Reshape the legs so that the spider can stand properly and perhaps have two legs splayed in front. Glue on a bunch of pre-made googly eyes or paint them on to make the spider’s face. You can also add fangs. If you want the spider to be larger, you can use two egg carton pieces for the body, and then glue on a ping pong ball or something similar to form the spider’s head.
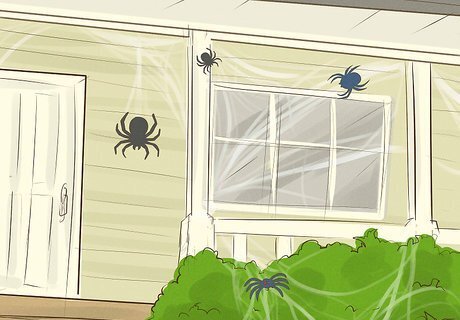
Make a spider web. If you want a web or two for all the spiders you’re making, you have many options: A string web is made by weaving a web using string and a wire frame, and then gluing the cutting out the round part of the web. You then hang the web from the ceiling using another piece of string. (Paper or light plastic spiders go well on this web.) A pipe cleaner web is made from twisting together 4 pipe cleaners and then working outward until you’ve reached the desired web size. (Pipe cleaner spiders go well with this web.) A doily web is ideally made of crocheted doilies that have been sprayed black. Use string to attach the doilies to a transparent or loosely woven sheet, keeping space between them so that they look like different webs. A cheesecloth web will look like an old abandoned cobweb. You cut it into the shapes you want, and then gently pull on it so that the strings come apart and look more web-like. Then you hang it from your ceiling/on your walls/in your windows.
Making Other Decorations
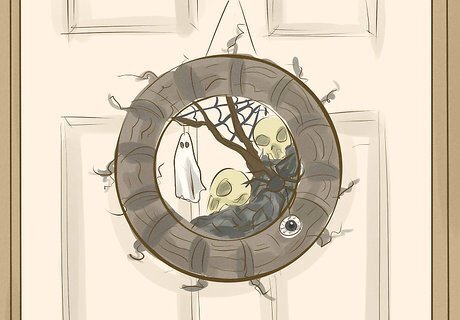
Make a Halloween wreath. Add Halloween-themed items to a plain wreath to dress it up. You can purchase a pre-made wreath base, or you can make a wreath from scratch with Evergreen tree branches, twigs, or burlap. To make the wreath look extra Halloweeny, spray paint it black, orange, purple, silver, grey — or any other color you’d like. Use a hot glue gun (or have your parents help you) to glue black tulle, orange feathers, fake eyeballs, fake spiders, or other Halloween-y items into the wreath.
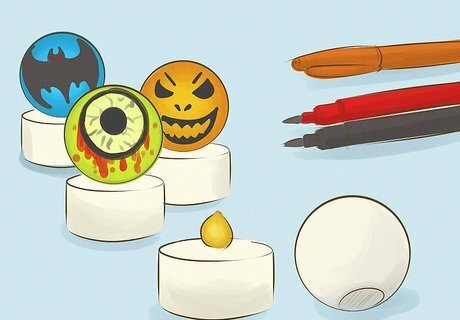
Make glowing ping pong ball decorations. For this you only need felt pens, ping pong balls, electric tea lights, and something sharp to poke holes into the ping pong balls with (scissors or a screwdriver will work). Just draw on the ping pong balls and then pop them on top of an electric tea light and turn it on to see them glow and flicker. Creepy eyeballs and faces are good choices for this craft! Another option is to attach pipecleaners to the sides of a ping pong ball and make it look like a spider — a glowing spider, that is!
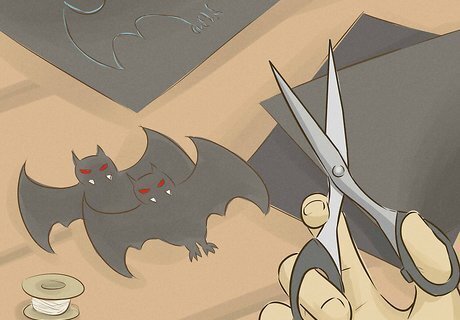
Make paper bats. Bats, like spiders, are another popular creature featured in Halloween decorations. Use construction paper or card stock to make bat-shaped cut-outs that you can hang around your house. You might even use a large bat-shaped cut-out as the base of a Halloween-themed collage.





Comments
0 comment