
Warming the Uncured Epoxy
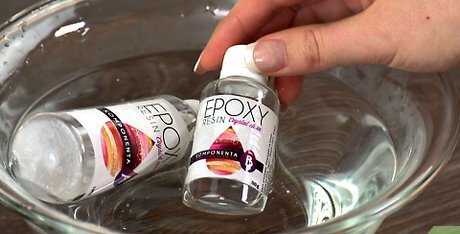
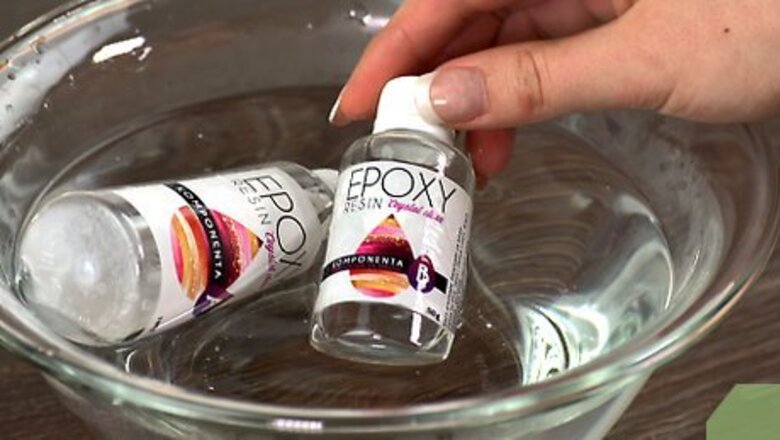
Soak the epoxy and hardener bottles in warm water for 15–20 minutes. Fill a bowl or plastic container with enough warm water to submerge your epoxy bottles just below their caps. Set the bottles in the water and allow them to warm up so the epoxy and hardener flow and mix more easily. Leave the bottles alone for at least 15 minutes or until they feel warm to the touch. Make sure the epoxy containers are sealed completely so water can’t get inside. Otherwise, it may have a cloudy appearance once it dries. Avoid using water over 100 °F (38 °C) since it could affect the color or appearance of the epoxy later on.
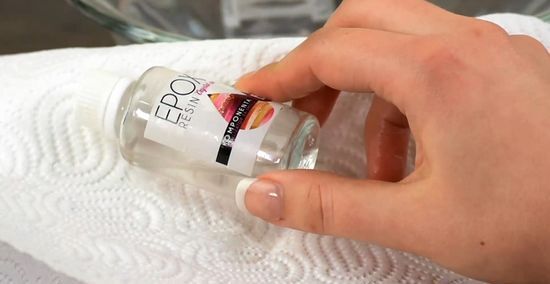
Dry the bottles off completely to avoid mixing water with the resin. Pull the bottles out of the bowl and shake off any excess water that’s still on the surface. Thoroughly wipe the bottles down with a piece of paper towel until they’re dry. Check that there isn’t any water on or around the cap that could get into the bottle once you open it. If water mixes with your epoxy, it will cure with a cloudy finish.
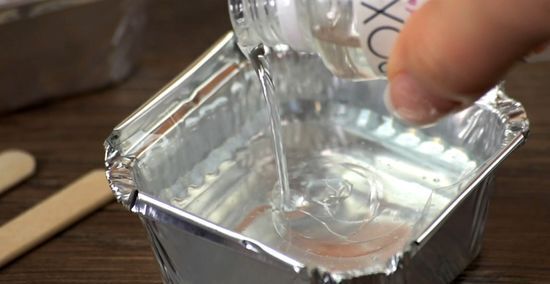
Combine the epoxy and hardener in a disposable container. Read the instructions on the epoxy and hardener labels so you know the correct mixing ratios. Pour the epoxy resin into a disposable plastic cup or container before adding the recommended amount of the hardener. Mix the 2 components together with a stir stick until they’re thoroughly combined. Different epoxies require specific mixing times in order to work properly, so always follow the instructions listed on the packaging. Avoid mixing any solvents or thinners with your epoxy since it will have a soft, gummy texture when it cures and it may not adhere as well to the surface.Warning: Once you mix the heated epoxy and hardener, use it immediately since it will start curing faster and may harden in the container.
Heating the Surface
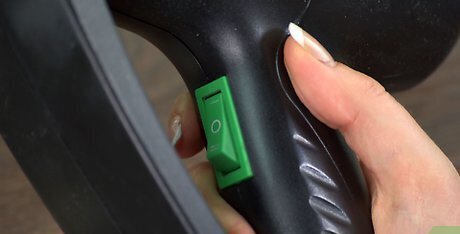
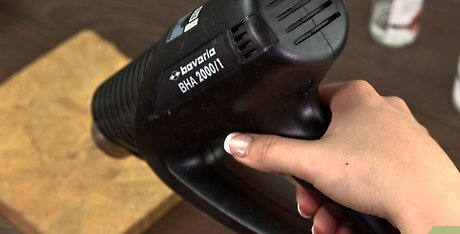
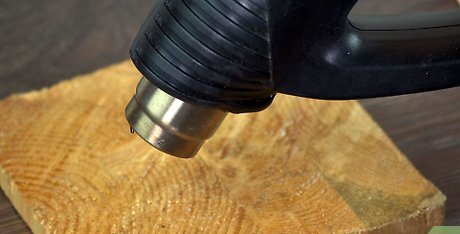
Turn a heat gun to the lowest setting. Set up your work space in a well-ventilated area since some epoxies can create harmful fumes. Plug in your heat gun and find the temperature dial or switch. Set the heat gun to the lowest heat so you don’t accidentally burn the surface you’re working with. Heating the surface works well on wood since it can help it become more porous. You can buy a heat gun from your local hardware store, but in a pinch, you can use a hair dryer on the highest heat setting as well.
Move the heat gun 6 inches (15 cm) above the surface you’re treating. Run the heat gun back and forth over the area until it’s warm to the touch. Avoid overheating the surface to the point where you can’t hold it since the epoxy will run over the edges and leave drip marks. Be careful not to focus the heat in one area for too long since you could burn your work surface.Tip: Wear thick leather or heat-resistant gloves if you need to handle the item you’re sealing with epoxy so you don’t accidentally burn yourself.
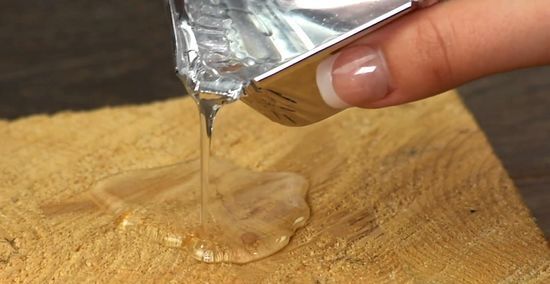
Pour the epoxy onto the warm surface. Apply the epoxy so it spreads out evenly over the entire surface you’re treating. As the epoxy goes over the surface, the heat will transfer into the liquid and make it coat the surface easier. Be careful not to let the epoxy go over the edges of the piece so it doesn’t drip down the sides. Follow the instructions on the epoxy’s package since it may have a limit to how thick you can apply it.
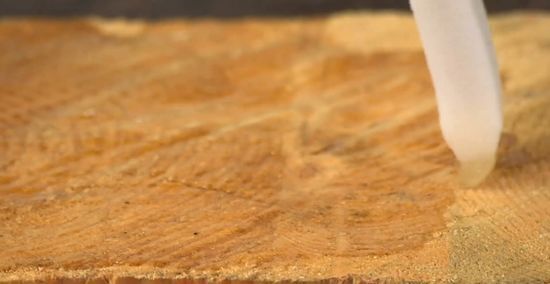
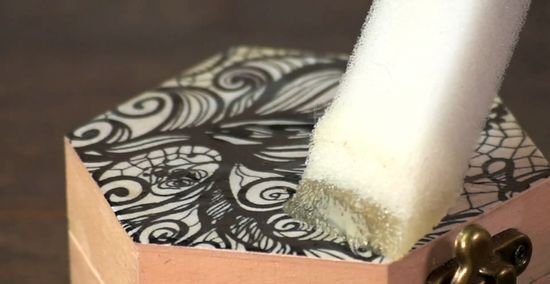
Spread the epoxy on the surface with a foam brush. Only dip the tip of the foam brush in the epoxy and carefully drag it toward the edges of the surface. Try to spread the epoxy over any areas you missed when you first poured it so it creates a thin, even layer. Get the epoxy as close to the edge as you can without it dripping down the sides. If the resin does drip over the sides, wipe it off with a paper towel. Most epoxies have a self-leveling agent so they usually flatten out as they cure, but using a foam brush will help speed up the process.
Blow the poured epoxy with your heat gun to remove any bubbles. Turn your heat gun onto the lowest heat setting and hold it 6 inches (15 cm) over the epoxy. Move the heat gun back and forth over the surface so you don’t overheat the epoxy. Allow the air bubbles to rise to the surface until the epoxy has a clear, shiny finish. Avoid holding the heat gun in one spot for too long since it could cause it to discolor once it cures. Your epoxy will finish curing completely within about 24 hours, but it will start to solidify within 1–2 hours.
Cutting the Epoxy with Solvents
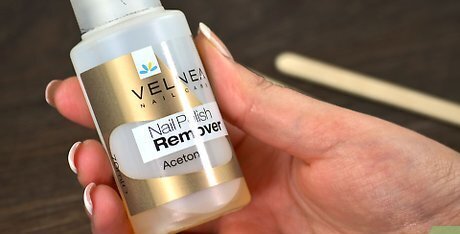
Opt for acetone or denatured alcohol. Acetone and denatured alcohol help break down chemicals and make them flow easier, so pick up a container from your local hardware store. If you’re working with wood or concrete, opt for acetone since it’s less likely to leave stains or discoloration. For plastic, glass, or metal, use denatured alcohol instead. You may also use an acetone-based nail polish remover if you need to.Warning: Acetone and denatured alcohol are both extremely flammable, so avoid working near a heat source or an open flame.
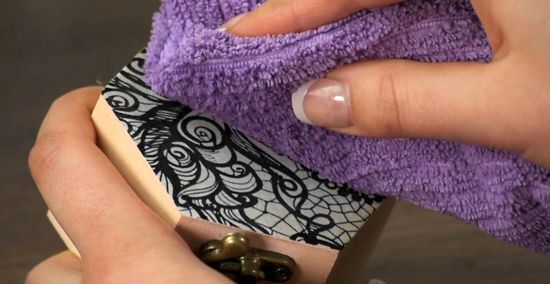
Test the solvent you’re using on the surface to see if it causes damage. Wet the corner of a rag with the solvent you chose and apply it to an inconspicuous area on your work surface, such as the bottom or a back corner. Allow the solvent to dry completely and check if there’s any damage or discoloration. If there is, then avoid mixing the solvent with the epoxy and try a different thinning method. Denatured alcohol and acetone can eat through some materials, such as Styrofoam.
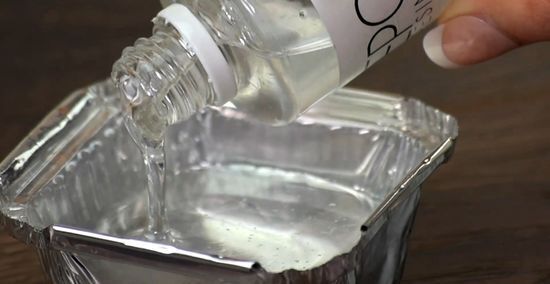
Stir the thinner into the epoxy so it’s 10–20% of the volume. Combine the epoxy and the hardener solution in a disposable container following the recommended ratios on the packaging. Use a stir stick to mix the epoxy and hardener into a clear solution. Take 10–20% of the epoxy’s total volume and add that amount of your solvent before stirring it until it’s thoroughly combined. For example, if you’re using 32 fluid ounces (950 ml) of epoxy, you can add up to 3.2–6.4 fluid ounces (95–189 ml) of solvent. For every 5% volume of thinner you add, your epoxy may weaken by up to 35%.
Allow at least 1 day for the epoxy to cure. Once you apply the epoxy to your work surface, leave it alone so it has time to dry. After a day, touch the edge of the epoxy with your finger to see if it’s solid or if it still feels wet. Typically, the epoxy will cure within the day but it may take longer due to the added solvent. The epoxy may never solidify completely. Instead, it may have a soft gummy texture due to the added solvents.


Comments
0 comment