views
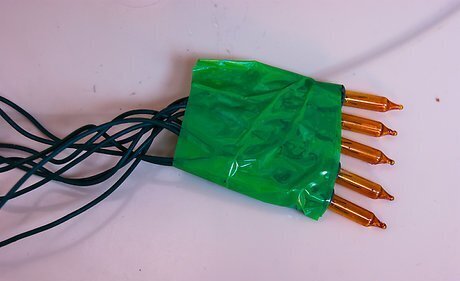
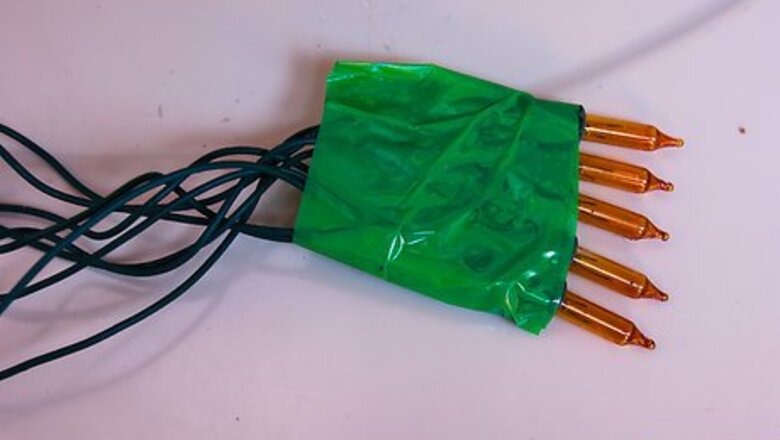
Wire the LEDs. Make sure your wires are long enough (around 15cm / 6 in each) depending on how big your hat is. Start wiring up the LEDs one by one, making sure to note the positive and negative terminals. (Color-coding the wires is highly recommended: for example, you can use a white wire for each positive terminal and a color wires for each negative terminal.) Wrap the wires tightly to each LED so they won't fall apart. You can even solder the connections, though it's probably not necessary.
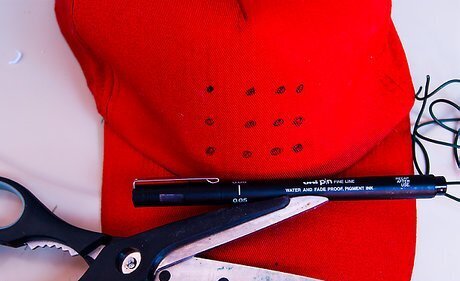
Mark and cut the hat. This part is also crucial, as you need to pick logical (but inconspicuous) spots to place the LEDs: if you place them too far apart from each other, the light beam won't be strong enough to blind a camera, but if you place them too close, they will hide your face from a certain angle but not others. Think this out and position them well. Mark each spot with a marker, then cut a few holes with a pair of small scissors in the middle of the front of the hat as well as a few on the sides.
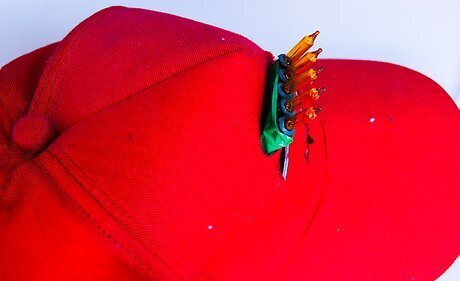
Attach the LEDs. Turn the hat inside out. Take each LED and place it tight in its hole. For extra stability, secure each LED with a dab of glue so that it won't fall out; however, try not to cover the bulb, focusing instead on holding the wire in place. Hot glue will work well for this purpose. When you’re done, flip the hat right-side-out.
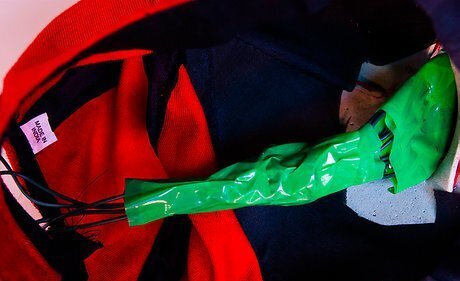
Secure wires with tape. Tape all the wires together using electrical tape and secure them to the inside of the hat.
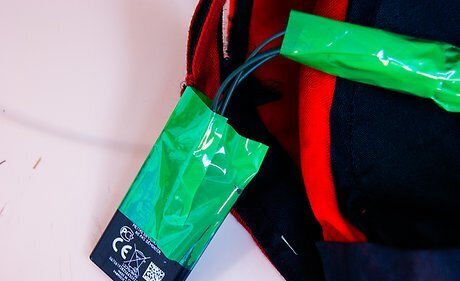
Power up. Connect a small 9v battery to the wires and secure it with electrical tape. (This is where having color-coded wires will really come in handy, as they will tell you which wires to connect to the positive and negative terminal of the battery.) You can even add a little on/off switch if you want. In this example, the battery is placed on the inside back of the hat.
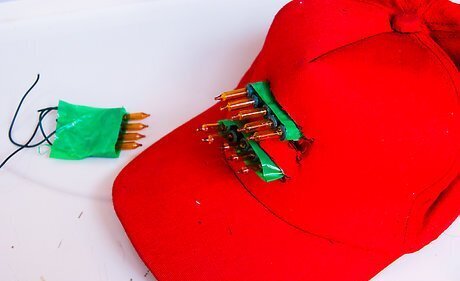
Finished.





Comments
0 comment